Step 3 – Square Format
As you can see the final picture has square format. We will fix it in this step. Grab the Crop Tool (C) and set Width and Height on the value 1.

Bellow it’s seen how the cropping looks.

Press Enter to crop it.
Step 4 – Adjusting the Ground
In this step you will increase the contrast of the ground and add details with using of texture.
First of all it’s necessary to fix contrast. To do that add Adjustment Layer Levels. Using of adjustment layer is really useful because all adjustments you do this way are non destructive and you always can go back and change them. It’s almost impossible to do that if you adjust your pictures with using of Image > Adjustment > … Thanks to adjustment layers you can also adjust only parts of the image.
The button Create new fill or adjustment layer is in the bottom part of your Layers palette.

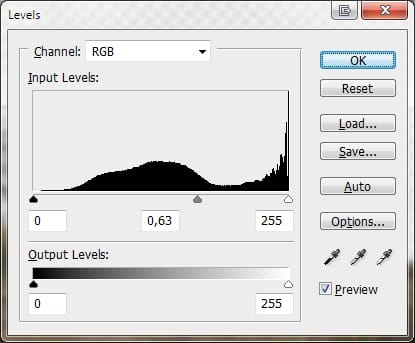
Set the Input Levels on 0; 0,63; 255 and press OK.

Now download the grunge texture and drag it into the manipulation. Place this layer on the top of your layers and change the Blending Mode on Overlay.

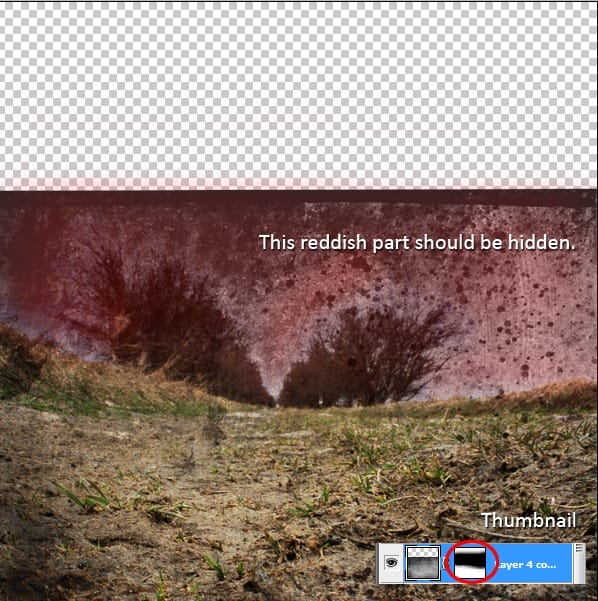
Now add layer mask. Make sure that the layer mask is active (just click on the thumbnail of the layer mask), grab Brush Tool (B), choose some soft round brush, pick black color and paint over the areas of the texture which should be hidden.

Step 5 – Adding the Sky
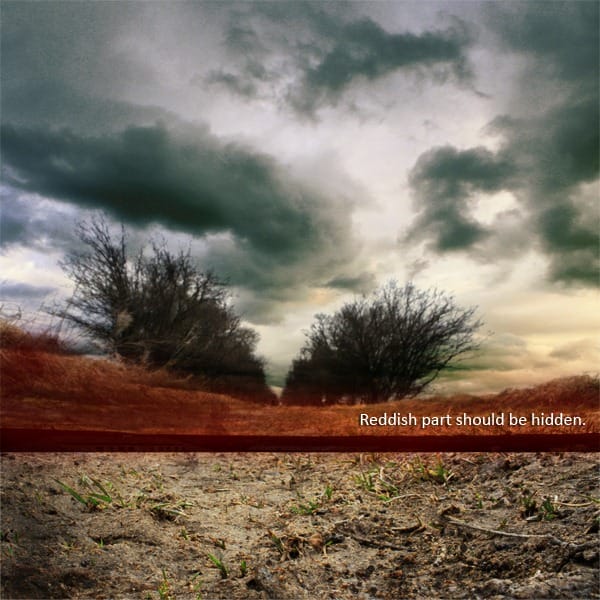
Download the picture of sky and drag it into your picture. Name the layer SKY and place it on the top of your layers. Press Ctrl + T and resize it on proper size. Set the Blending Mode on Multiply. Add layer mask and with using of black brush erase the parts of the sky which should be invisible.

Step 6 – Desaturation
To unify the look of the sky and ground and also to create stronger atmosphere we desaturate the whole picture a little. Add new adjustment layer Hue/Saturation on the top of your layers and set the value Saturation on -50. Press OK.
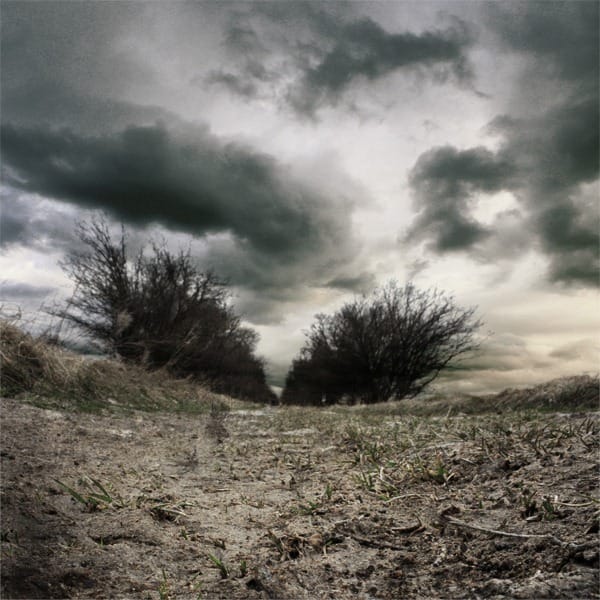
After these six steps your picture should be similar to the one bellow.

Step 7 – Adding the Skeleton
Open the picture with skeleton and drag it into the manipulation. Place the layer on the top and name it SKELETON. As you can see the skeleton doesn’t fit to the rest of the picture because it´s too saturated and dark. We’ll fix it now. Add new adjustment layer Hue/Saturation and set the value Saturation on -35. Press OK. Right click on this layer and choose the option Create Clipping Mask. This way the adjustment layer affects only the skeleton, the rest of the picture stays untouched.
9 responses to “Create a Deathly Photo Manipulation”
-
The image on the top has an error it’s half white.
-
Thank you for letting us know! It’s fixed now.
-
-
A quite good tutorial. Thanks for sharing.
-
this tut is horrible liek get no scoped bud!
-
Would love to try this but can’t find the photos
-
I enjoyed this tutorial greatly. Thank you.
-
très bon tuto,bien expliqué,dont j’ai fait une libre interprétation ,merci encore
-
Great tutorial thank you!
-
thanks for this tut it us really great .


Leave a Reply