Luminar AI lets you turn your ideas into reality with powerful, intelligent AI. Download the photo editor and see how you can completely transform your photos in a few clicks.
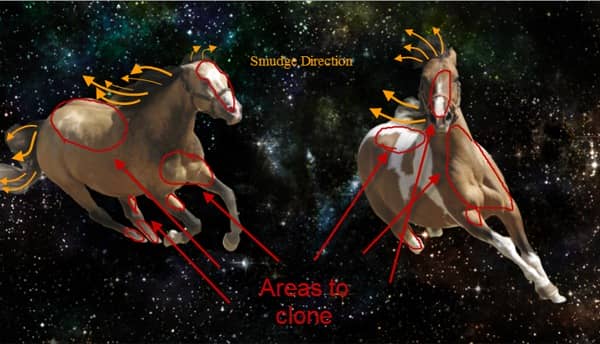
Step 8
Congratulations for coming up this far. The most difficult part of this tutorial is done. Press ctrl on your horse layer to select opaque pixels. Press M to select marquee tool. Hold alt + shift and draw a selection big enough to encompass our left horse without selecting the right one. Now we have just our left horse selected so press ctrl+J to move him on a new layer. Repeat this step with the right horse. You shold have 2 distinct layers, each layer containing a horse. Name the layers Left Horse and Right Horse.
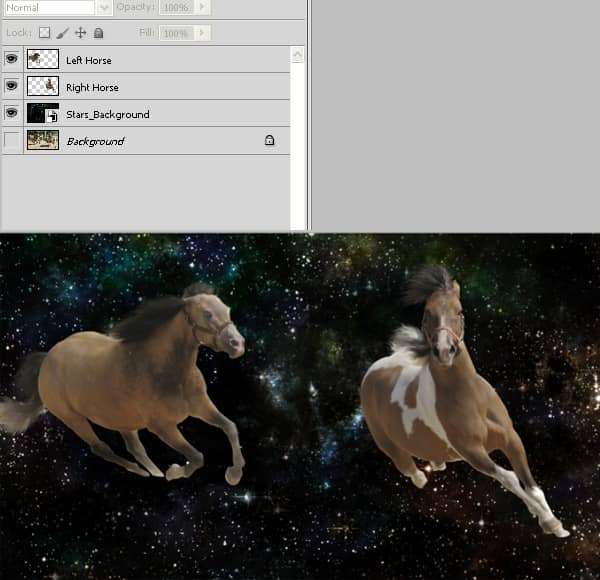
Step 9
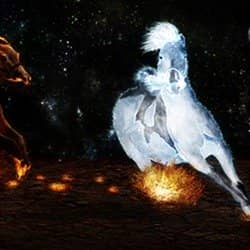
Now we will make our fire horse. We will add some adjustment layers to give the impression of hot fire burning inside our horse. Add a clipped color balance adjustment layers and use the settings below. Set it's mode to overlay. Press ctrl+J to make a duplicate of the color balance layer and make sure it's clipping Left Horse layer. Change it's blend mode to Multiply and lower opacity to 35 %. Add a clipped gradient map layer and choose black to white preset. Change the blending mode to luminosity and lower the opacity to 50%.
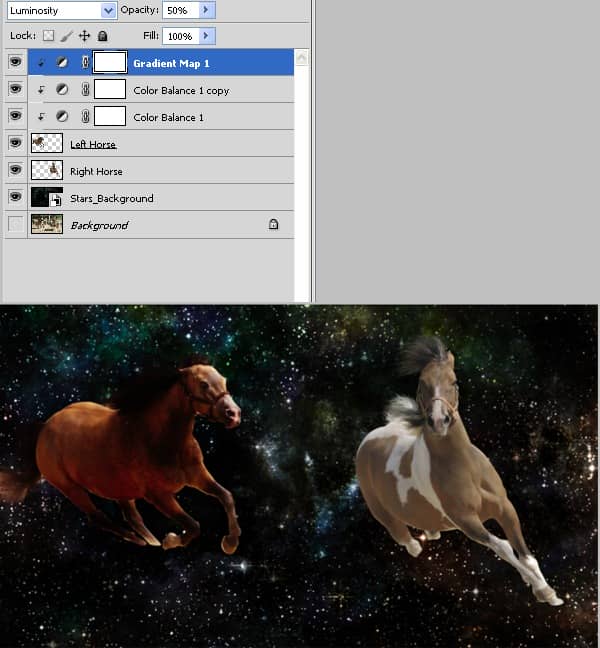
Step 10
We see that our fire horse has some unusual bright spots on his back and head. We will remove them by using a masked curves adjustment layer. Make a new curves adjustment layer and make sure it's clipping the Left Horse layer. Use the settings like shown below. Choose a soft brush with these settings:
- Size: 150 px
- Hardness: 0%
- Opacity: 50%
Press D to set default colors. Make sure you are in the layer mask and press ctrl+Backspace to fill the mask with background color ( black ). Now brush gently over the areas shown below.
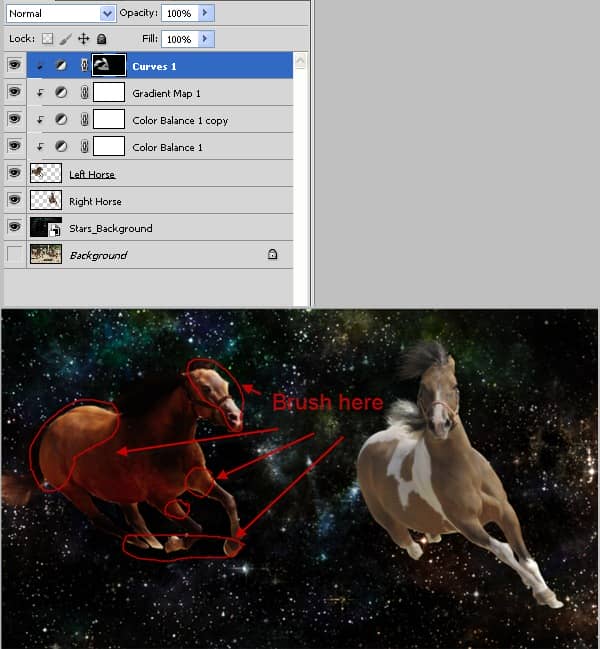
Step 11
We will add some cracks on our horse skin to intensify the feeling of infernal heat burning inside. We will make our own custom brush to accomplish this task. Choose the default round brush then open the brush panel ( if it's not opened go to Window > Brush ) and use settings like shown below. Save the brush preset and name it Fire Brush.

Step 12
Make a new layer and name him Lines 1. Make sure it's clipping our Left Horse layer. Select color #cc6a0e as our foreground color. Select our newly created Fire Brush and set it's size to 10 px. If you have a graphic tablet draw naturally a few lines along our horse natural curves. Lower the brush size and repeat. Those without a graphic tablet use the pen tool to draw the lines then right click and choose stroke path. Choose the brush tool from the drop down list and make sure "Simulate pressure" it's checked. Select brush again and lower it's size to 8 px and repeat the process.

2 comments on “Create a Spectacular Space Scene in Photoshop”
what are the settings for the fire horse color balance?
What are the settings used on color balance layer?