
Duplicate this dot-layer (Cmd /Ctrl+ J or Layer > Duplicate Layer) and resize it (Ctrl/Cmd+T or Edit > Free Transform) that it was a little more than sphere.

Step 17
Create a new layer (Cmd /Ctrl+ Shift + N). Take a Brush Tool (B) (Size: 1400px, Hardness: 0%, Opacity: 100%, Color: #0d7ad7). Make a dot in the upper part of a sphere.

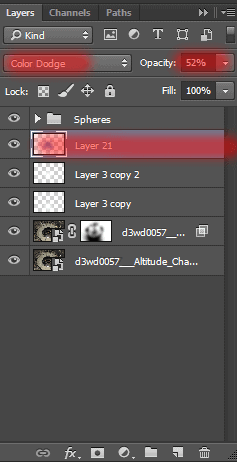
Set to this layer Blending Mode: “Color Dodge”, Opacity: 52%.
Step 18
It’s time to lightning! Load lightning brushes in Photoshop (if you do not know how to do this, use search:)) Create a new layer below previous layer. Take a Brush Tool (B). For each brush size remains the original, Opacity: 100%, Color: #ffffff. I used brushes: 4,13,17,24.

Change the angle of each brush so that it matches the side of the sphere. On one side these brushes have a light area, try to place a light area under the sphere. Apply the brush dot and in different places.
Step 19
Add a little glow to this layer. Go to Layer > Layer Style > Outer Glow… Make settings like shown in the image.


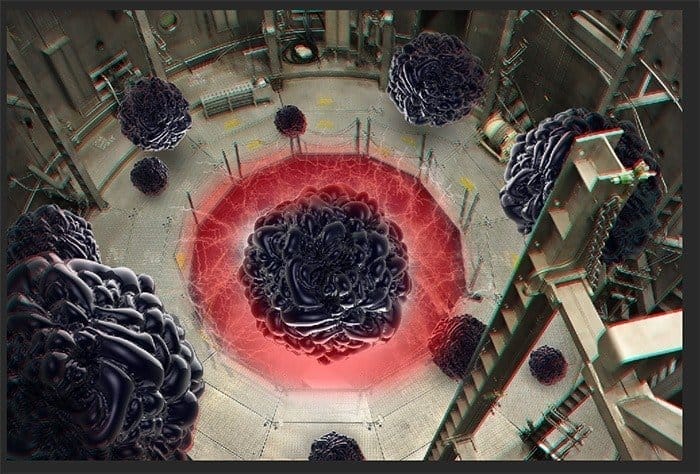
Here is my result. I combined all the layers with the background in one group “Interior”.


Step 20
Create the main lightning. Create a new layer (Cmd /Ctrl+ Shift + N). This layer must be the uppermost and not in all of the groups.
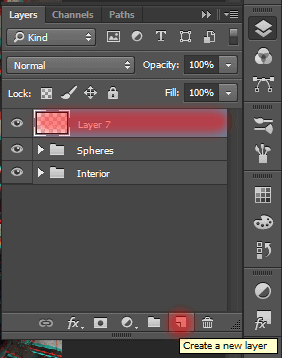
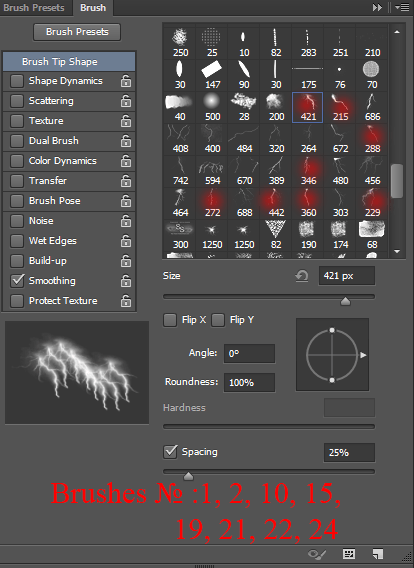
Take a Brush Tool (B). Brush size depends on the distance from the central sphere to the lateral spheres. Angle is set in line with a side of sphere. Set Opacity: 100%, Color: #ffffff. Dot draw lightning. To make them more vibrant press in one place several times.
Try to make dynamic lightning. Do not draw them into one plane. Try to make the visibility of volume, putting lightning further the edge of the sphere. Put a very little lightning at the sphere.

Step 21
Let’s create exploding lightning bundles (“exploding lightning” brush). Create a new document (File > New or Cmd /Ctrl+ N).
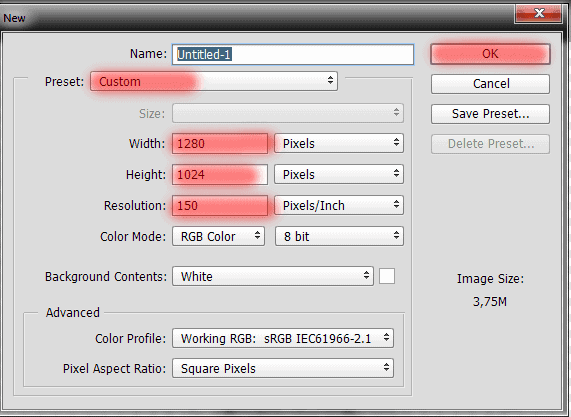
Create a new layer and delete the background layer. Set the foreground color to black (D). Take a Brush Tool (B). Use a variety of lightning brushes (I used numbers 1, 7, 19, 20, 21), but rotate them so that their ends converge at a single point. Change the brush size to not get the same type. (Size 100-300px, Opacity: 100%). You should get something like this.
13 responses to “Omega – Create this Abstract Composite Using Only Three Resources”
-
where is the material??
-
where is the material?
-
amazing ideas and creativity
-
Absolutely beautiful works.. This is what called “Creativity”.
-
i really love this website!
-
thank you Maria Semelevich
-
Vry nyc
-
Thank you veru much! I am very pleased! :) I hope it will be helpful to you!
-
-
like
-
Thank you veru much! I am very pleased! :) I hope it will be helpful to you!
-
-
amazing…
-
Thank you veru much! I am very pleased! :) I hope it will be helpful to you!
-
wonderful!
-


Leave a Reply