

Luminar AI lets you turn your ideas into reality with powerful, intelligent AI. Download the photo editor and see how you can completely transform your photos in a few clicks.
Step 20
You can then do the opposite to the top with a white brush to add not just a little brightness but also some atmosphere adding to depth and a sense of size.
Step 21
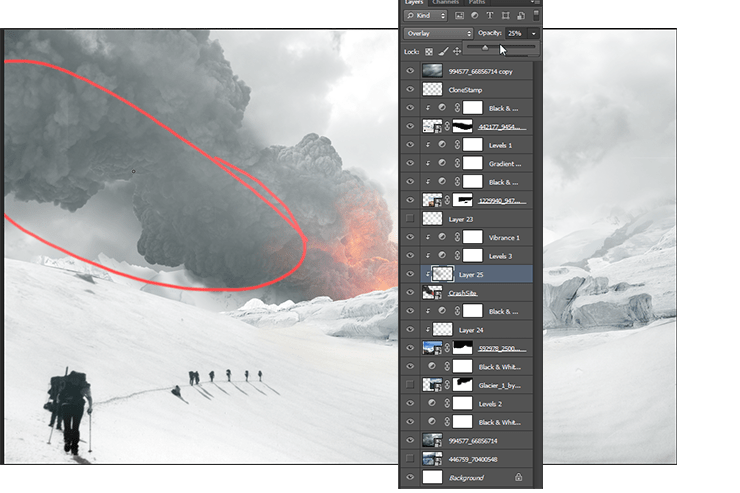
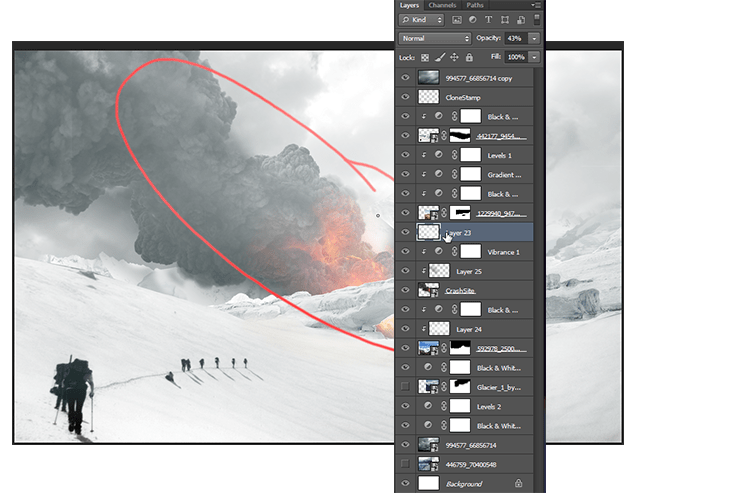
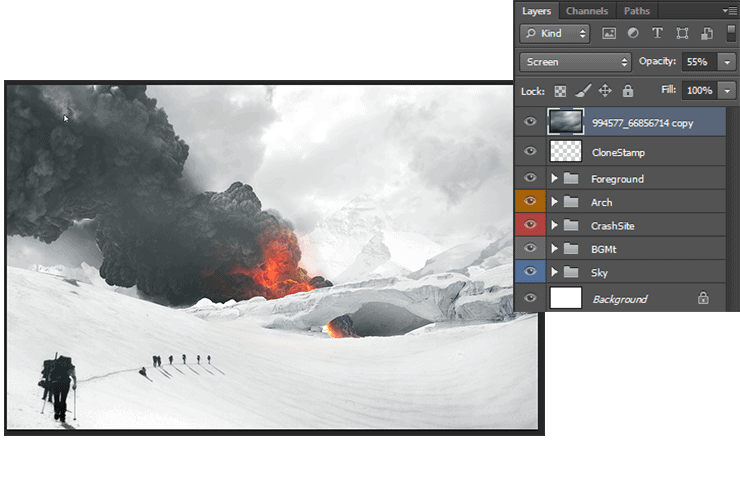
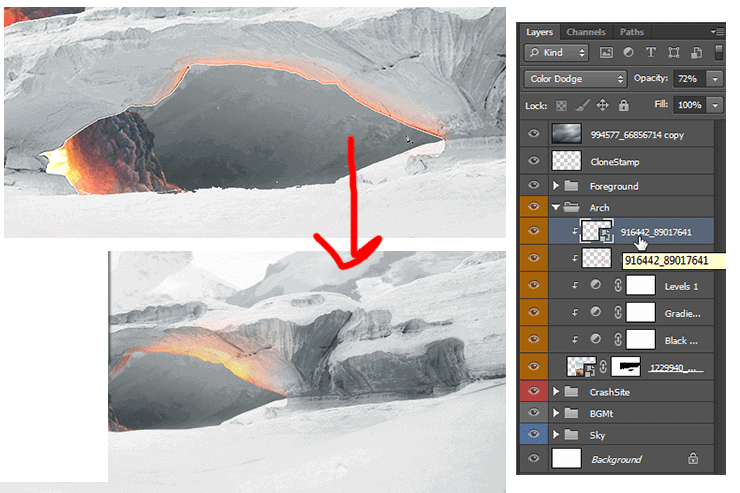
Heres a nice spot just for us to gather ourselves and clean up the document. Look for masking mistakes and the like. Also a good spot to group all our sections together and color code them like shown below. This really helps tweaking sections in a more organized way. Below is a image of what I have so far! As always feel free to experiment and try something different! When you're ready lets move forward!
Step 23
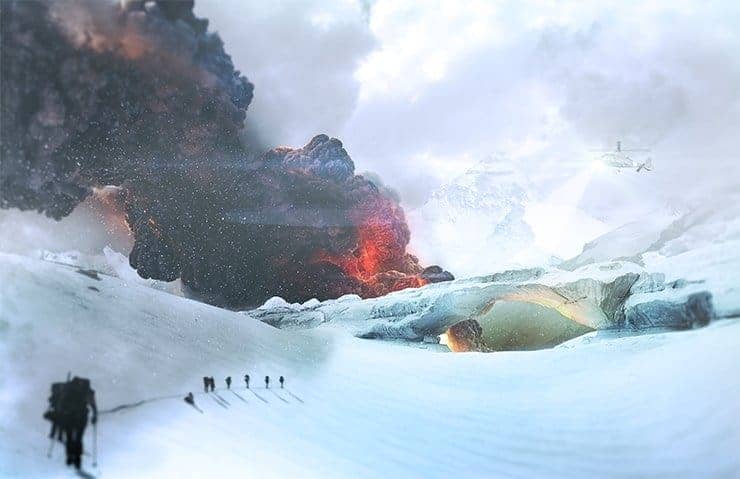
Moving forward we can start getting into some of the details. One of the main focuses of this piece is the arch in the middle ground, lets get the lighting right on it. Add one layer to its clipping mask line and draw in some orange, yellow, and red in varying opacities with an overlay blending mode. Adjust the opacity of the layer to get a nice result like the first picture below. Another problem I encountered was the little white line on the inside of the arch. I used the same pen tool cutout method I discussed earlier. I also cleaned up the line in the snow below it. I also added in the fire image on top of the clipping mask chain as color dodge and with a 72% opacity. Find a nice placement for it to give some nice lighting effects. I usually like using actual images to make lighting effects as oppose to painting them in, for me this give a more organic and natural look and not too stiff. Also to note as this is personal preference, I used the Burn Tool on Shadow Mode with about 10% Exposure on the arch itself to bring out some of the details.
Step 24
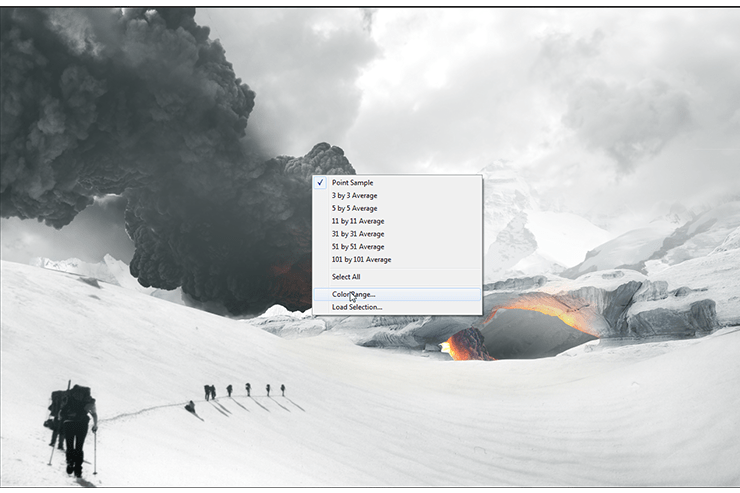
This next part is completely optional, I personally think the piece looks good with or without the shadow but for the sake of practicing techniques lets dive right in! Start with the wand tool (W) selected and right click on the Smokes layer. At the bottom will be the option to do color range selection. Click on it to bring up the tool menu.
Step 25
Here we can see a preview of the selection in white as well as adjust the "fuzziness" (works like tolerance). When the mouse is outside the box it works as an eyedropper to change the selection, play around with it a bit to get a nice dynamic selection of the smoke. I personally like this method as it will give us a shadow with a more organic feel with different opacities rather than a large dark mass. Once you have something you like click OK and it will bring you to our next step.
5 comments on “How to Create a Cinematic Snowy Mountain Crash Site Scene in Photoshop”
some pict are missing
this is boring
Some links of the images are down...
It is professionnel
is there any tutorial for it ? i will try for sure .