

Turn any photo into a dot grid artwork with these Photoshop actions. You'll get great results with dots that change size. They get larger in brighter areas and smaller in darker areas. Free download available.
Step 26
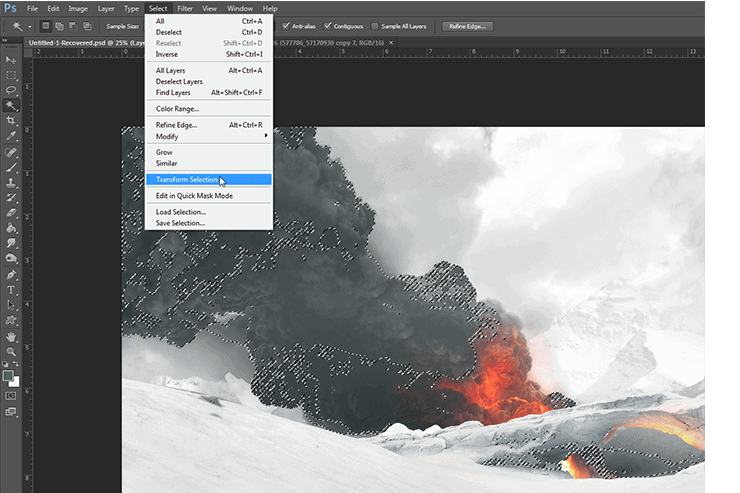
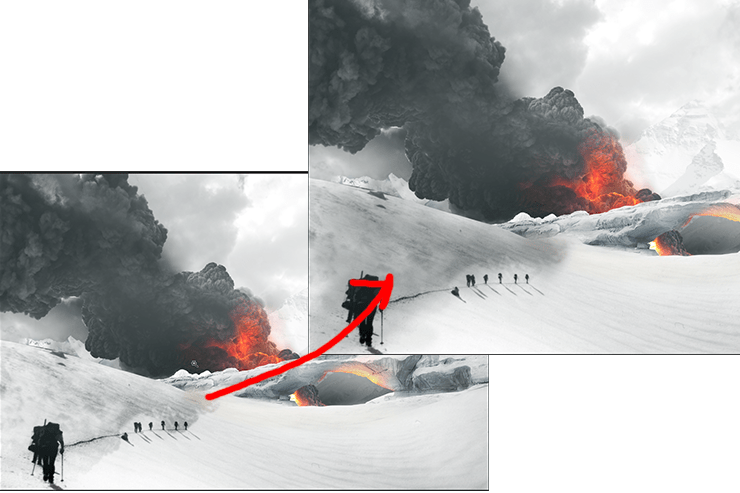
With your selection make a new layer on top of everything else (Layer > New > Layer, or Ctrl+Shft+N on PC and Cmd+Shft+N on Mac). Going into Select > Transform Selection we can move our selection into place on the ground keeping into account perspective and distortion.
Step 27
Once you have it in a nice spot on the ground plane (keep in mind where the light is coming from, although not entirely accurate in this case its always something to keep in mind) feather it out a bit, with the wand tool (W) active right click and go to feather to soften the edge.

Step 28
Now on the new layer we created on top we're going to fill our selection with a low opacity black brush like on the bottom left. However this still looks really stiff, so go over it (on a new layer) with a black soft brush giving you results similar to those on the right, a nice dark shadow with some dynamic opacity.
Step 29
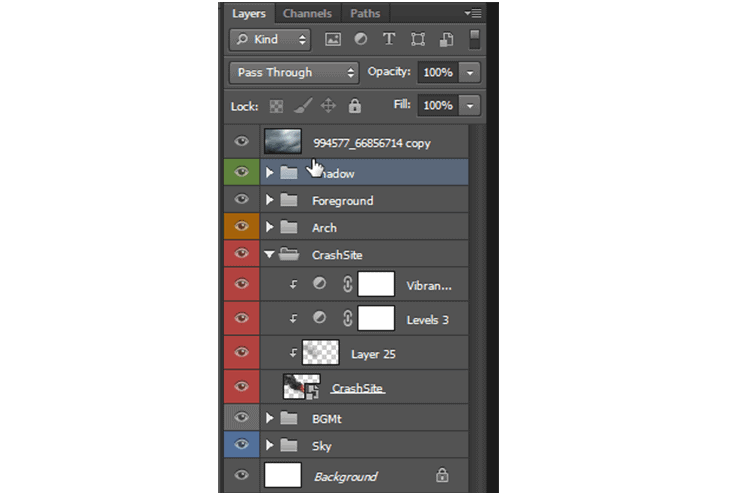
Go ahead and group those layers together for proper organization.
Step 30
Moving on with our details lets add some snowfall, now a lot of people will use custom brushes to do this but for the sake of saving time I prefer to use pre-made textures. For this piece I used textures by Andrei Oprinca from PSDBox (wonderful resources!). To use these its fairly simple, you just want to bring them in and set the blending mode to screen. This will get rid of the black background on the images we've brought in (non destructive) and leave only the nice little white dots. Placing these around the image (on top of everything else and in their own group as shown before) will give us a really nice snowfall effect. Make sure to mask out any visible hard edges as well as the little logo in the corner!
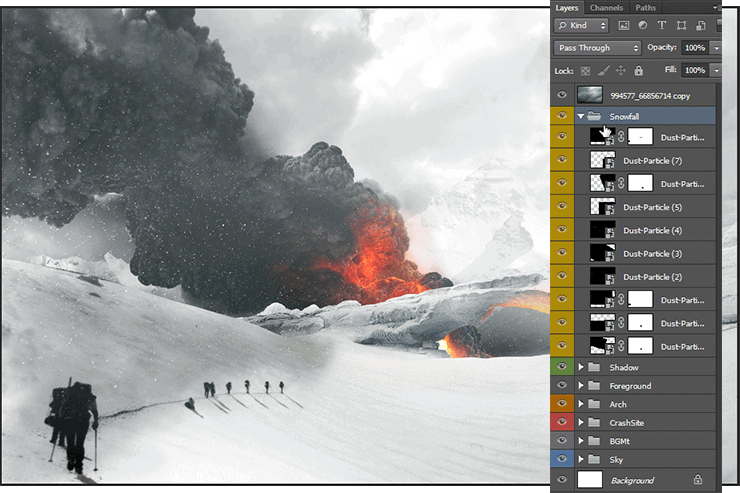
Step 31
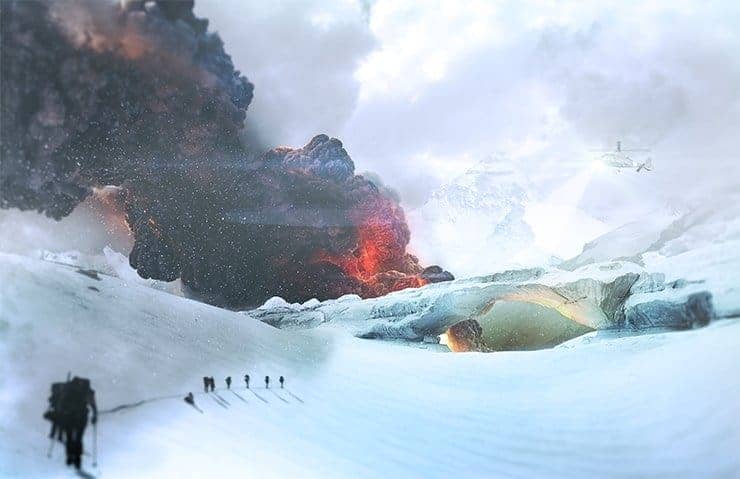
Next let's add a little atmosphere behind the arch due to the glow of the fire. This is as simple as going over the area with a very soft low opacity (think 10% or so) and using the soft light and overlay blending modes and alternating between the reds/yellows/and oranges. We don't want this to be overwhelming just a nice touch of oranges next to all the blues and grays.
5 comments on “How to Create a Cinematic Snowy Mountain Crash Site Scene in Photoshop”
some pict are missing
this is boring
Some links of the images are down...
It is professionnel
is there any tutorial for it ? i will try for sure .