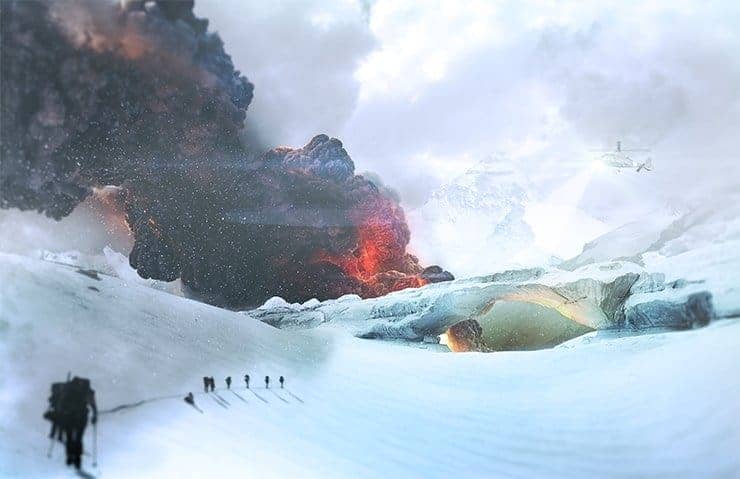


Turn any photo into a dot grid artwork with these Photoshop actions. You'll get great results with dots that change size. They get larger in brighter areas and smaller in darker areas. Free download available.
Step 4
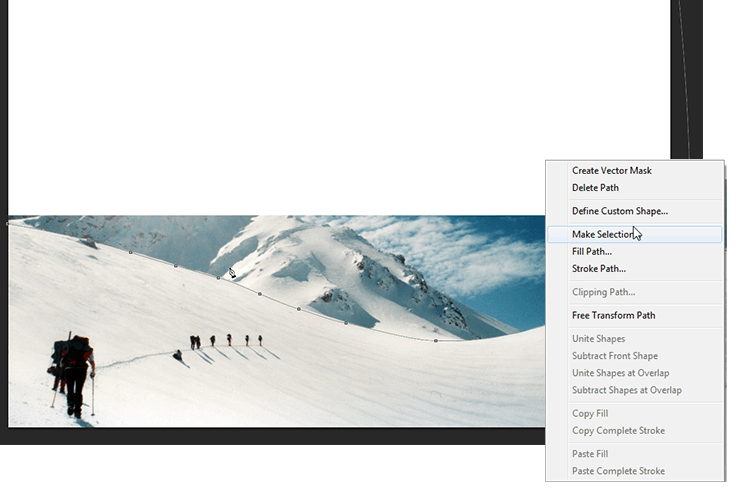
As far as defining our lines to be masked I prefer the pen tool, in a picture like this with lots of white and similar shades the quick select tool isn't going to be as effective or accurate at getting exactly what we want. Go ahead and use the pen tool to plot a line around the mountain and the sky in the background like you see below. When you're happy you can right click and click on "Make Selection", It will ask you if you want to have a feather, in this case I set mine at 0.
Step 5
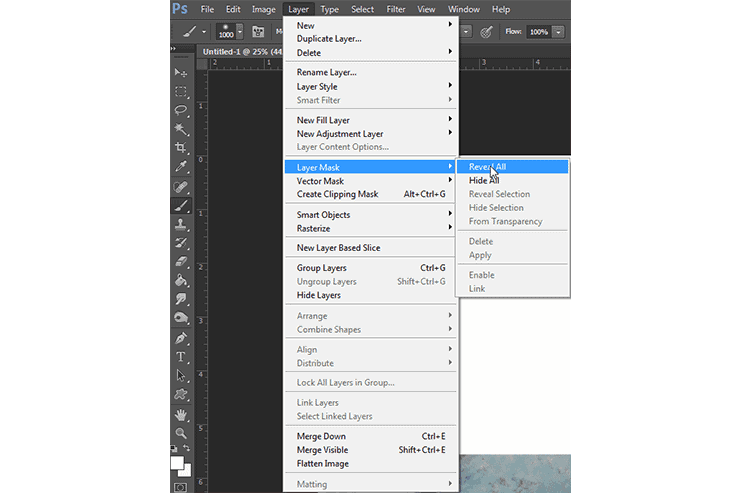
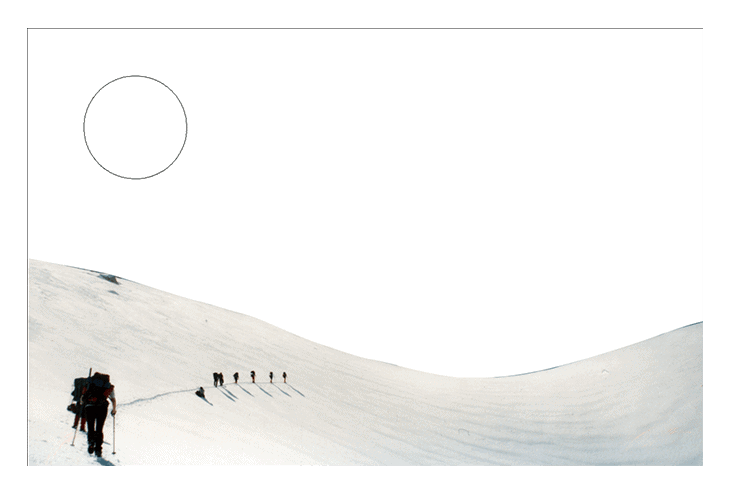
With the mask selected in your layers panel and your selection in the main window you can paint (in black) in the mask to get rid of that mountain and sky. Now again with masks you can draw things back in any time you want unlike destructive editing. You'll end up with a similar result as below.
Step 6
Lets bring in the Rock Bridge photo and do the same to get it extracted from its photo. But here we have another problem, its a desert rock, which doesn't look very good or realistic in our snow scene. With the rock layer selected go to Image > Adjustments > Black and White to get rid of that bright orange color. Next is fixing the tone.
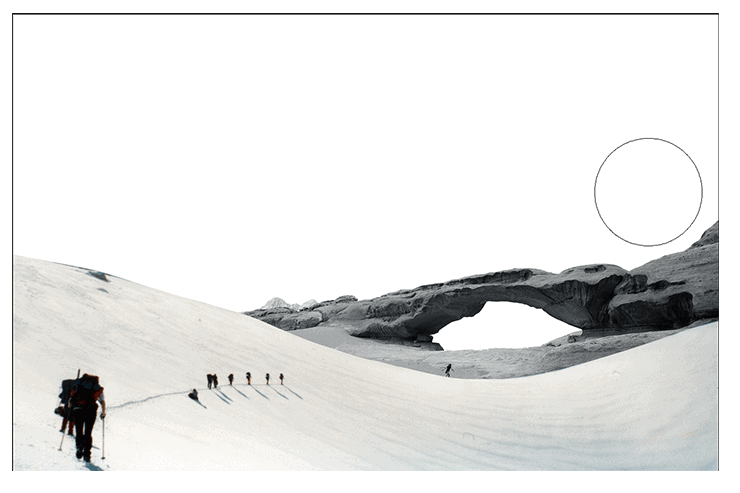
Step 7
For the tone I like to use the levels adjustment (Image > Adjustments > Levels) and with a good bit of adjusting we can get a good looking result that at least looks somewhat realistic. Something important to note about my work flow is that I us Clipping masks quite often. They are fairly simple, all you have to do is right click on any layer and click Create Clipping Mask. It will then only apply to the layer at the bottom of the chain. So this allows you to have adjustment layers and textures and the like all only effect one layer. In this case its the rock bridge we want to adjust and not the snow or the layers we'll be bringing in behind it (the rock bridge layer is behind the first snow layer). At this point go ahead and bring in the mountain and mask it out. Play with a few adjustment layers clipped to the mountain on your own to get comfortable with them before moving on.
5 comments on “How to Create a Cinematic Snowy Mountain Crash Site Scene in Photoshop”
some pict are missing
this is boring
Some links of the images are down...
It is professionnel
is there any tutorial for it ? i will try for sure .