

Make your artwork look like they're from an alternate universe. These Cyberpunk presets work with Photoshop (via the Camera Raw filter) and Lightroom. Download all 788 presets for 90% off.
Step 32
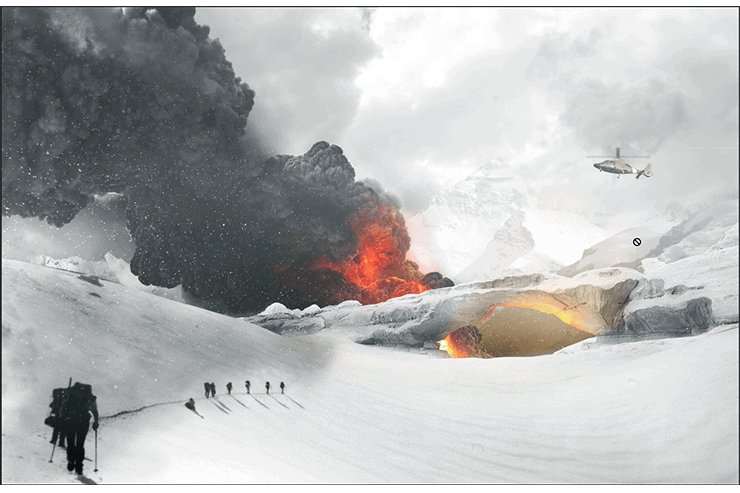
Next little detail is the helicopter, use the stock photo provided and practice using a combination of pen tool, magic wand, and selective color. With the stock photo being on a bright blue background this is pretty straight forward. The rotors might give you some trouble but with the refine edge tool you might have better luck!
Step 33
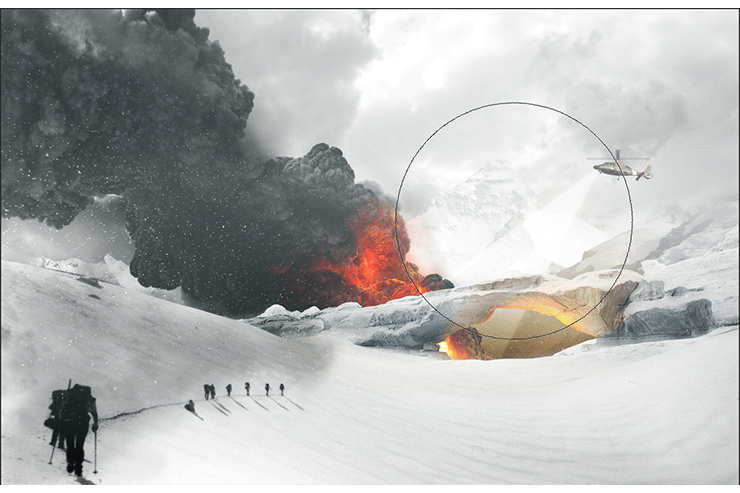
Next lets use the pen tool to draw in the selection for a search light shape, feather it by about 10 PX then on a new layer draw in white with a big fluffy brush. Your going for a nice little gradient.
Step 34
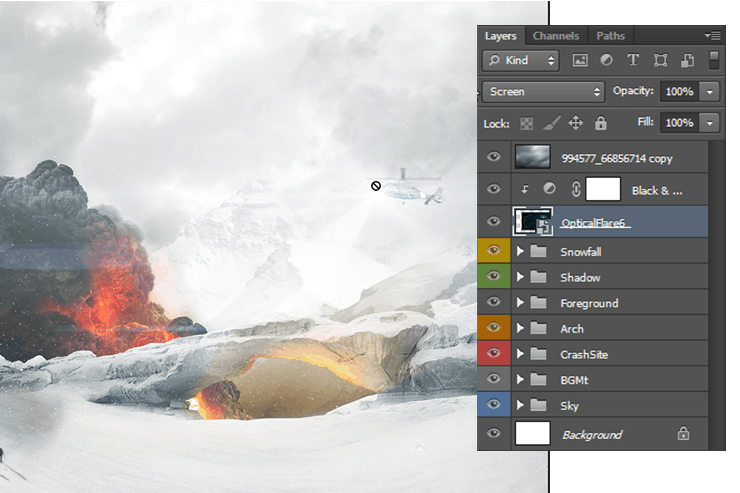
Bring in a nice lens flare that you like, I got mine from a quick Google image search but there are a lot of places to get packs for free (check out PSDBox's pack!) I then used a Black and White clipping mask adjustment layer to get rid of the strong colors and put the lens flare on a screen bending mode to get rid of the black background.
Step 35
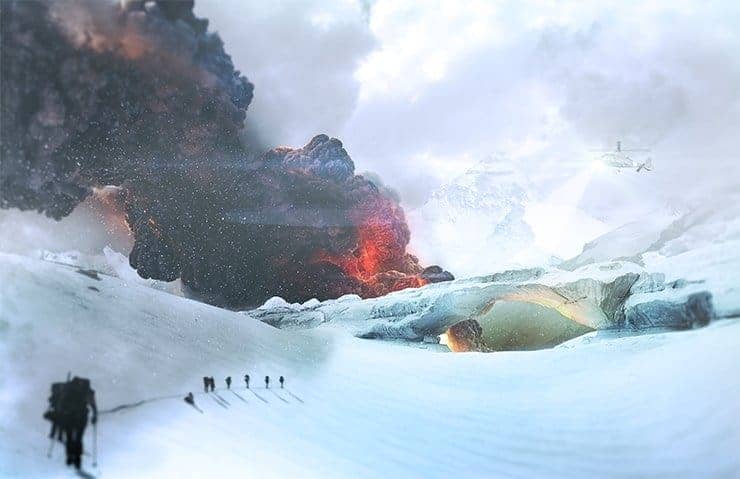
Congrats! The mixing is done! You will have a nice image so far but to get things to really pop its going to need to be mastered. First step is grabbing all the layers into one group, duplicating the group, and then right clicking on the second group and merging all the layers. Sometimes doing this will cause problems with certain blending layers so if things turn out weird the alternative is saving the file out as a Jpeg and opening it on its own. As always there are multiple ways to go about things. Once you have your stuff all condensed to one layer we can begin the mastering. First lets sharpen things up, this will really bring out the detail in the smoke and the snow, go to Filter > Sharpen > Smart Sharpen. That will bring up the menu below, we don't want to overdo it but we want to make things pop. I personally like the settings below!

Step 36
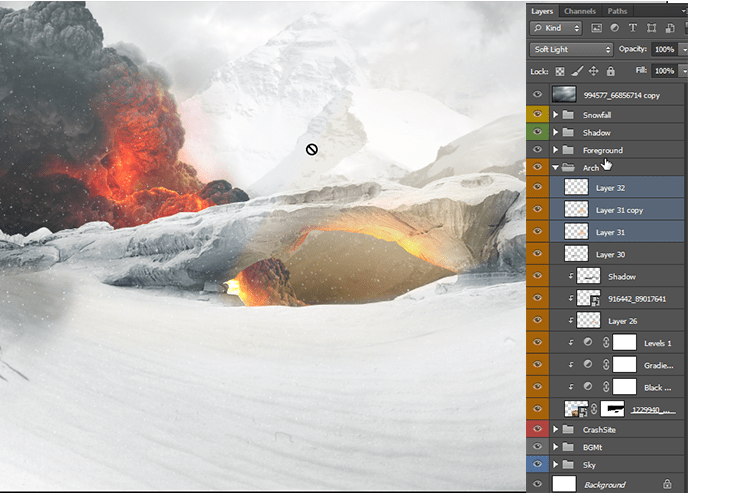
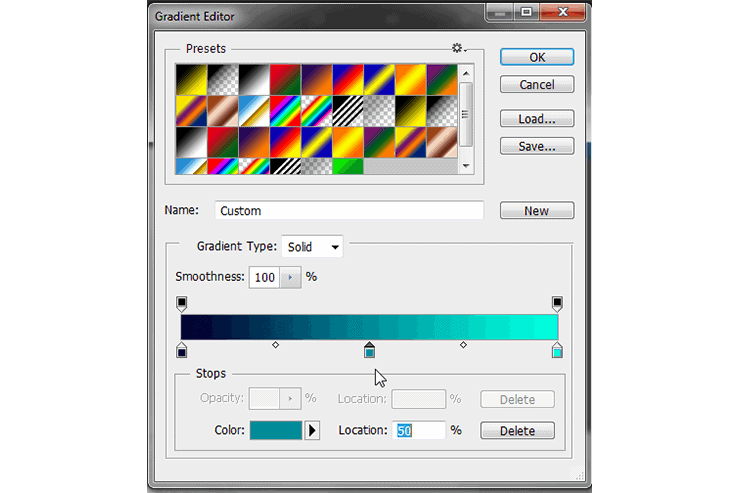
I also like to use gradient map adjustment layers (Layer > New Adjustment Layer > Gradient Map) to bring out nice colors in the arch. My settings are below but I encourage some experimentation here.
Step 37
Its important to note however that the gradient map shouldn't cover the whole image, with the gradient layer selected go to Layer > Layer Mask > Reveal All. This will bring in a layer mask so you can mask out the adjustment layer everywhere but around the arch. Make sure its not a hard edge so soften it with a big brush at a low opacity. I also put a Vibrancy Adjustment layer on top to help bring out the colors, Layer > New Adjustment Layer > Vibrance.
5 comments on “How to Create a Cinematic Snowy Mountain Crash Site Scene in Photoshop”
some pict are missing
this is boring
Some links of the images are down...
It is professionnel
is there any tutorial for it ? i will try for sure .