In this tutorial, I’ll show you how you can create a dark, misty and ominous scene of a dark mountains by combining different stock images. We’ll create a misty scene of mountains and light from afar. You’ll also practice some essential manipulation, blending and lighting techniques.
What you’ll be creating
You will be creating dark landscape matte painting. I have used Photoshop version CC 2014 to create this work but you can use any version from CS onwards will be fine as well.

Tutorial Resources
- Mountains – TheAJDeviant
- Sky – Xdante-Stock
- Waterfall – Pixabay
- Crow – Freeimages
- Birds Brushes– Candymax-Stock
Step 1
Create a new document by selecting File > New. Set the setting as shown in the image below. You can also choose your own document size but make sure it should be wider enough to cover the mountains image.

Step 2
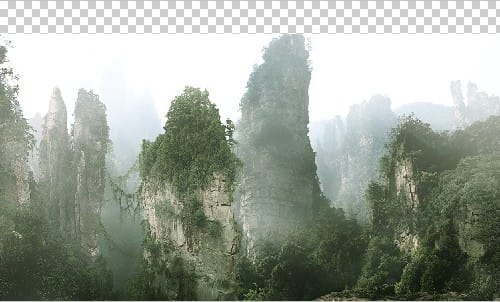
Now place the mountains image by selecting File > Place Embedded. I have scaled it little bit because I don’t want the bottom part of the mountains. You can scale it as you want but remember we don’t need the bottom parts.
Step 3
Add a layer mask to the mountains by selecting the second button of layer panel at bottom right side. Now activate the Gradient Tool by pressing (G) on the keyboard and choose a linear black/white gradient then holding the shift key apply the gradient vertically on the layer mask of mountains layer. Here are the results.

Step 4
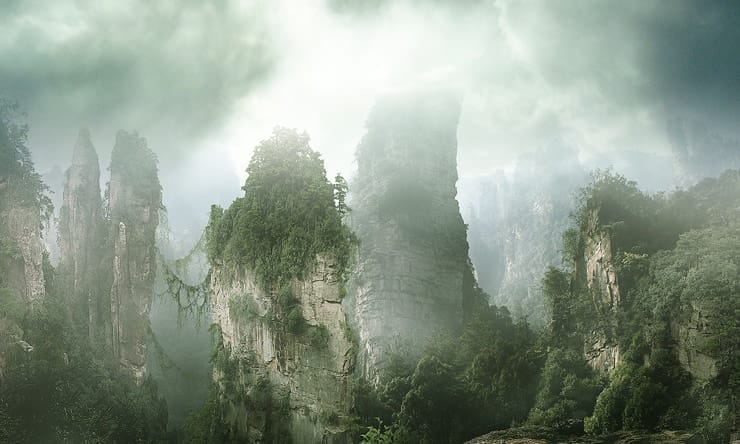
Now place the sky image below the mountains layer. Scale the sky using Free Transform tool by pressing (CTRL + T) on keyboard so it can cover the entire mountains. Here are the results.
Step 5
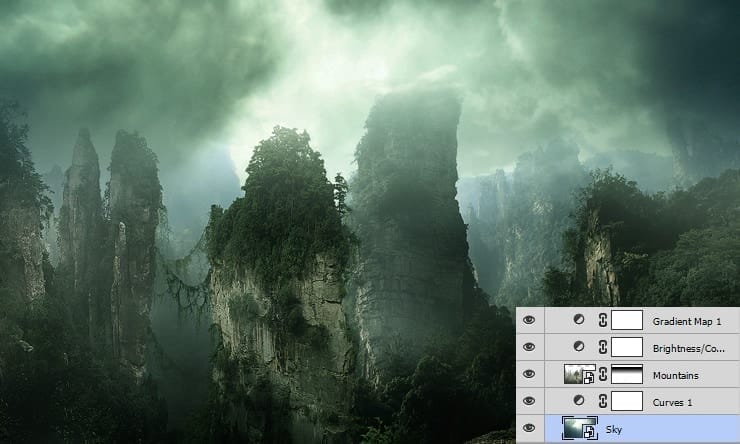
To brighten the sky little I have added a Curves adjustment layer to the sky by clicking on the third button of layer panel (See the image below). Set the setting as shown in the image below.

Step 6
Now, back to the mountains layer then add a Brightness/Contrast and Gradient Map adjustment layer to the entire scene. Set the values as shown in the image.
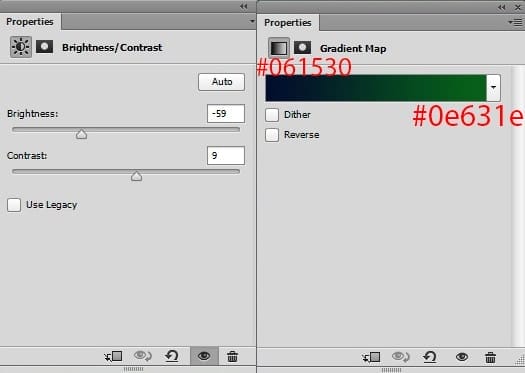
Change the blend mode of gradient map to soft light and reduce the opacity to 55%. Here are the results
Step 7
Continue colouring by applying Color Balance adjustment layer to the entire scene.

Here are the results.

Step 8
Reduce the brightness of scene using a Brigthness/Contrast adjusment layer.
16 responses to “Create This Dark Matte Landscape Composite in Photoshop”
-

Fantastic tutorial…..
-
did you find the mountain image?
-
-
i need video tutorial
-
Awesome
-
beautiful, but a lot of photos to create the tutorial not found
-
Brilliant
-
Hi everyone apologies for broken stock images links.
I just checked the mountains image link, stock provider has removed it from DA (I don’t know why). Crow is from freeimages.com and they just upgraded their website with new design and all the id of images has been changed.
New link for crow is here http://www.freeimages.com/photo/crows-1336759You can also download psd file for mountains image.
-
No mountain image in link !
-
I copyed the missing mountain image from the psd file which is at the end of this tutorial
-
Good thinking Pete !
-
-
Where is the file “Mountains”. Link gives error: “Oups”
-
Don’t try this tutorial.
Not all the pic’s is availble -
Great tut, but how to find these images
-
eXCELENTE ES RICO SIEMPRE APRENDER OTROS TOQUES GRACIAS
-
awesome
-
Thanks Bro !
Leave a Reply to Arun PrasadCancel reply