Turn any photo into a dot grid artwork with these Photoshop actions. You'll get great results with dots that change size. They get larger in brighter areas and smaller in darker areas. Free download available.

Step 5
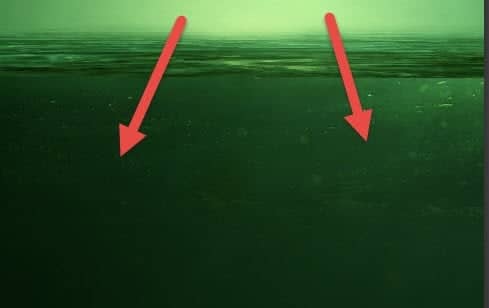
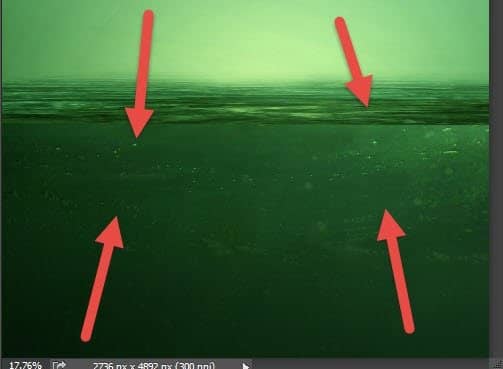
Create a new Curves Adjustment Layer by going to Layer > New Adjustment Layer > Curves. Use the settings shown below to darken and increase contrast and then clip the Curves Adjustment Layer to the underwater layer by Alt-clicking between the two in the layer palette.
Clipping a layer means that the upper layer will show only through the visible pixels of the bottom layer thus leaving the rest of the scene unaffected – in our case the darkening effect of the Curves Adjustment Layer will be applied only to the underwater layer.

Step 6
Now let’s change the color of the underwater layer so that it will match the rest of the scene. Create a new Color Balance Adjustment Layer by going to Layer > New Adjustment Layer > Color Balance and using the settings shown below. Clip this layer to the underwater layer by Alt-clicking between the Color Balance layer and the Curves layer. You can have multiple clipped layers – layers that will show only through the bottom layer.
You can find all the adjustments layer used in this tutorial under Layer > New Adjustment Layer > … so from now on I will simply just say the name of the needed adjustment layer – you know where to find it.

Step 7
Let’s add some darkness to the water. Create a new layer (Ctrl + Shift + Alt + N) and set the blending mode to Overlay. Choose the standard round soft brush (B) and set the opacity to 30%. Paint with black on the lower section of the underwater. If the effect is not strong enough repeat this step with another layer set to Overlay – you can fine tune the final result by lowering the Opacity of the duplicated layer.

Step 8
Let’s add some lightness to the upper region of the underwater layer. Create a new layer, set the blending mode to Overlay and paint with a round soft brush with white over the upper section of the underwater.

Step 9
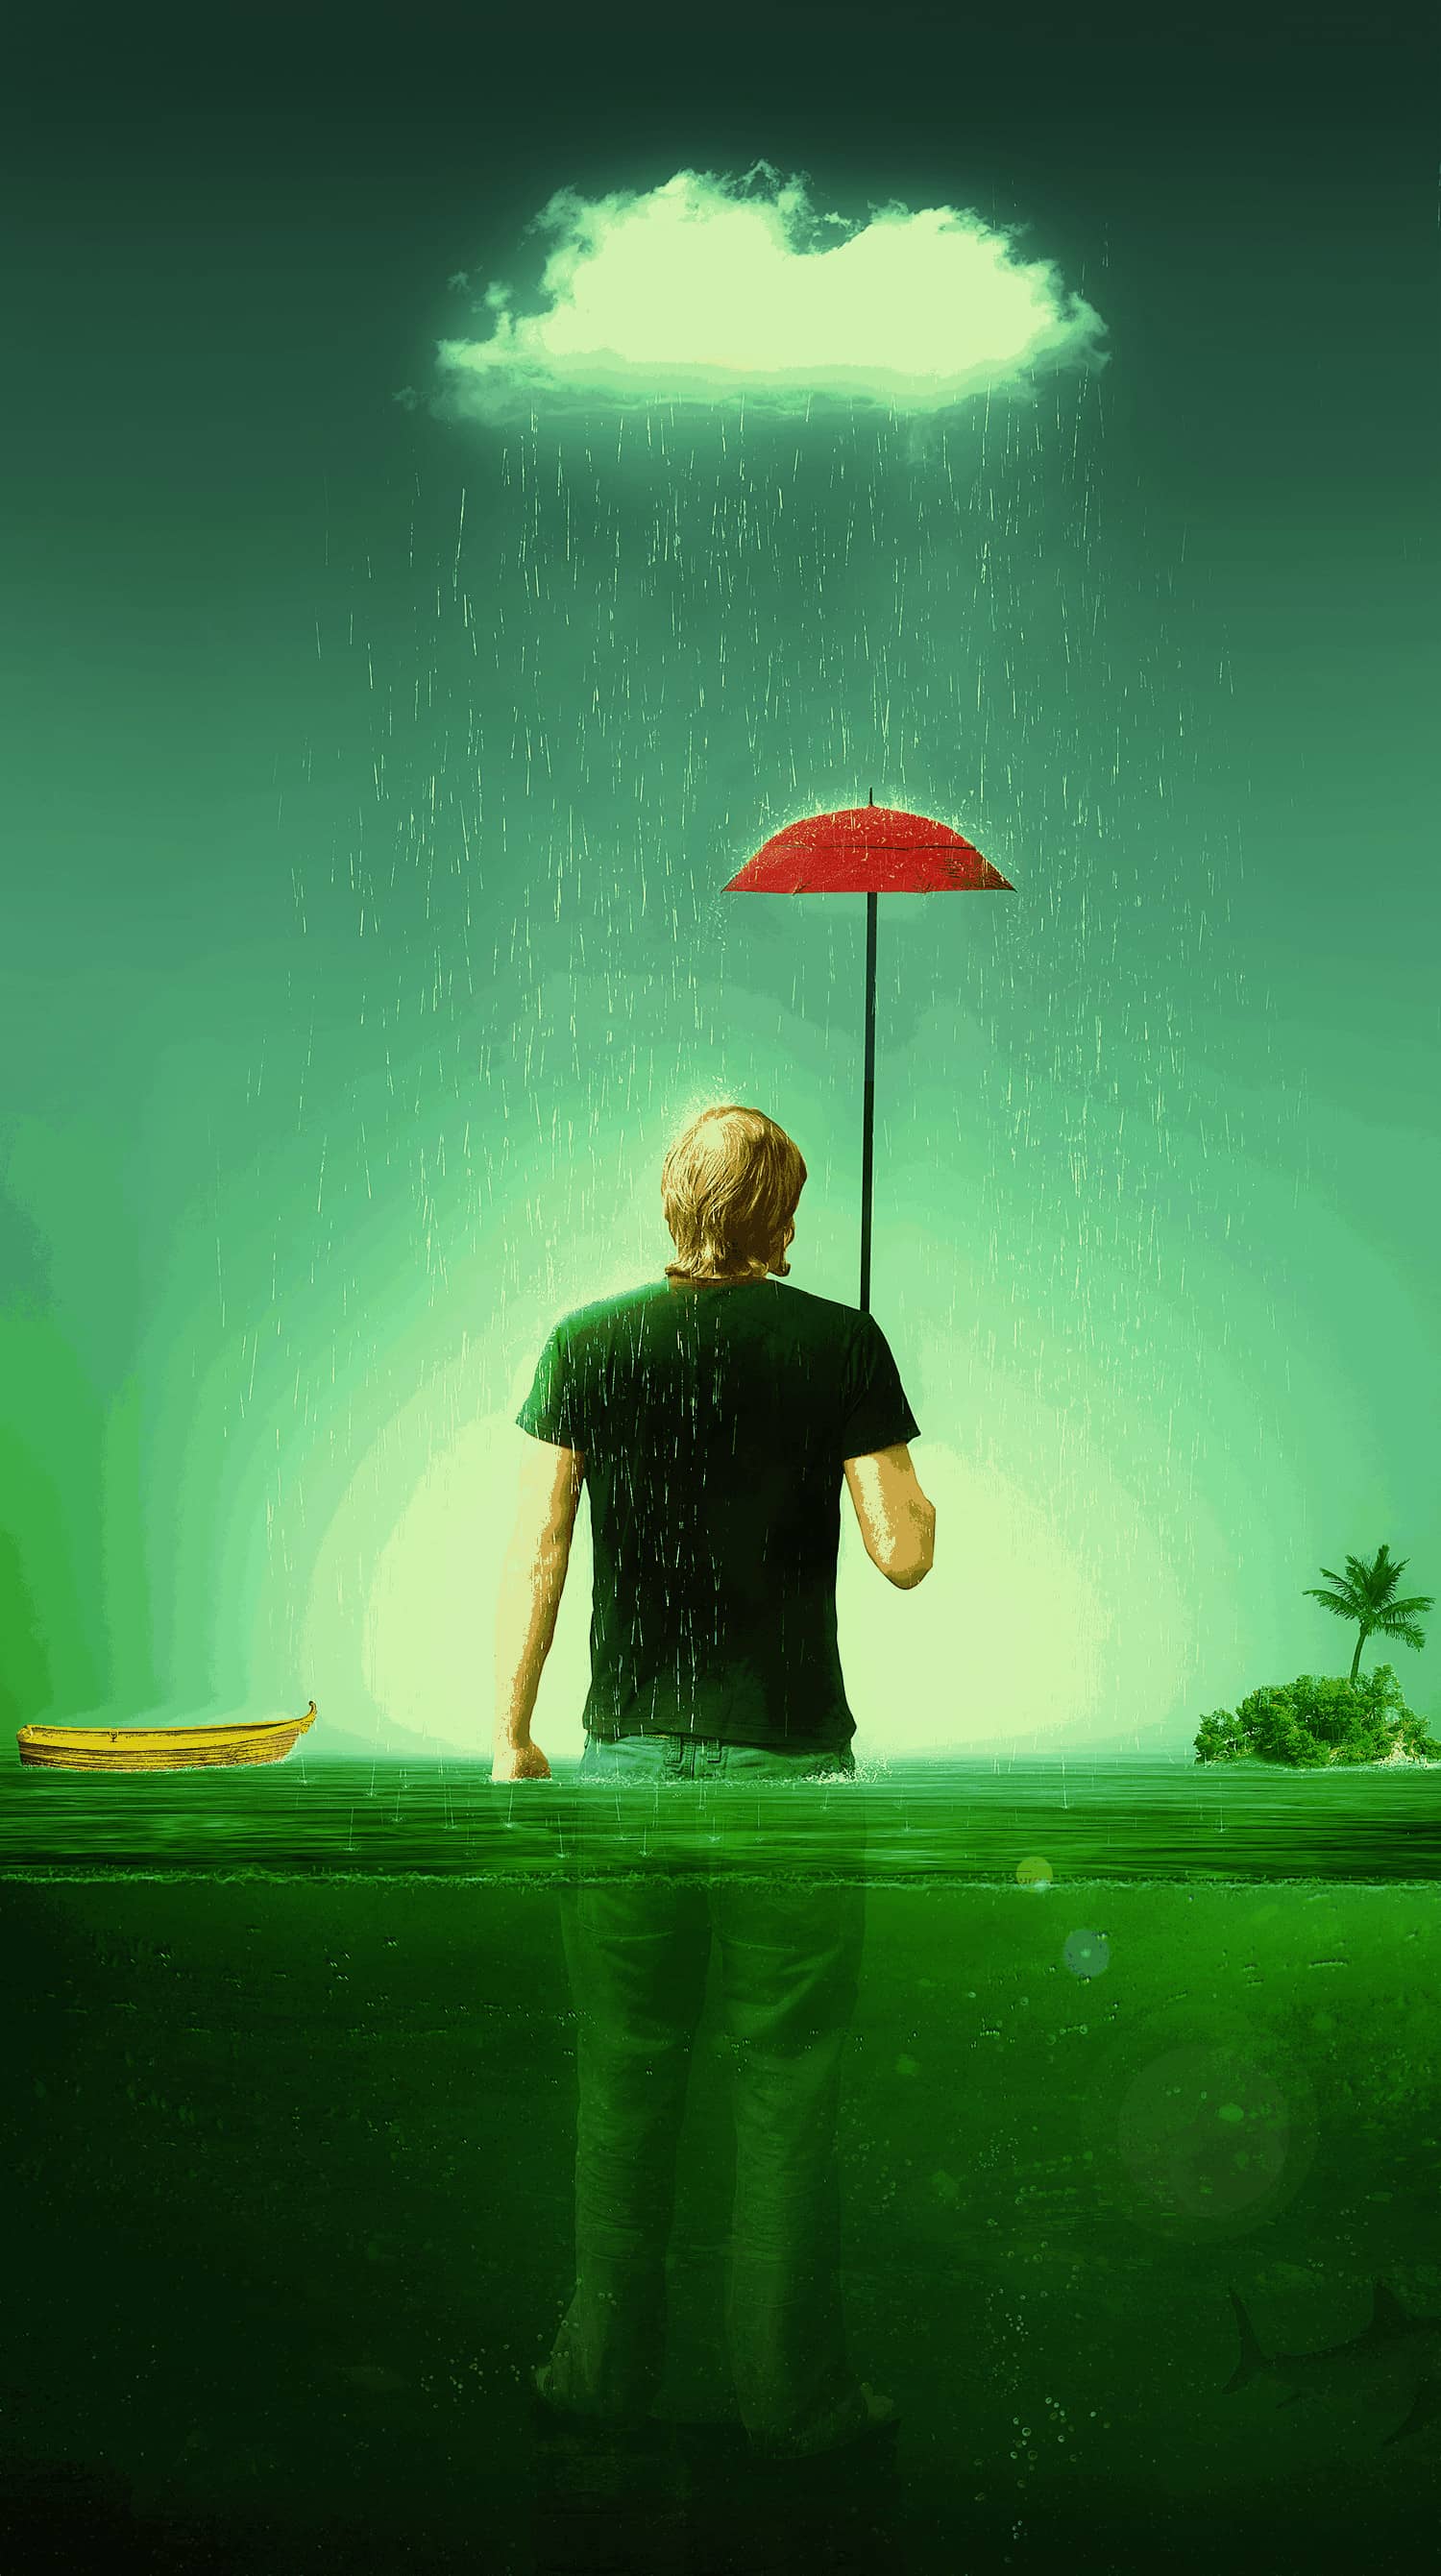
Let’s add a center source of light. Create a new layer and set the foreground color to #c4ec9e. With the round soft brush at 70% Opacity click a couple of times in the center of the scene to achieve the result shown below.


11 comments on “Create a Melancholic Scene of a Guy Standing in the Rain”
Thank you for the fucked up tutorial, you jumped from step 19 to 80, i have lost 2hrs of my time for nothing, just to get stuck, such a waste of time , grrrrr.
And you can follow the tutorial until step 19 then you get jumped onto step 80 :D
Alright everyone, surprise surprise, you all got trolled :D
https://www.youtube.com/watch?v=oavMtUWDBTM
I really like this art... reminds me one my favorite 68´s song...everyday people---
Sometimes I'm right and I can be wrong
My own beliefs are in my song
The butcher, the banker, the drummer and then
Makes no difference what group I'm in
I am everyday people, yeah, yeah!
I can't find the chalk brush. I downloaded a couple but none of them produce the same results with the settings provided.
Thanks for a great tut, though. I learned a lot.
-(((
I don't know what happened with your site but...
I can't see any steps in this tuts(((
and an other tuts (2-too)
where is:
step 1
step 2
step 3
,,,
???
hope you understand me and will help me to use your site)))
Adblock is blocking the article div. Whitelist the div or stop using Adblock and use Adblock Plus or Ghostery instead.
Excellent tutorial thank you
Excellent tutorial, Thank you
Beautiful beautiful beautiful
Where is the tutorial? I just can see the image.
Awesome <3 Vry nice TUT " i'm lovin' it <3 (y)