Download Lightroom presets and LUTs, absolutely free. Use the presets to add creativity and style to your photos.

Step 55
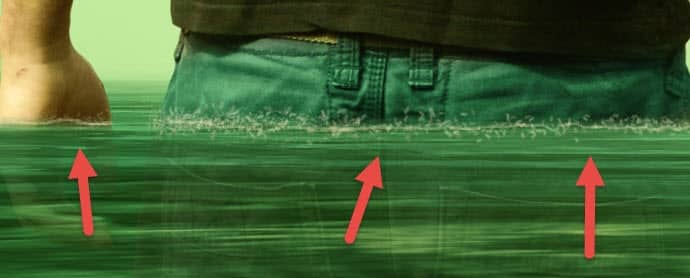
Now that we’re done with the umbrella let’s add some splashes on the guy. Create a new layer and paint some splashes on the jeans and the hand where they enter underwater with the Dynamic Splash brush.
Step 56
From the splashes folder you extracted at step 49 select one splash you like and place it near the jeans of the guy where he enters the water. Use the Free Transform and Warp (just like at step 49) to achieve a pleasant splash effect. Add a layer mask to hide the unwanted splashes. Add another splash near the hand. If one of the splashes is too bright you can lower its opacity and if it is too dark you can add a Levels Adjustment Layer (clip it to the desired splash) and drag the left dark arrows towards the right to lighten.

Step 57
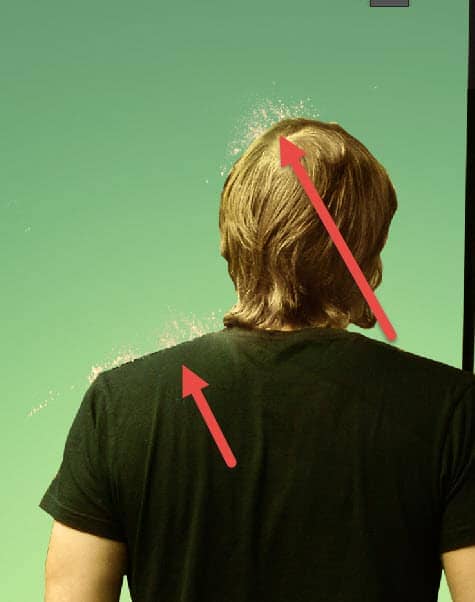
Using the techniques described at steps 49 and 54 add two more splashes – one on the hair and one on the shoulder.
Step 58
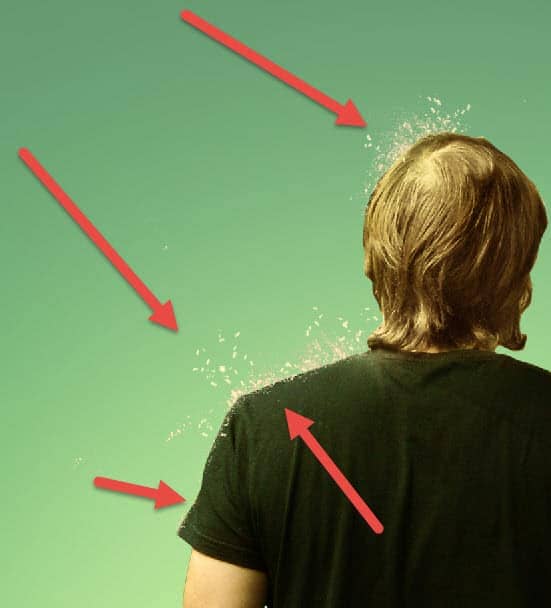
Use the Dynamic Splash brush to add more randomly sized splashes on the hair and on the shoulder.
Step 59
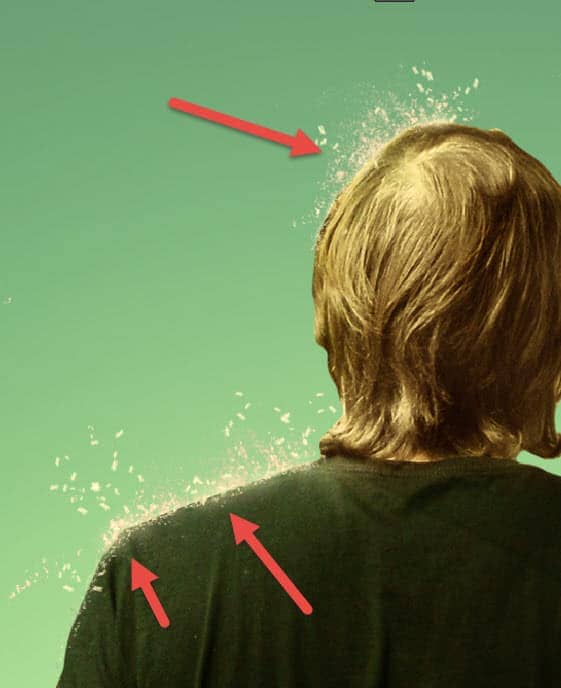
On a new layer set to Overlay blending mode paint with a white small chalk brush some highlights on the shoulder and hair. On a new layer set to Color Dodge paint with a white round soft brush some mist on the shoulder and hair.
Step 60
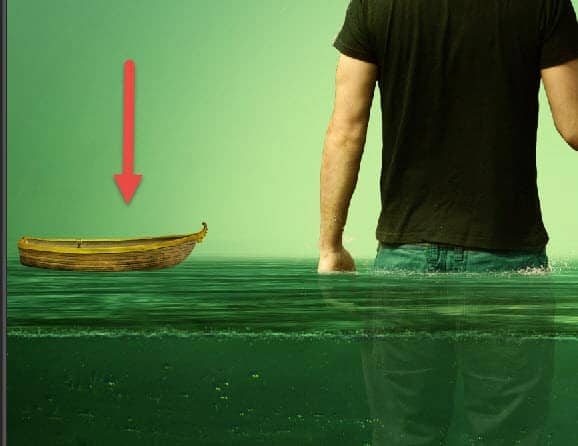
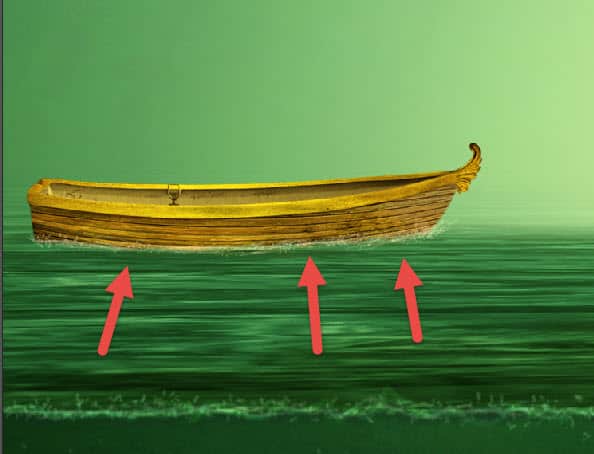
Now let’s start adding some object to our awesome scene. Open the file “Boat” and copy/paste it in our scene. Place the boat on the surface of the water as shown below and resize it with Ctrl + T.
Step 61
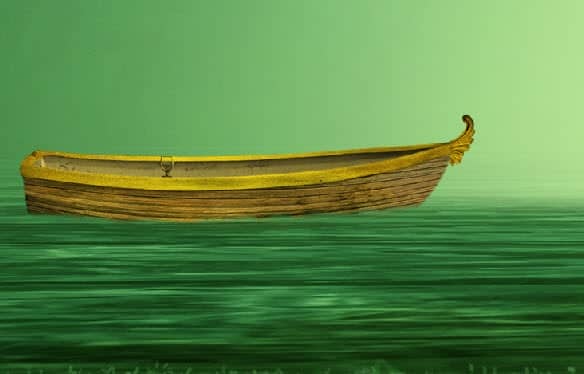
Add a layer mask to the boat and with the round soft brush hide some of the bottom part of the boat to make it look submerged into water.
Step 62
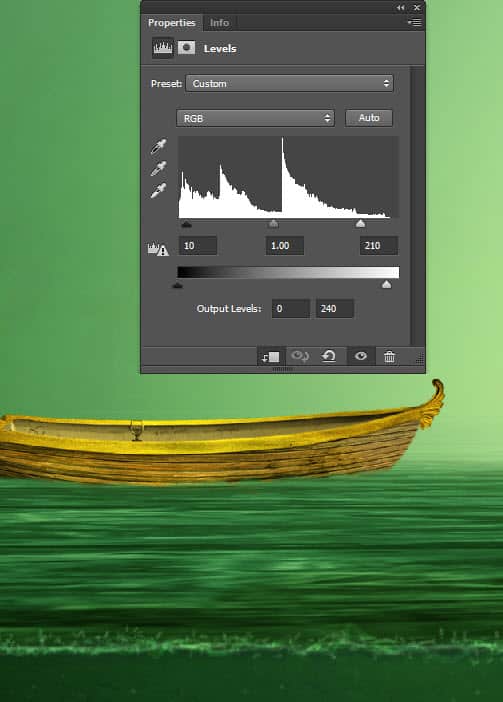
Create a new Levels Adjustment Layer with the settings shown below and clip it to the boat layer to lighten it.
Step 63
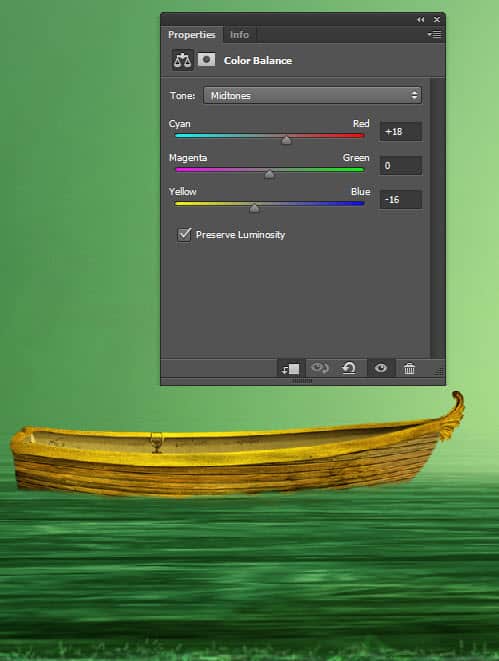
Create a Color Balance Adjustment layer with the settings shown below and clip it to the boat layer to make it’s hue warmer.
Step 64
On a new layer add some white splashes with the Dynamic Splash brush where the boat enters the water.
Step 65
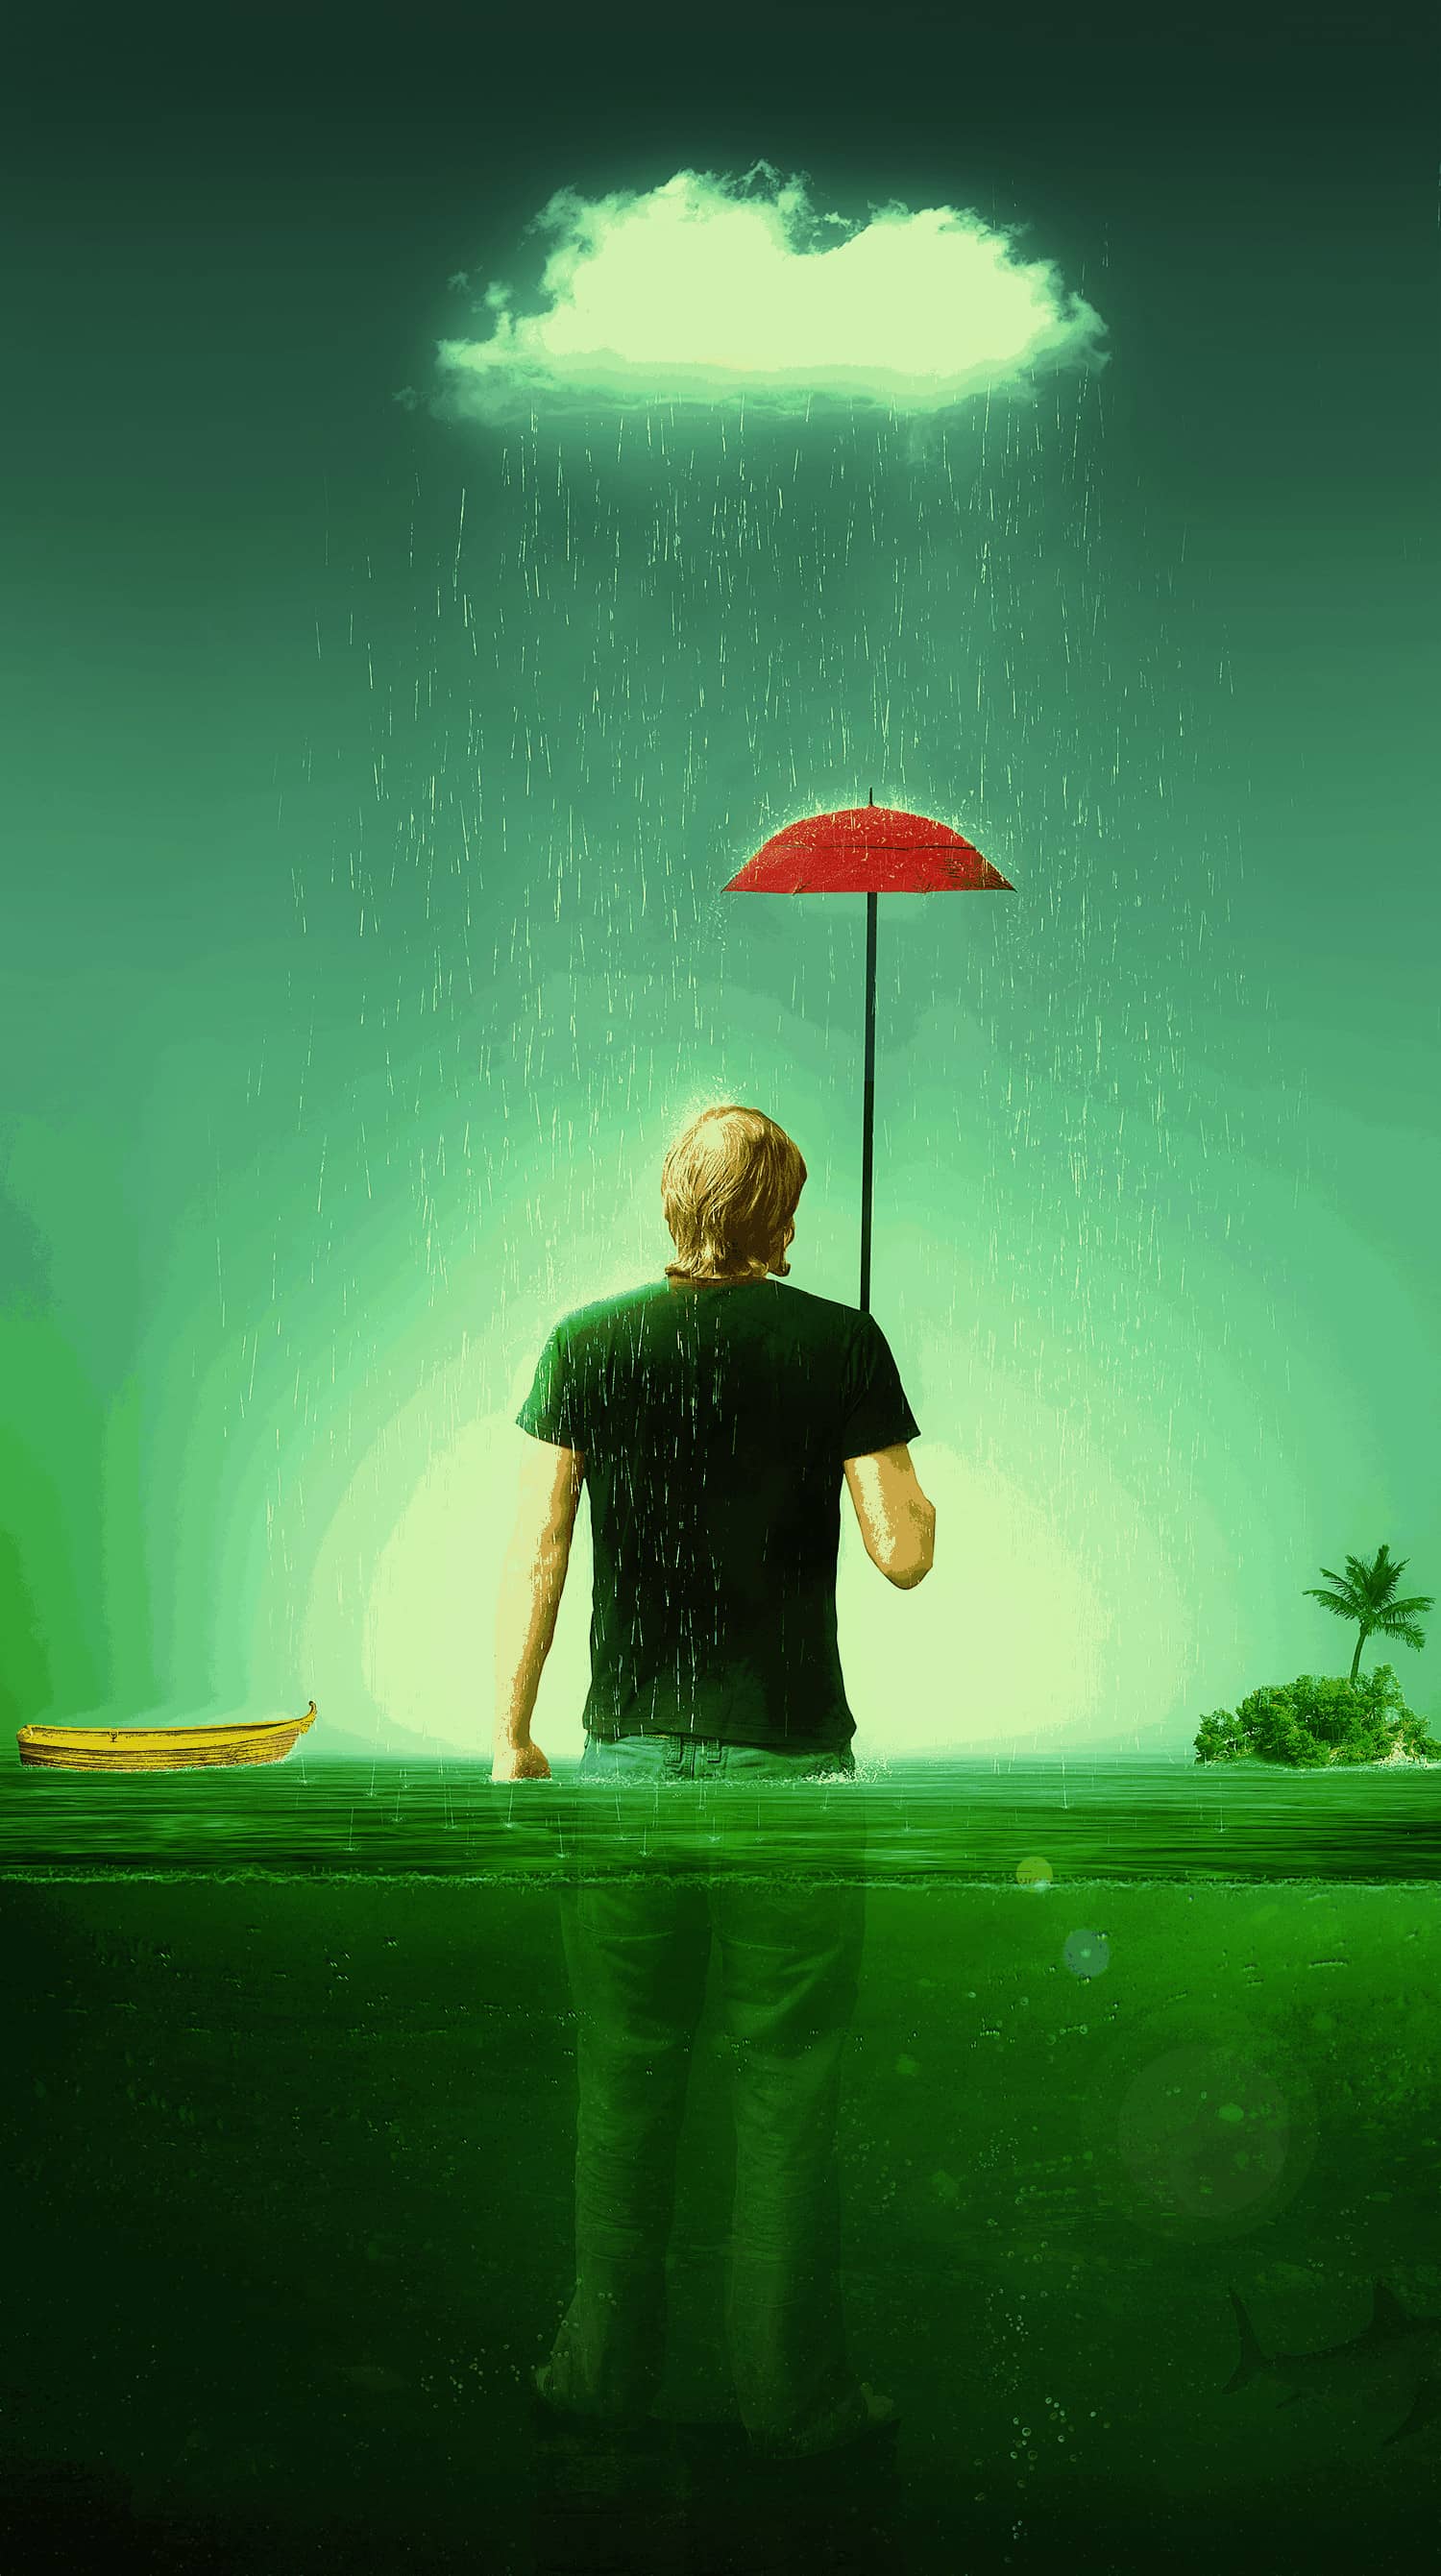
Open the file “Islands” and with the Quick Selection Tool (W) make a rough selection of the green island on the right. Copy/paste this selection into our scene and place it on top of the water on the right side.


11 comments on “Create a Melancholic Scene of a Guy Standing in the Rain”
Thank you for the fucked up tutorial, you jumped from step 19 to 80, i have lost 2hrs of my time for nothing, just to get stuck, such a waste of time , grrrrr.
And you can follow the tutorial until step 19 then you get jumped onto step 80 :D
Alright everyone, surprise surprise, you all got trolled :D
https://www.youtube.com/watch?v=oavMtUWDBTM
I really like this art... reminds me one my favorite 68´s song...everyday people---
Sometimes I'm right and I can be wrong
My own beliefs are in my song
The butcher, the banker, the drummer and then
Makes no difference what group I'm in
I am everyday people, yeah, yeah!
I can't find the chalk brush. I downloaded a couple but none of them produce the same results with the settings provided.
Thanks for a great tut, though. I learned a lot.
-(((
I don't know what happened with your site but...
I can't see any steps in this tuts(((
and an other tuts (2-too)
where is:
step 1
step 2
step 3
,,,
???
hope you understand me and will help me to use your site)))
Adblock is blocking the article div. Whitelist the div or stop using Adblock and use Adblock Plus or Ghostery instead.
Excellent tutorial thank you
Excellent tutorial, Thank you
Beautiful beautiful beautiful
Where is the tutorial? I just can see the image.
Awesome <3 Vry nice TUT " i'm lovin' it <3 (y)