Turn any photo into a dot grid artwork with these Photoshop actions. You'll get great results with dots that change size. They get larger in brighter areas and smaller in darker areas. Free download available.
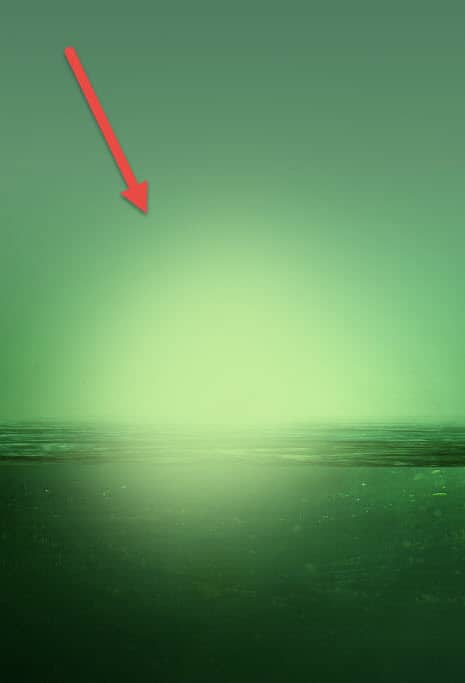
Step 10
Add a layer mask to the light source layer and use the Gradient Tool in the layer mask to hide the area that is shown over the water – basically we want to show the light source only on the sky.
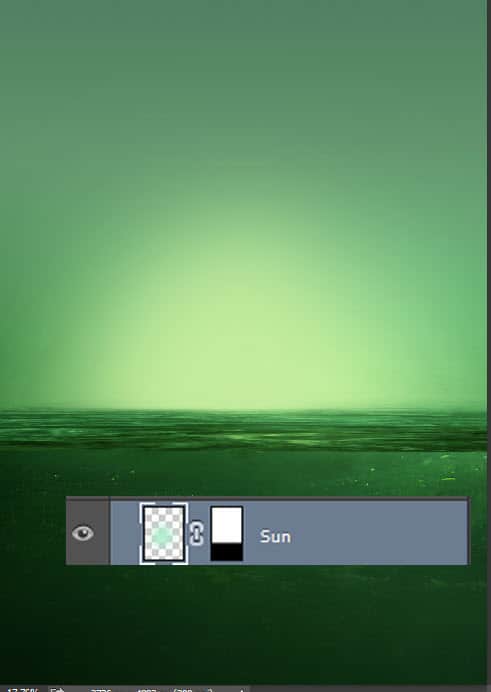
Step 11
Let’s create some thin waves that will separate the surface of the water from the underwater. First we will make a custom brush that will use for waves and splashes. Select the chalk brush and open the Brush window (Window > Brush). Use the settings shown below to create a dynamic splash brush.
Save the new brush preset (otherwise when you’ll select another brush these settings will be set to default) by clicking on the button shown below in the Brush window and choosing “New Brush Preset”. Give it a name (I named it Dynamic Splash) and click ok.

Step 12
Make a new layer and use the Dynamic Splash brush you created at the previous step to create some small waves/splashes on the line that separates the surface of the water from the underwater.
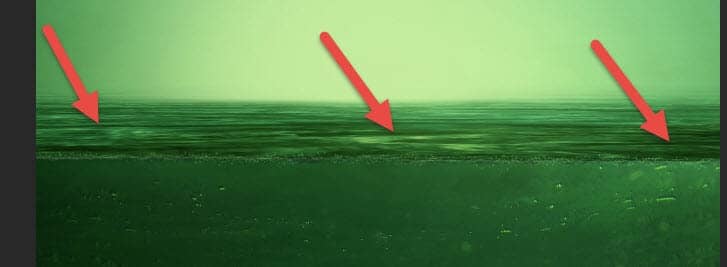
Step 13
Create a new layer and change the blending mode to Overlay. Use the standard chalk brush (color – white, size – 2px, opacity – 60%) to create some more random squiggly lines over the splashes we created at the previous step.

Step 14
Create a new layer and set the blending mode to Color Dodge. Use the same chalk brush you used at the previous step to create some more shiny lines that will separate the water surface from the underwater.
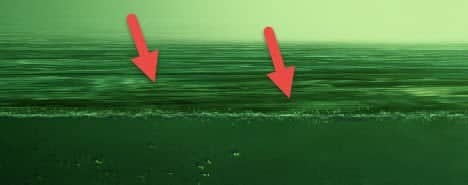
Step 15
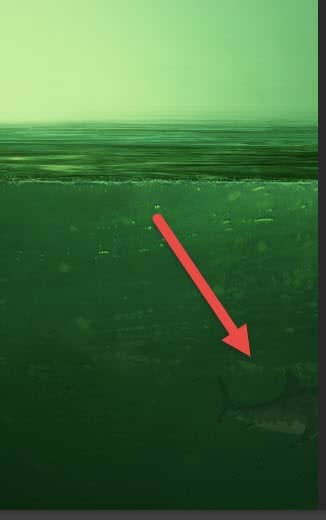
Let’s add some marine creatures to our scene. Open the file “Shark”. You’ll see multiple versions of the shark – select one you like, copy it and paste it in our scene (use the Rectangular Marquee Tool – M – to make a selection of the shark you like). Convert it to a smart object and place the shark as shown below. Lower the opacity to 30% to have the shark blend with the water.
Step 16
Create a Levels Adjustment Layer and use the settings show below to darken. Clip this layer to the shark layer.

Step 17
Make a new layer and set the blending mode to Overlay. Clip this layer to the shark layer and paint some subtle highlights (with a round soft brush and white as foreground color) as shown below.


11 comments on “Create a Melancholic Scene of a Guy Standing in the Rain”
Thank you for the fucked up tutorial, you jumped from step 19 to 80, i have lost 2hrs of my time for nothing, just to get stuck, such a waste of time , grrrrr.
And you can follow the tutorial until step 19 then you get jumped onto step 80 :D
Alright everyone, surprise surprise, you all got trolled :D
https://www.youtube.com/watch?v=oavMtUWDBTM
I really like this art... reminds me one my favorite 68´s song...everyday people---
Sometimes I'm right and I can be wrong
My own beliefs are in my song
The butcher, the banker, the drummer and then
Makes no difference what group I'm in
I am everyday people, yeah, yeah!
I can't find the chalk brush. I downloaded a couple but none of them produce the same results with the settings provided.
Thanks for a great tut, though. I learned a lot.
-(((
I don't know what happened with your site but...
I can't see any steps in this tuts(((
and an other tuts (2-too)
where is:
step 1
step 2
step 3
,,,
???
hope you understand me and will help me to use your site)))
Adblock is blocking the article div. Whitelist the div or stop using Adblock and use Adblock Plus or Ghostery instead.
Excellent tutorial thank you
Excellent tutorial, Thank you
Beautiful beautiful beautiful
Where is the tutorial? I just can see the image.
Awesome <3 Vry nice TUT " i'm lovin' it <3 (y)