Download Lightroom presets and LUTs, absolutely free. Use the presets to add creativity and style to your photos.
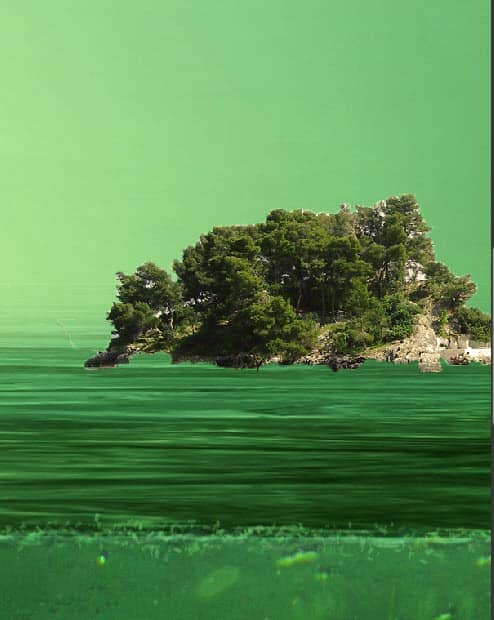
Step 66
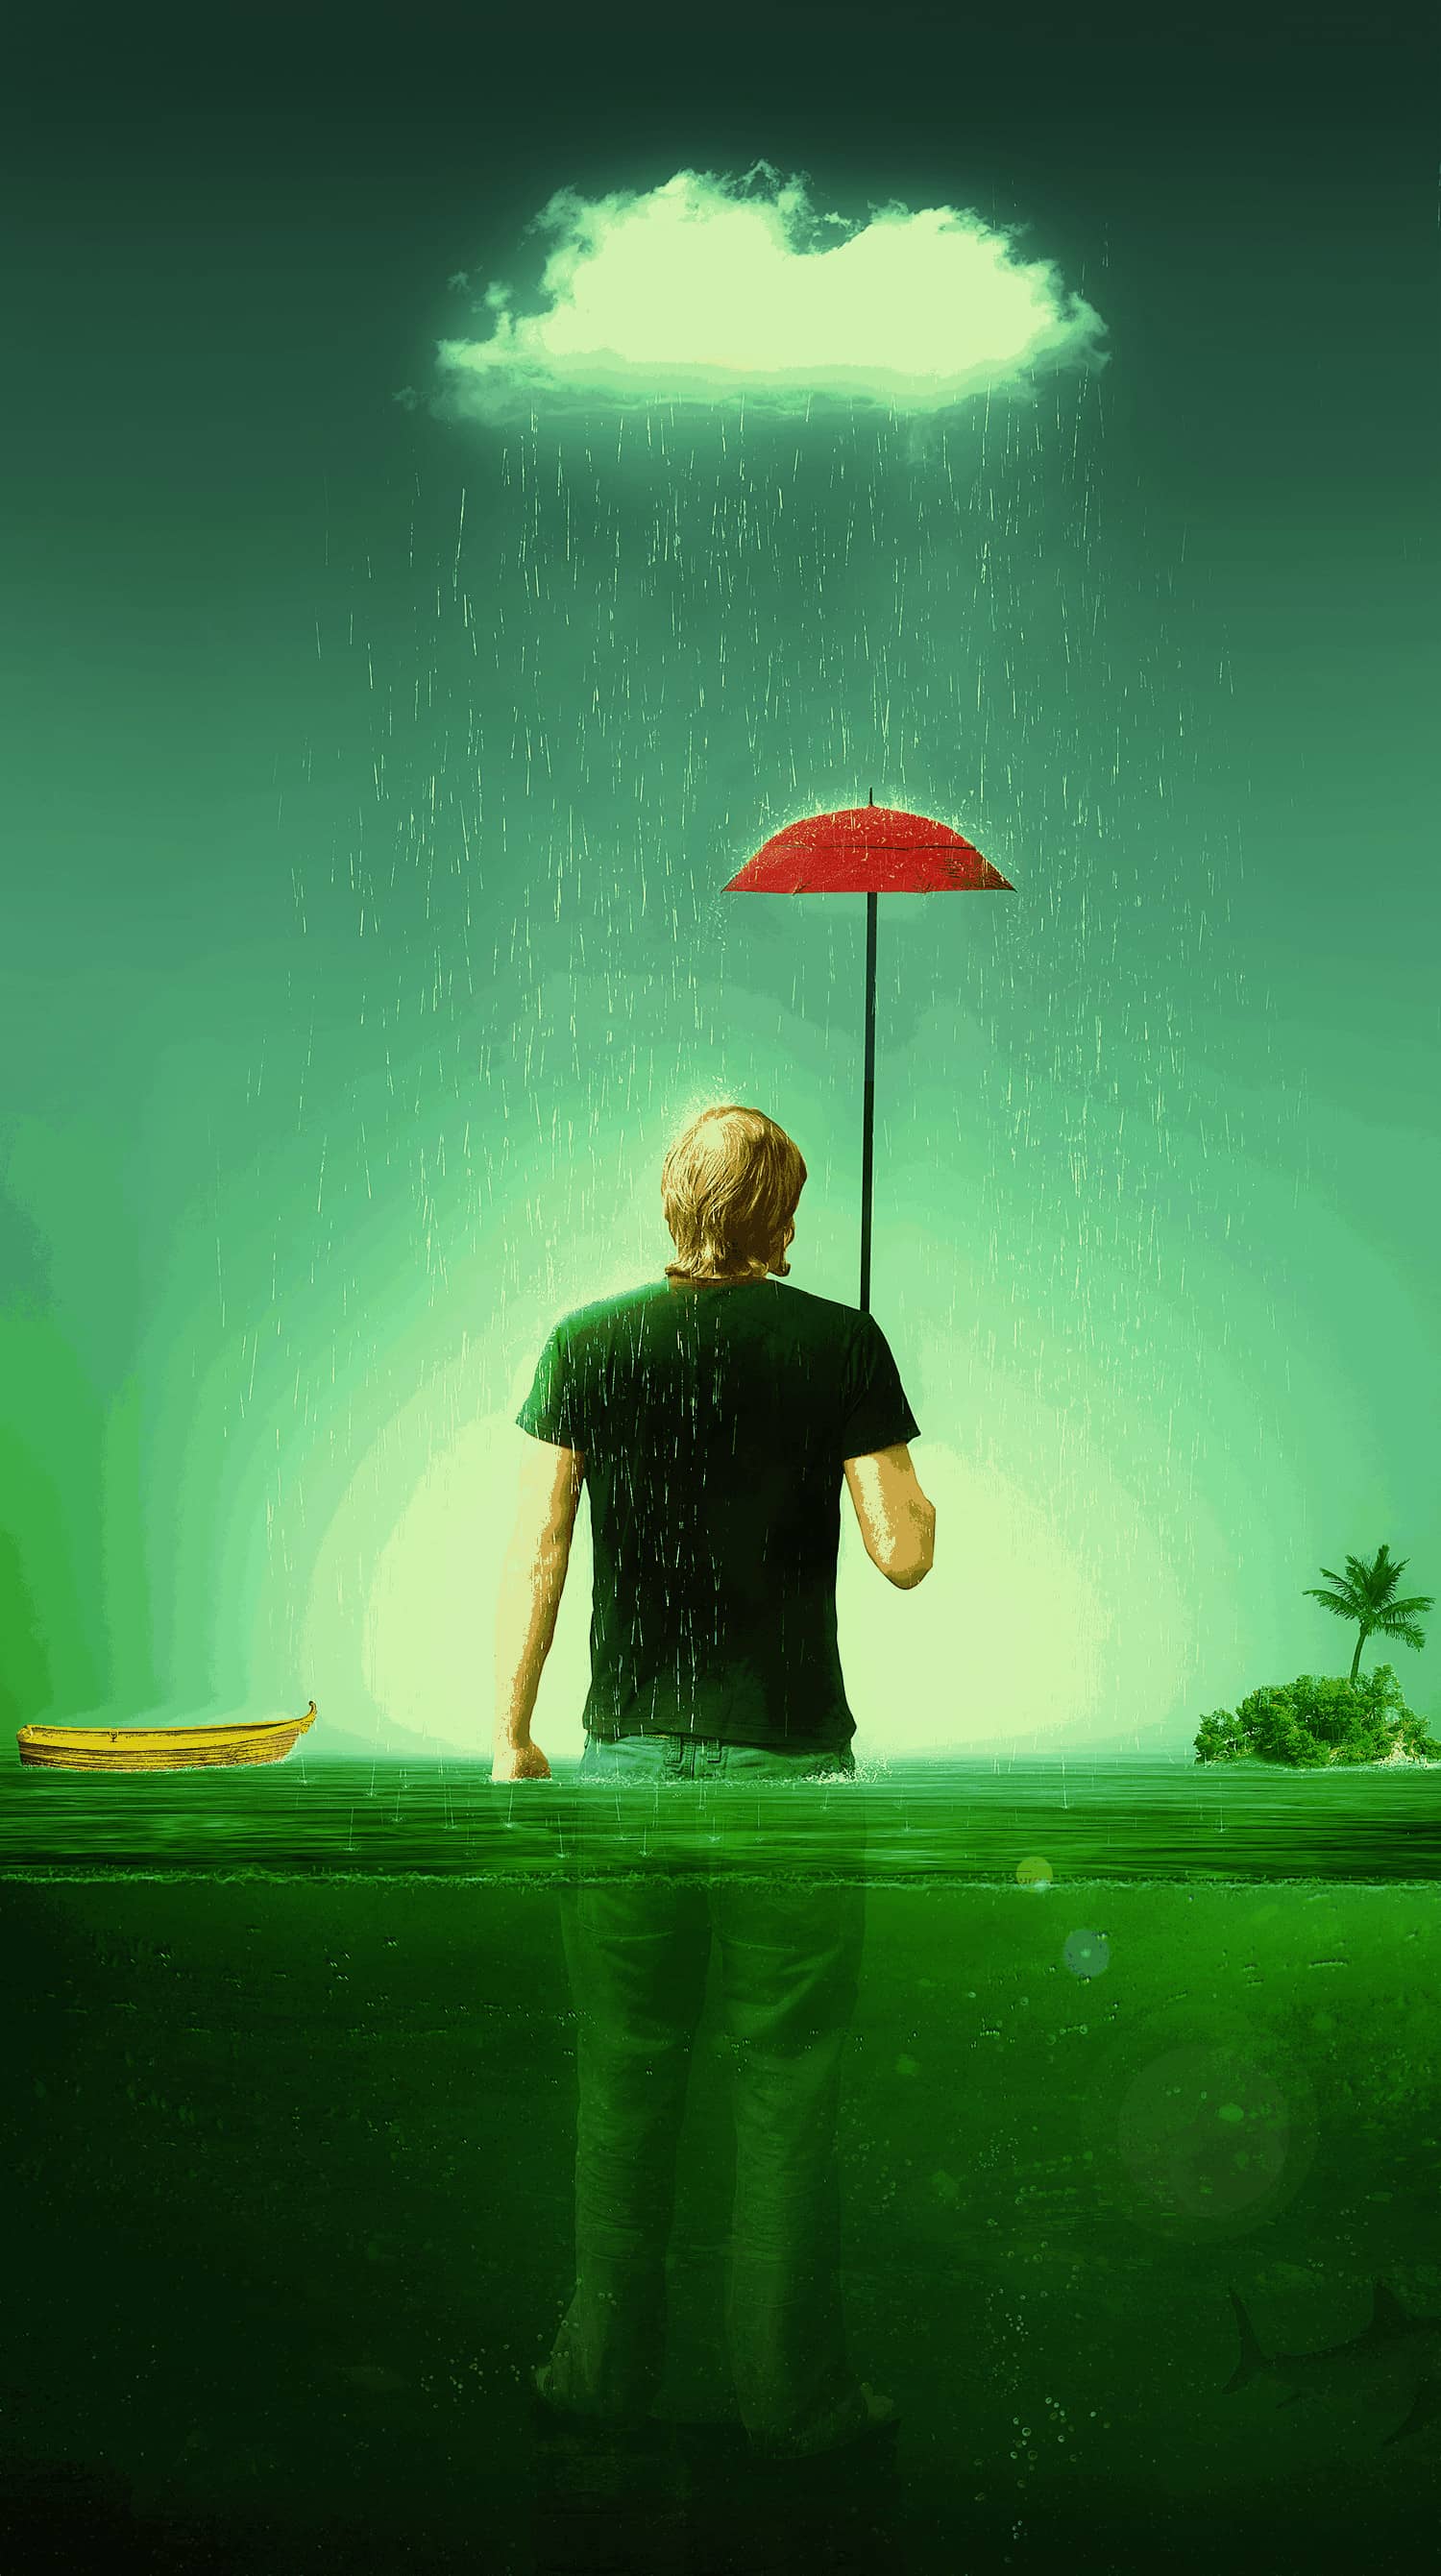
Add a layer mask to the island layer and with a round soft brush tool hide the bottom part of the island to give the impression that it is in the water.
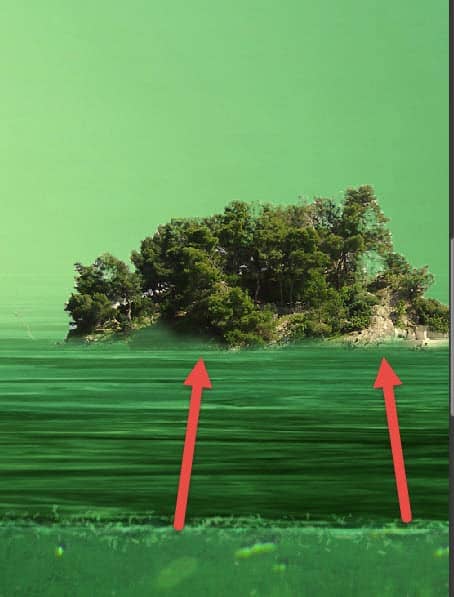
Step 67
Create a Color Balance Adjustment Layer and clip it to the island. Use the settings shown below to give the island a green hue.

Step 68
Use the Dynamic Splash brush to create some waves where the island meets the water (use a new layer of course).
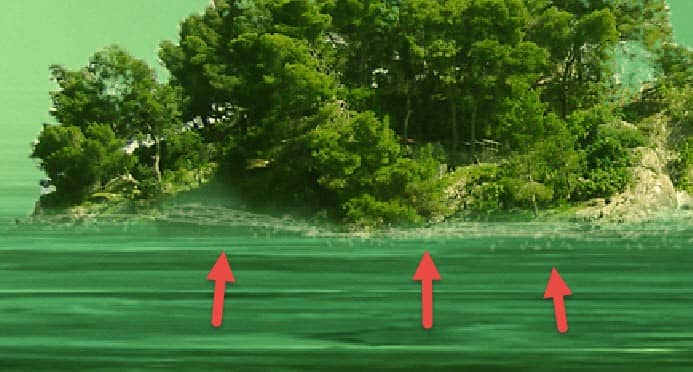
Step 69
Open the file “Palm” and copy/paste the palm into our scene. Resize the palm and place it over the island as shown below. Use a layer mask to hide the bottom parts of the palm tree.
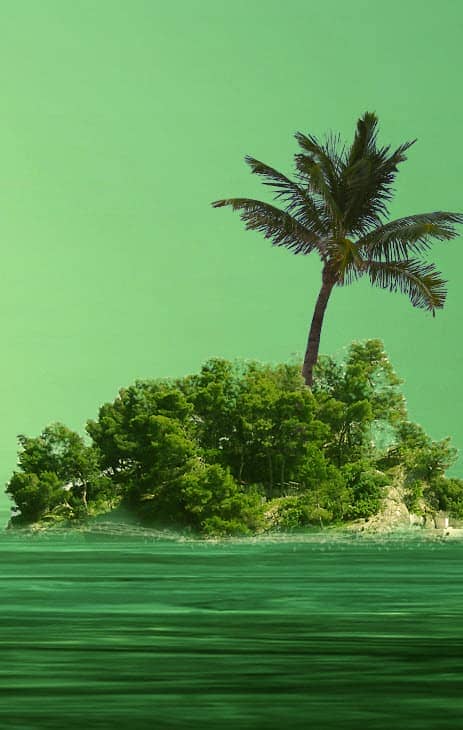
Step 70
Create a Levels Adjustment Layer with the settings shown below and clip it to the palm tree layer to darken it.
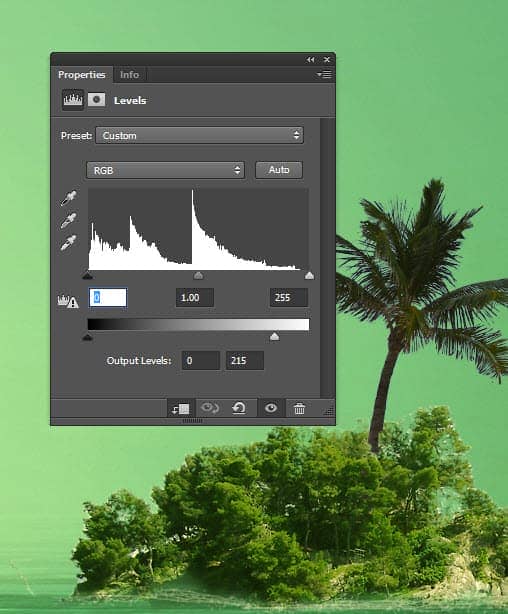
Step 71
Create a Color Balance Adjustment Layer with the settings shown below and clip it to the palm tree layer to match its color with the island overall color.
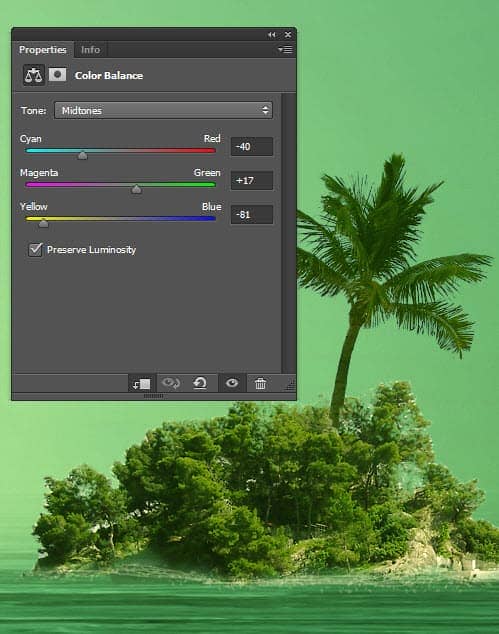
Step 72
Download and import the “Rain Brush” by double clicking on the .abr file. On a new layer use one of the rain brushes to create some random white rain coming from above. I used two layers to have more option for fine tuning. Don’t worry about extra rain – we’ll get rid of it in the next step.

Step 73
Use layer masks on the two rain layers to hide the rain that is showing on the underwater section of the scene. I also grouped the two rain layers together and added a layer mask to the group where I kept hiding sections of the rain that were not appropriate. We are going to add later in this tutorial a cloud but for now let’s keep going.

Step 74
I wanted to simulate the way the water splashes when a rain drop hits the surface so here’s how I did it. First create a new layer and with the Dynamic Splash brush paint some elliptical splash groups wherever a rain drop is near the water surface. Do this for all the rain drops that are near the water surface.
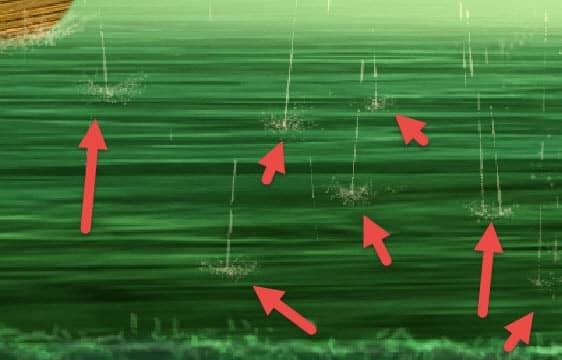
Step 75
Create a new layer and set the blending mode to Color Dodge. Sample a green color from the water and with a round soft brush at 30% opacity paint in the middle of each splash you created at the previous step.
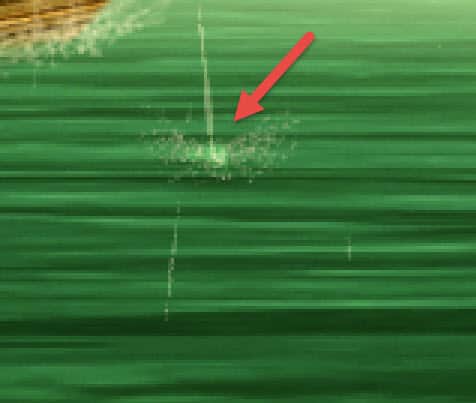
Step 76
Now let’s create some cloudy mists over the rain. Create a new layer and set the colors to default with D. Render some clouds (Filter > Render > Clouds) and change the blending mode of the rendered clouds layer to Screen. Lower the opacity to 41%.


11 comments on “Create a Melancholic Scene of a Guy Standing in the Rain”
Thank you for the fucked up tutorial, you jumped from step 19 to 80, i have lost 2hrs of my time for nothing, just to get stuck, such a waste of time , grrrrr.
And you can follow the tutorial until step 19 then you get jumped onto step 80 :D
Alright everyone, surprise surprise, you all got trolled :D
https://www.youtube.com/watch?v=oavMtUWDBTM
I really like this art... reminds me one my favorite 68´s song...everyday people---
Sometimes I'm right and I can be wrong
My own beliefs are in my song
The butcher, the banker, the drummer and then
Makes no difference what group I'm in
I am everyday people, yeah, yeah!
I can't find the chalk brush. I downloaded a couple but none of them produce the same results with the settings provided.
Thanks for a great tut, though. I learned a lot.
-(((
I don't know what happened with your site but...
I can't see any steps in this tuts(((
and an other tuts (2-too)
where is:
step 1
step 2
step 3
,,,
???
hope you understand me and will help me to use your site)))
Adblock is blocking the article div. Whitelist the div or stop using Adblock and use Adblock Plus or Ghostery instead.
Excellent tutorial thank you
Excellent tutorial, Thank you
Beautiful beautiful beautiful
Where is the tutorial? I just can see the image.
Awesome <3 Vry nice TUT " i'm lovin' it <3 (y)