
Next, let’s create her shadow. To start, create a new layer and name it “Shadow”. Put this layer below the “woman” layer.
Activate the Brush tool (B) and input the following:
- Brush size: 30px
- Hardness: 0%
- Opacity: 15%
- Flow: 100%
- #: 000000
Let’s start painting!
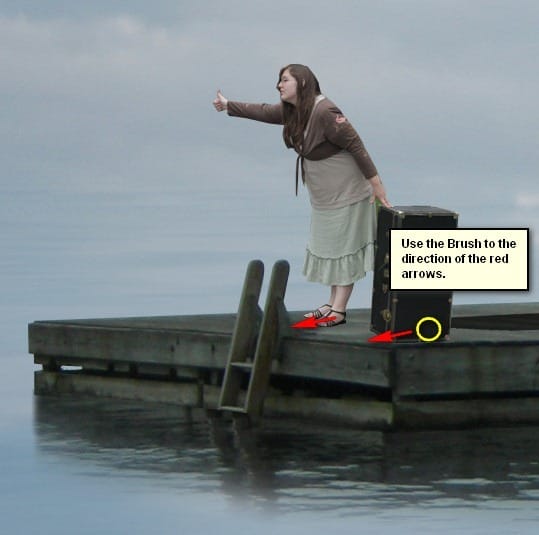
The result is:
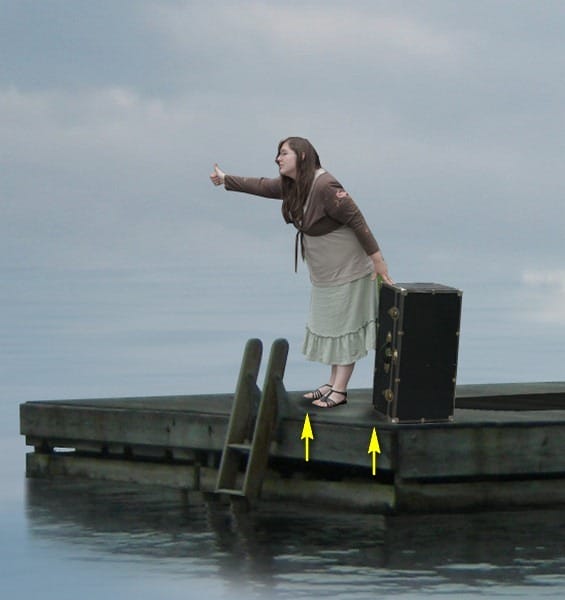
Now let’s adjust the brightness some parts of the woman. To do that, first create a new layer (Ctrl/Cmd + Shift + N) and then name it to “Darken”. Make sure that this layer is on top of the “woman” layer. Now, right click on “Darken” and click on Create clipping mask.
After that, activate the Brush tool (B) and input the following:
- Brush size: 125px
- Hardness: 0%
- Opacity: 15%
- Flow: 100%
- #: 000000
Now let’s start painting – Use the Brush to the direction of the red arrow:
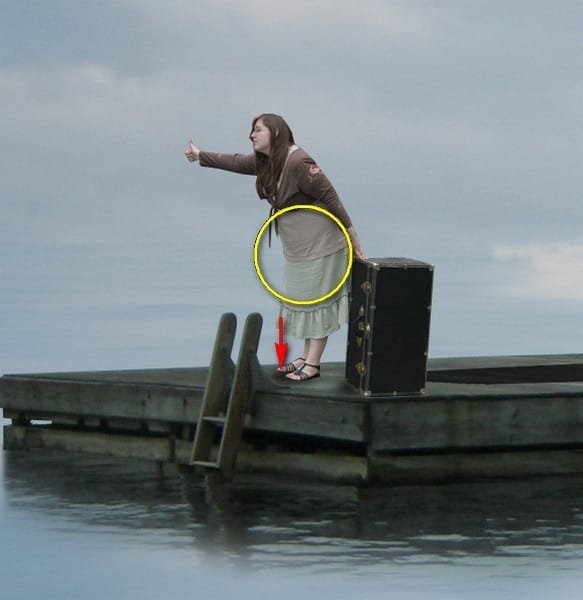
Now that we’re finished, group these layers and name it “Woman”.
Step 7: Add the Flying Ships
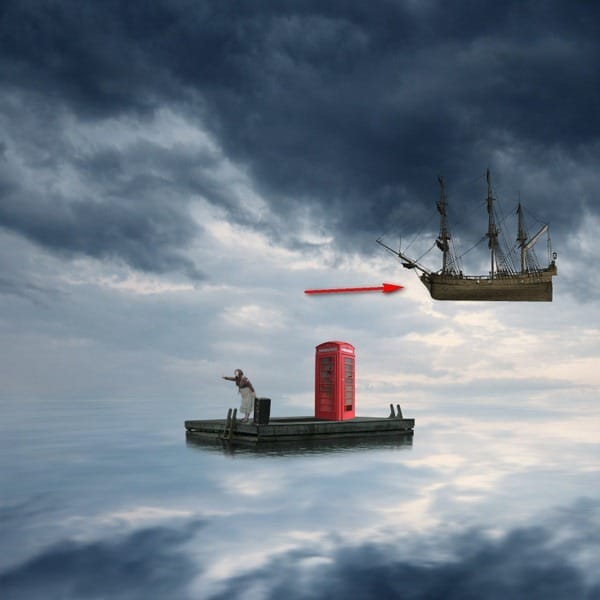
In this step, we will be adding some ships that instead of treading through sea, they will be flying in the sky. To start, open “Ship 13” by Alegion-stock (this is included in the Tall Ship PNG stock).
Activate the Move tool (V) and drag this ship to our canvas. This is a PNG file, and its background is transparent, that means it has no background – just the ship. So after moving it to our canvas, you’d only see the ship. Rename this layer to “Ship 1”.
Position “Ship 1” on this location:
Next, activate the Transform tool (Ctrl/Cmd + T), right click on the canvas and click on rotate. Rotate as shown below:
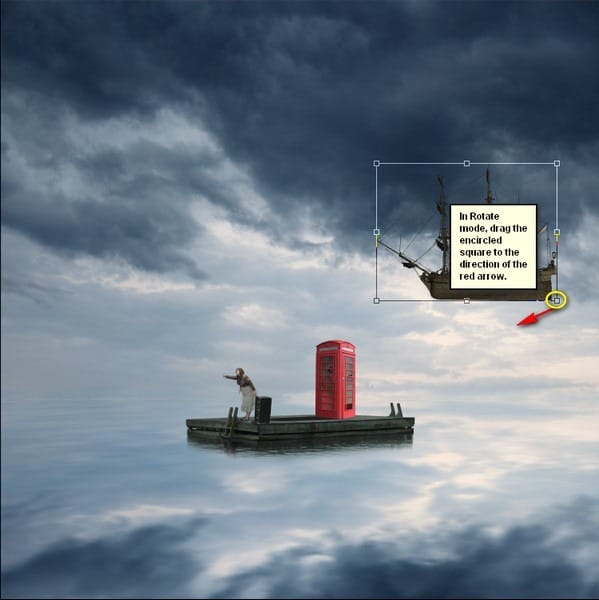
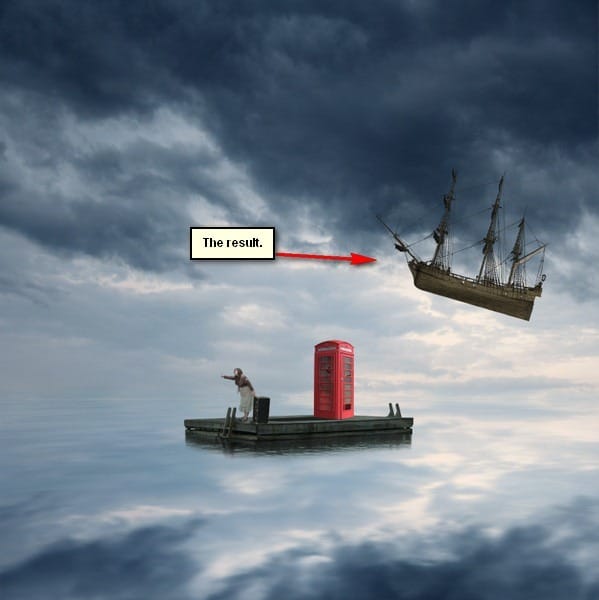
Next, activate the Transform tool (Ctrl/Cmd + T) once again and resize it as shown below:
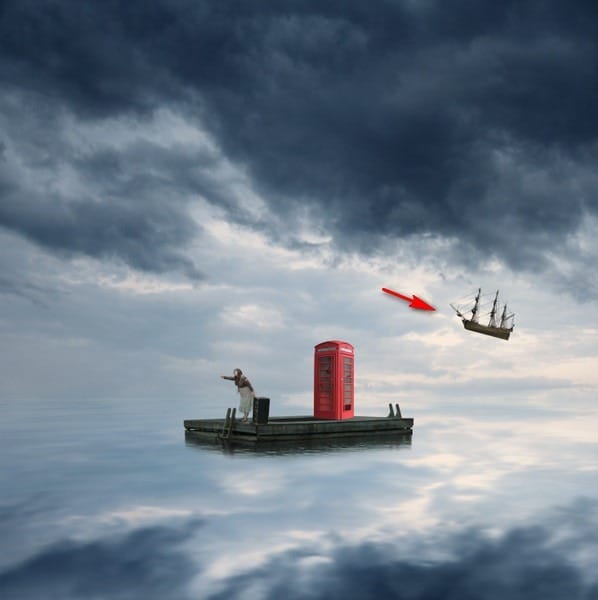
Next, to give the illusion that this ship is far away from our subject, reduce its Opacity to:
- Opacity: 70%
The result:
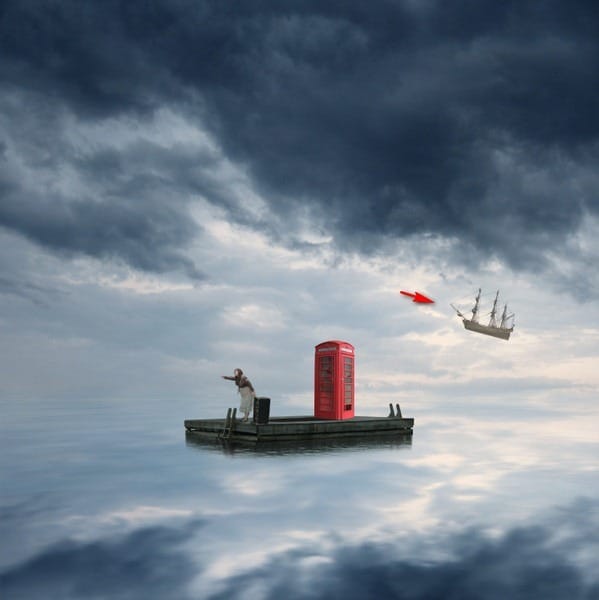
Now, let’s create ship # 2. Click on “ship 1” and hit Ctrl/Cmd + J to duplicate it. Rename it to “ship 2”. Once duplicated, activate the Move tool (V) and drag it to the position shown on the image below:
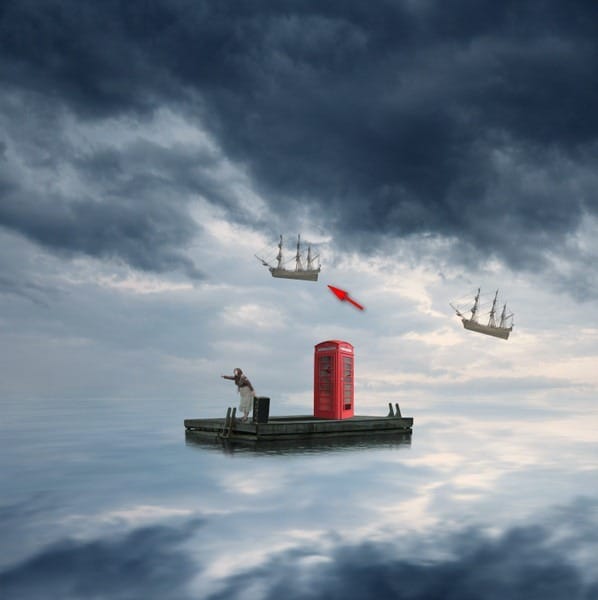
Next, activate the Transform tool (Ctrl/Cmd + T) and rotate and resize it as shown below:
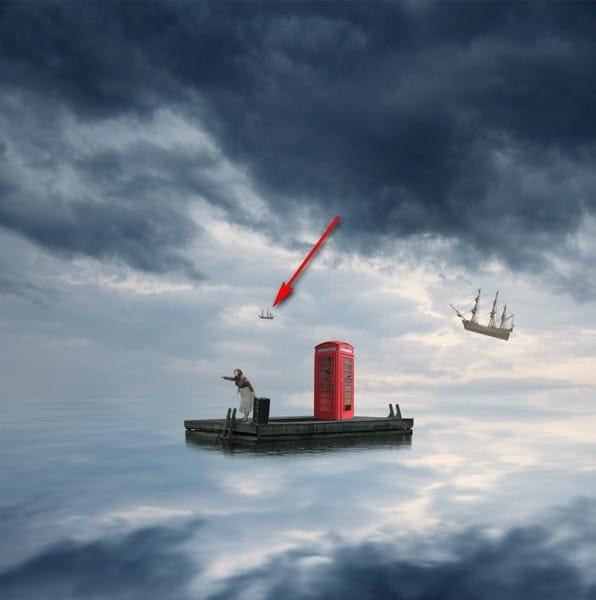
Reduce the Opacity of the “ship 2” layer to:
- Opacity: 40%
The result:
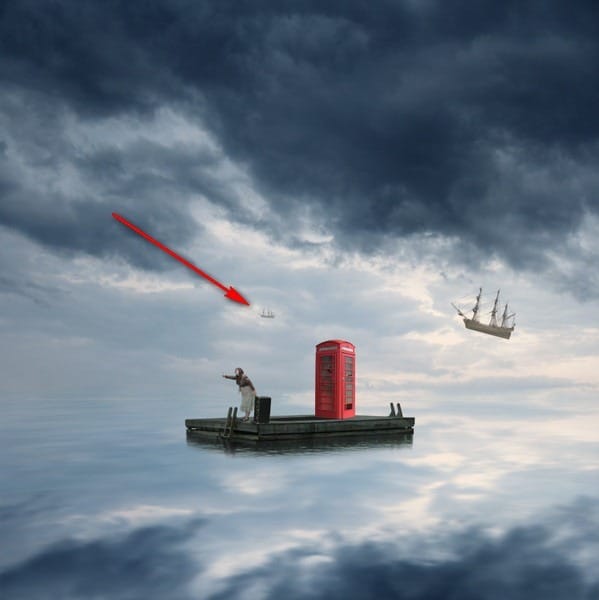
Now, for ship # 3 – select “ship 1” and duplicate it (Ctrl/Cmd + J). Once duplicated, activate the Move tool (V) and drag it to the area shown on the image below:
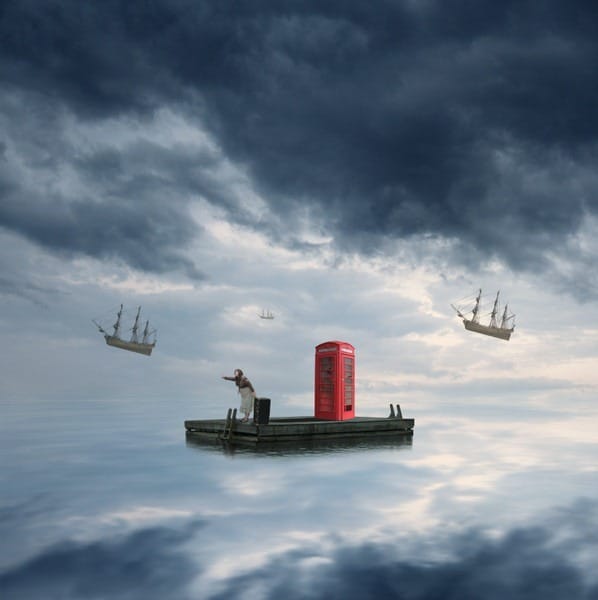
Now, activate the Transform tool (Ctrl/Cmd + T) and then rotate and resize the image as shown below:
3 responses to “How to Create a Traditional Painting-Like Surreal Image using Photoshop”
-
boy
-
cool
-
swag


Leave a Reply