- Blending mode: Multiply
- Opacity to 40%
To set the blending mode, simply click on the drop-down menu beside the word “Normal” on the top part of the Layer window. The Opacity is located just beside that drop-down menu as well. See image below:


The unblended Vignette will look like this:

Once the blending mode is set to “Multiply” it would look like this:
![image092[1] image092[1]](https://cdn.photoshoptutorials.ws/images/stories/c32ce6bb2693_CA6/image0921.jpg?strip=all&lossy=1&webp=82&avif=82&w=1920&ssl=1)
![image093[1] image093[1]](https://cdn.photoshoptutorials.ws/images/stories/c32ce6bb2693_CA6/image0931.jpg?strip=all&lossy=1&webp=82&avif=82&w=1920&ssl=1)
![image091[1] image091[1]](https://cdn.photoshoptutorials.ws/images/stories/c32ce6bb2693_CA6/image0911.jpg?strip=all&lossy=1&webp=82&avif=82&w=1920&ssl=1)
Step 10: Retouch the Image
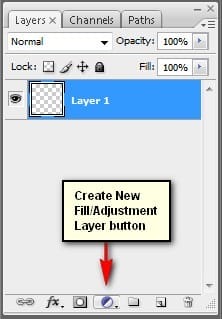
Now let’s retouch the colors of our image to give it a more painting-like feel! For starters, we’re going to create a Solid Color adjustment layer. To do that, simply click on the button shown on the image below:
When it opens, click on the following:
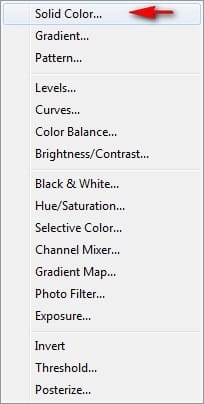
Once you’ve clicked on Solid Color, the Color Picker menu would open. When it opens, input the following color:
- #: 00011e
![image093[2] image093[2]](https://cdn.photoshoptutorials.ws/images/stories/c32ce6bb2693_CA6/image0932.jpg?strip=all&lossy=1&webp=82&avif=82&w=1920&ssl=1)
Now, you’re canvas is covered in dark blue, so let’s change its Blending mode and Opacity to the following:
- Blending Mode: Exclusion
- Opacity: 80%
Let’s create another Solid Color adjustment layer, this time input the following:
- #: cd8e50
Then change the Blending mode and Opacity to the following:
- Blending Mode: Soft Light
- Opacity: 40%
Now, from the Create New Fill/Adjustment layer button, let’s create a Levels adjustment layer.
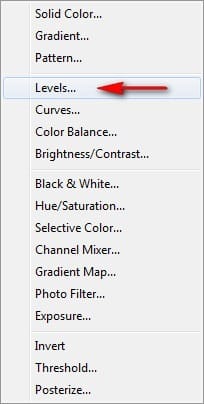
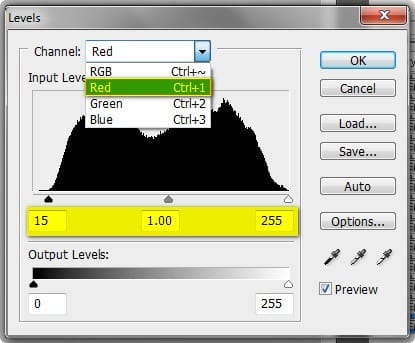
Once it opens, input the following for the Red Channel:
- Input Levels: 15, 1.00, 255
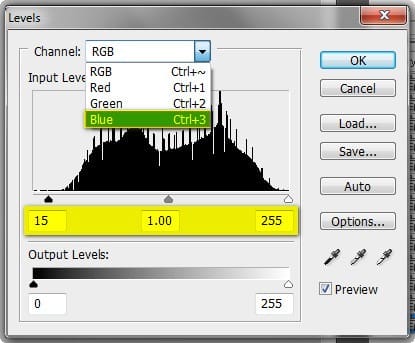
Don’t close the Levels menu yet, click on the drop down button again and input the following for the Blue Channel:
- Input Levels: 15, 1.00, 255
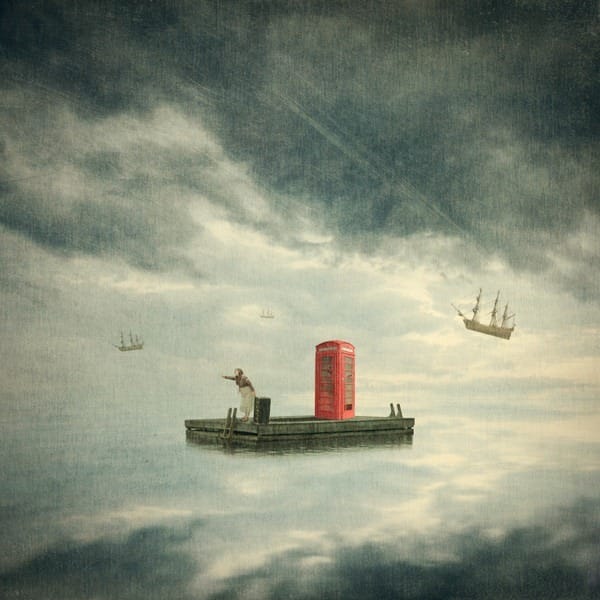
Now the result of that would be like this:
Next, let’s create a Channel Mixer adjustment layer.
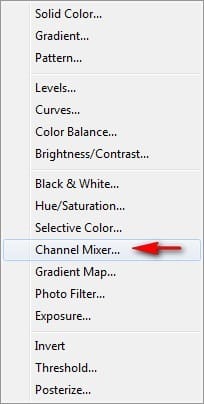
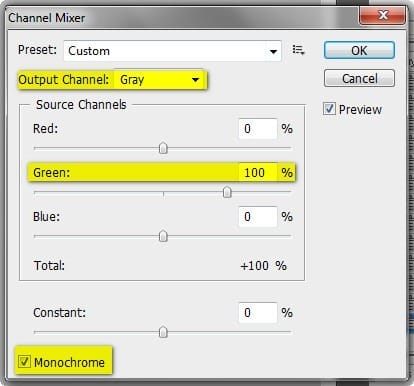
When it opens, input the following:
- Output Channel: Gray
- Source Channels:
- Red: 0%
- Green: 100%
- Blue: 0%
- Constant: 0%
- Monochrome: Check
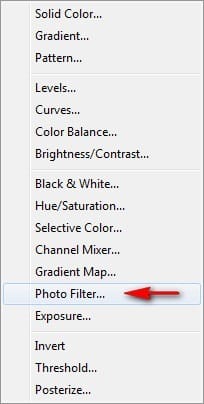
Next, let’s create a Photo Filter adjustment layer:
![image094[1] image094[1]](https://cdn.photoshoptutorials.ws/images/stories/c32ce6bb2693_CA6/image0941.jpg?strip=all&lossy=1&webp=82&avif=82&w=1920&ssl=1)
When it opens, use the following:
- Deep Blue
- Density: 25%
- Preserve Luminosity
- Layer Opacity: 50%
Next, create another Photo Filter adjustment layer and use the following:
- Photo Filter
- Warming Filter (81)
- Density: 25%
- Preserve Luminosity
Finally, create a Brightness/Contrast adjustment layer:
![image095[1] image095[1]](https://cdn.photoshoptutorials.ws/images/stories/c32ce6bb2693_CA6/image0951.jpg?strip=all&lossy=1&webp=82&avif=82&w=1920&ssl=1)
When it opens, input the following:
- Brightness/Contrast
- Brightness: -15
- Contrast: 0
Step 11: Make it look like a painting
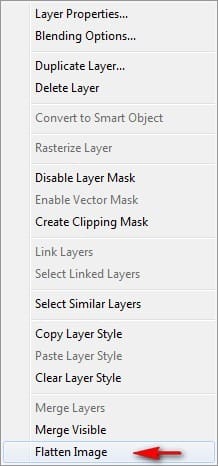
In this step, we’re going to make our photo-manipulation look like a painting using some Photoshop Filters. To start, select any layer in our image and right click on it to bring out the contextual menu. Once the menu is shown, click on Flatten Image.
![image096[1] image096[1]](https://cdn.photoshoptutorials.ws/images/stories/c32ce6bb2693_CA6/image0961.jpg?strip=all&lossy=1&webp=82&avif=82&w=1920&ssl=1)
Once flattened, duplicate this layer (Ctrl/Cmd + J) and go to Filter > Filter Gallery. Once the Filter Gallery opens, click on the Artistic Folder and then click on Dry Brush.
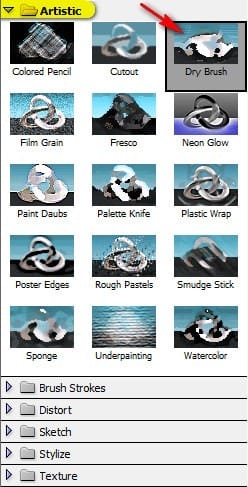
Once you’ve clicked on Dry Brush, input the following settings located on the right:
3 responses to “How to Create a Traditional Painting-Like Surreal Image using Photoshop”
-
boy
-
cool
-
swag


Leave a Reply