- Angle: 0′
- Distance: 50pixels
![image012[1] image012[1]](https://cdn.photoshoptutorials.ws/images/stories/c32ce6bb2693_CA6/image0121.jpg?strip=all&lossy=1&webp=82&avif=82&w=1920&ssl=1)
The result:
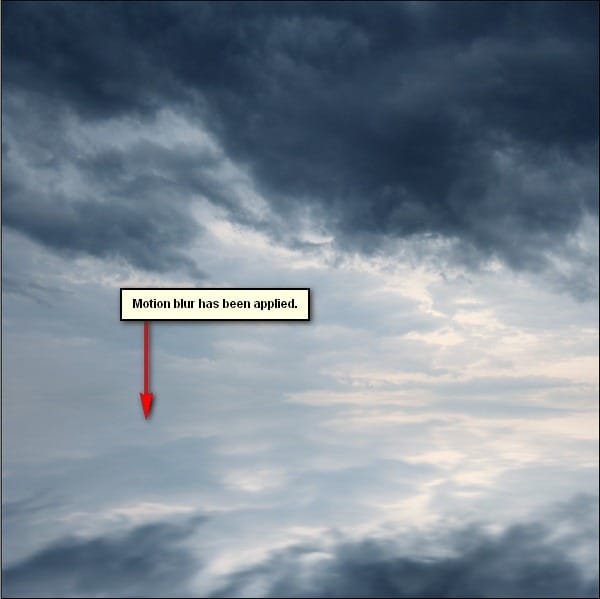
Step 3: Add a Sea Texture
Now, we will be making the reflection on the sea more realistic by blending an image of the sea to it. To start, open “Calm water” by strwberrystk. Once open, activate the Rectangular Marquee tool (M) and create a selection area around the water in the stock image. See image below:

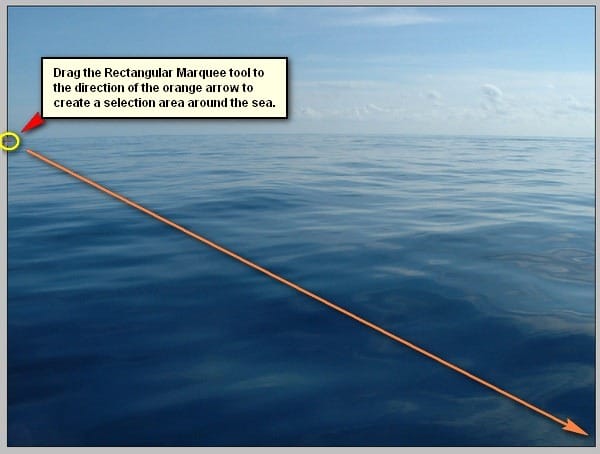
The result:

Now, when you’re done, activate the Move tool (V) and drag the selected area (sea) to our canvas. Rename the layer to “Water”. Make sure that this layer is above the two layers that we’ve already created.
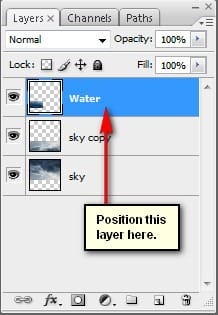
Next, move it to the position shown on the image below:

After that, activate the Transform tool (Ctrl/Cmd + T) and resize the image as shown below:

The result:
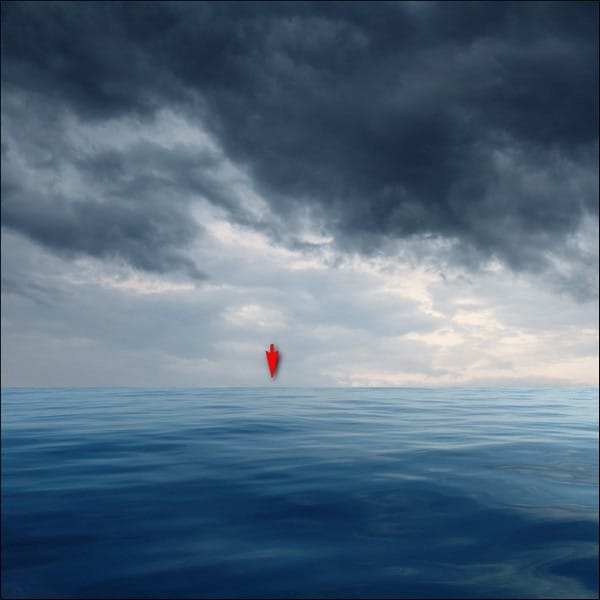
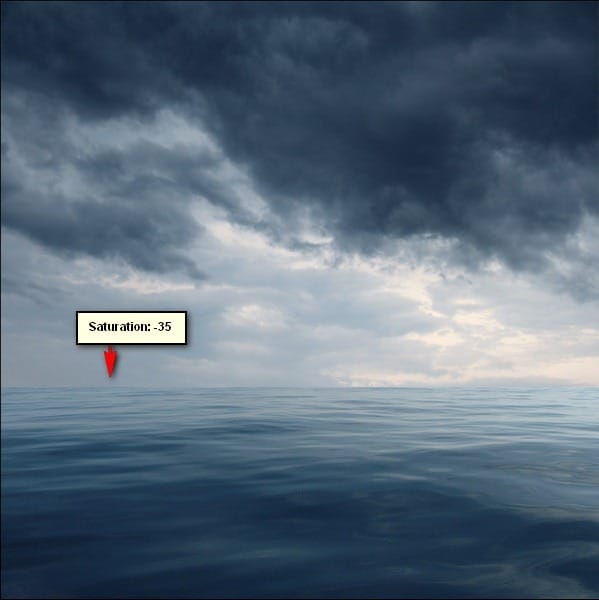
Now, let’s desaturate the water’s color a bit to make it blend nicely with our sky and its reflection. To do that, make sure that the “water” layer is selected and then go to Image > Adjustments > Hue/Saturation and input the following:

The result would be similar to this:
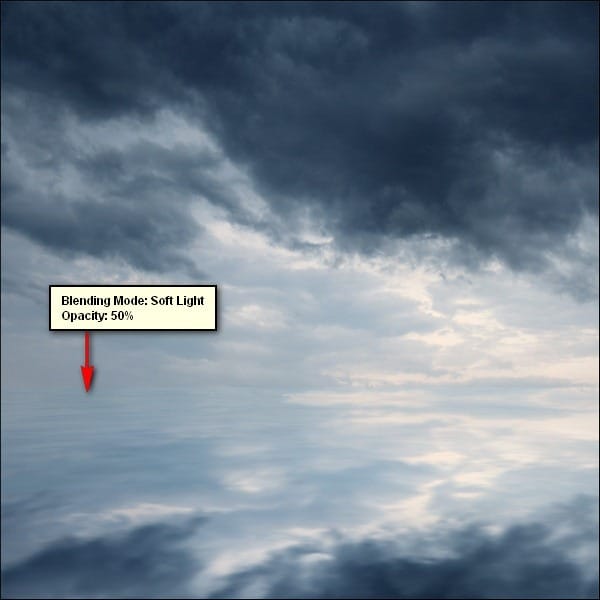
Next, let’s change the “water” layer’s Blending mode to Soft Light and its Opacity to 50%. To change that, simply click on “Normal” on the Layer window to show the list of Blending modes and once open, click on Soft Light. To the right is the Opacity level, so set it to 50%. See image below:

The Blended layer will look like this:
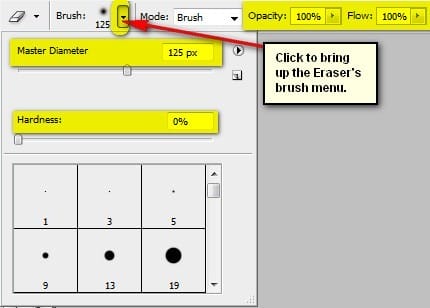
Now, we will make the horizon in this image look seamless. To do that, we will need the help of the Eraser tool (E). Activate that and set the following:
- Brush size: 125px
- Hardness: 0%
- Opacity: 100%
- Flow: 100%
Now, we’re all set to erase!
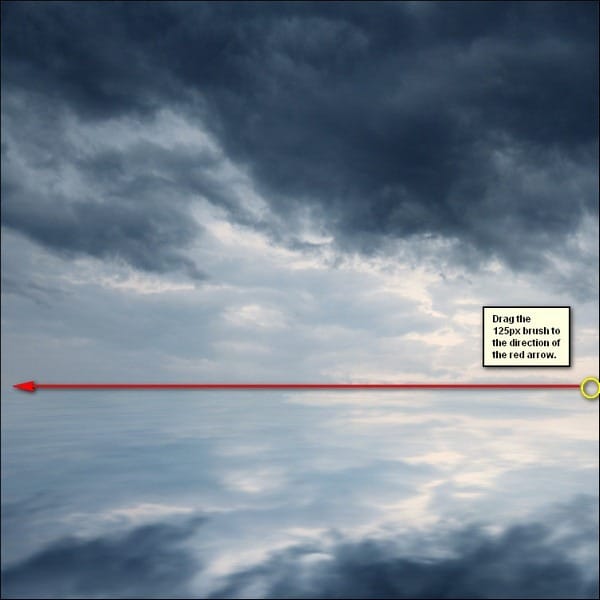
The result:
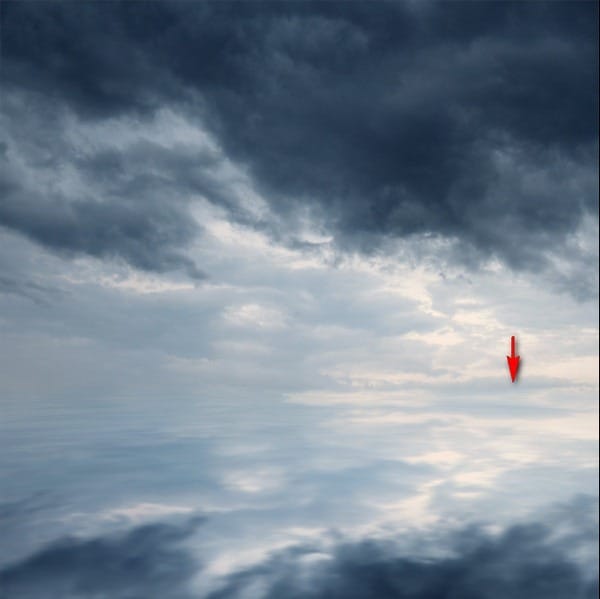
Now, select ALL the layers that we’ve made and press Ctrl/Cmd + G to put them all in one group. Now, name the group to “Background”.
Note: Renaming a group is similar to renaming a layer.
Step 4: Add the Platform
In this step, we will be adding the platform to where the phone booth and the lost woman will be situated. To start, open “57” by annerireSTOCK. Next, activate the Polygonal Lasso tool (L) and create a selection area around the platform. See images below:

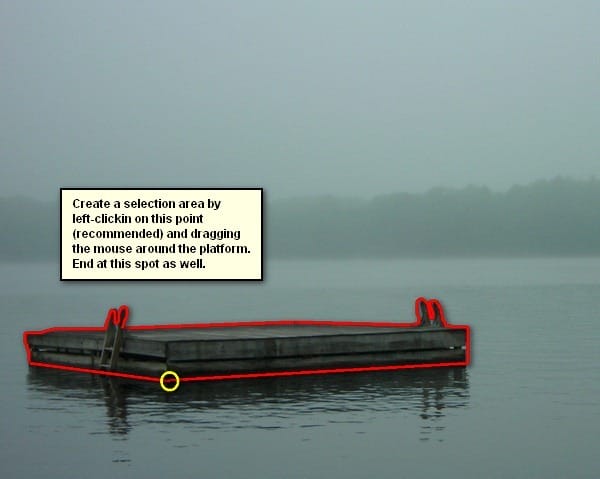
Now that you’re done, activate the Move tool (V) and drag the selected area to the canvas. Rename this layer to “platform”. Position it on this region:
3 responses to “How to Create a Traditional Painting-Like Surreal Image using Photoshop”
-
boy
-
cool
-
swag


Leave a Reply