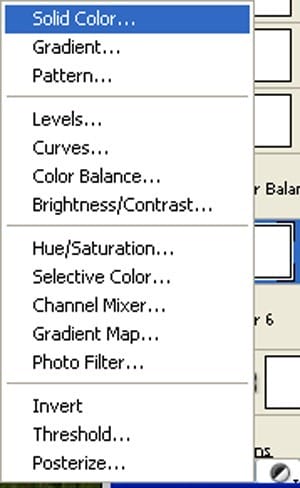
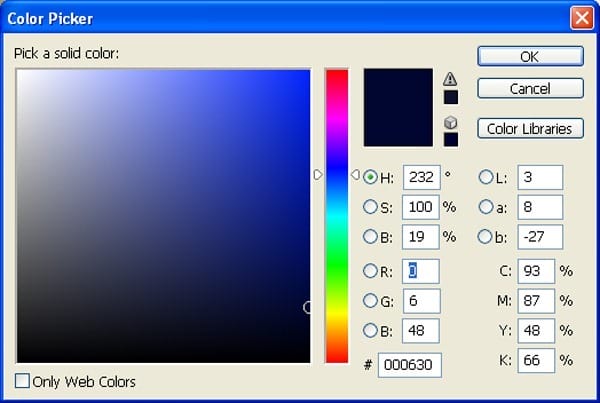
When the solid color box opens, input the following:
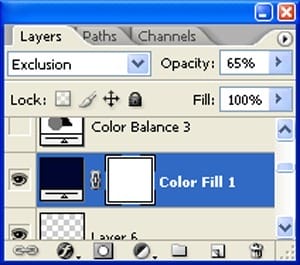
Change the layer mode to “Exclusion” and reduce the opacity to 65% :
The result should be similar to this:

Step 43
Now creat a Solid color adjustment layer which can be found by pressing on the Create New Fill/Adjustment layer button shown on the layer window:

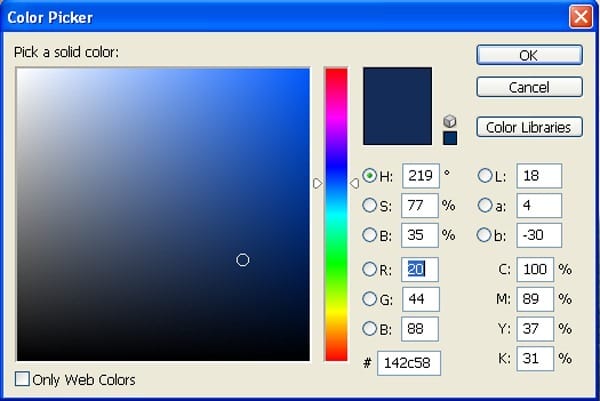
When the solid color box opens, input the following:
Change the layer mode to “Soft light” and reduce the opacity to 15% :

The result should be similar to this:

Step 44
Now creat a Gradient Map adjustment layer which can be found by pressing on the Create New Fill/Adjustment layer button shown on the layer window:

When the Gradient Map box opens, input the following:
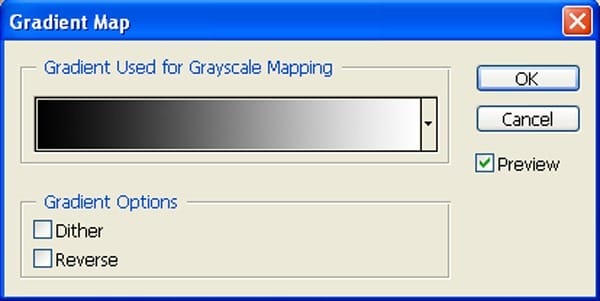
Change the layer mode to “Luminosity” and reduce the opacity to 25% :
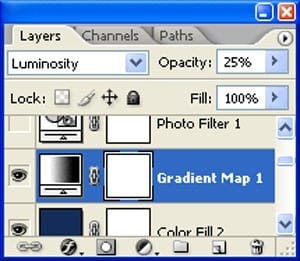
The result should be similar to this:

Step 45
Now creat a Photo Filter adjustment layer which can be found by pressing on the Create New Fill/Adjustment layer button shown on the layer window:

When the Photo Filter box opens, input the following:

The result should be similar to this:

Step 46: Add texture
Now,let’s open the Bokeh Texture Pack 002 in Photoshop. We will be using the texture from this stock image so we will need to transfer it to our main canvas.
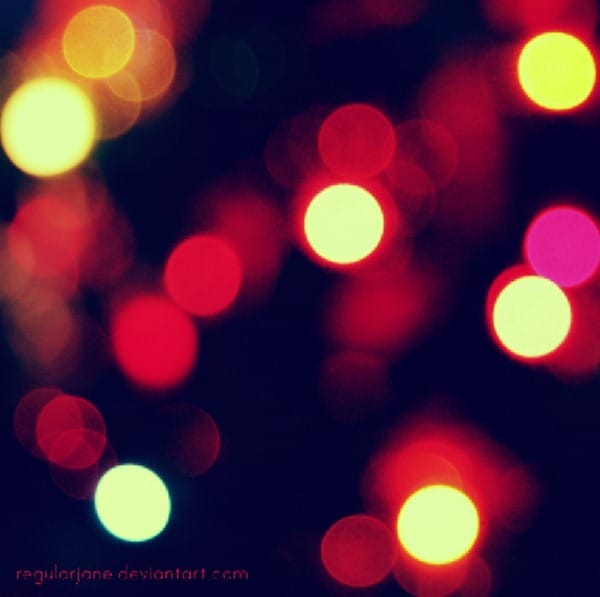
Click the Bokeh Texture Pack 002 and press V to activate the Move Tool. Left-click the image and drag the image to the main canvas and change layer name to “Texture”.
The result should be similar to this:

Now make a duplicate of our texture layer for that select texture layer then press Ctrl/Cmd+J .
Then change the name of duplicate layer to “texture2”.Select trxture2 layer and activate transform tool (Ctrl+t).
Then right click on canvas and chose flip horizontal.
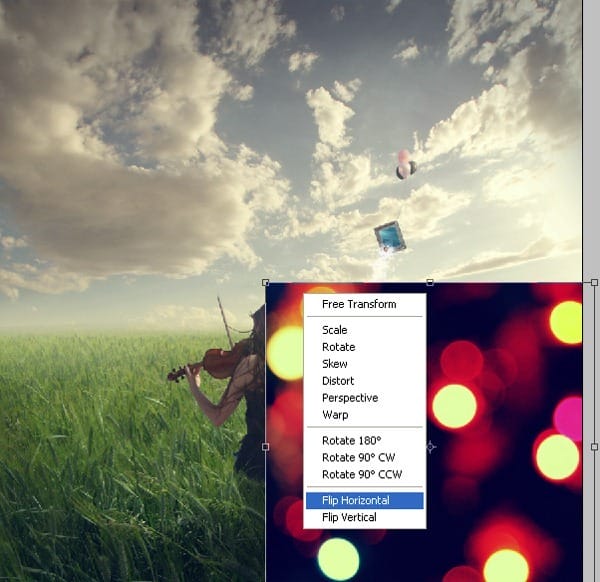
Then move texture 2 layer to the left:
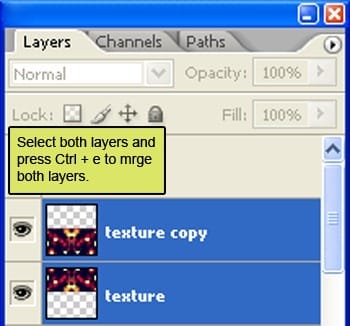
Then marge both Texture and texture 2 layer by selection both layer and then press Ctrl/Cmd+E .

Once again do the same thing see as below :
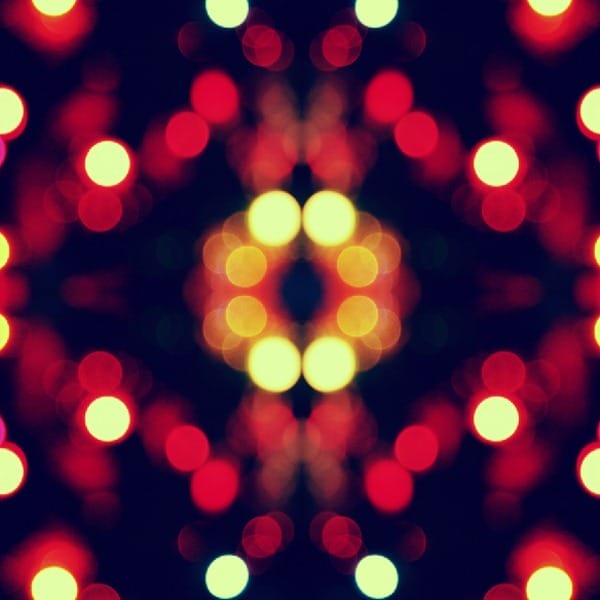
Now select both layers and marge them and name it “texture” :
Reduce the opacity to 15% and change the layer mode to “soft light” :
Add a vactor mask to the texture layer from button shown on the layer window:
5 responses to “How to Create a Violin Player in a Grassy Landscape”
-
old but still good
-
Looks very interesting, and seems to be a comprehensive tutorial. Will definitely try out :)
-
Very interesting, easy and useful for everyone. Thanks for sharing.
-
linda imagem e com dicas espectaculares de aprendizagem…~
um muito obrigado por compartilhar conosco
-
so beautiful experience to create this amazing ambiance.
thank you for sharing with us


Leave a Reply