When the Brightness/Contrast box opens, input the following:

Now activate Erase tool (E) with these settings Now let’s erase :
- Brush size: 400px
- Hardness: 0%
- Opacity: 40%
- Flow: 100%
Now let’s erase :

The result should be similar to this:

Step 10
Now create new Curves adjustment layer from the bottom of layers palette .Press Alt+left click in between 2 layer’s (ground layer and Curves) to make a mask.

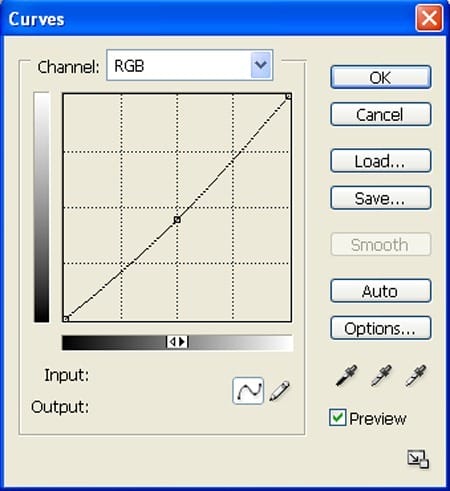
When the Curves box opens, input the following:

The result should be similar to this:
![25[1] 25[1]](https://cdn.photoshoptutorials.ws/images/stories/4d3c01c85b26_E23D/251.jpg?strip=all&lossy=1&webp=82&avif=82&w=1920&ssl=1)
Step 11
Now activate Erase tool (E) with these settings Now let’s erase :
- Brush size: 400px
- Hardness: 0%
- Opacity: 40%
- Flow: 100%
Pick Black (#fbf7ca) as color for forground color.

Activate brush tool then right click on the canvas while the Brush tool (B) is active and then pick this brush:

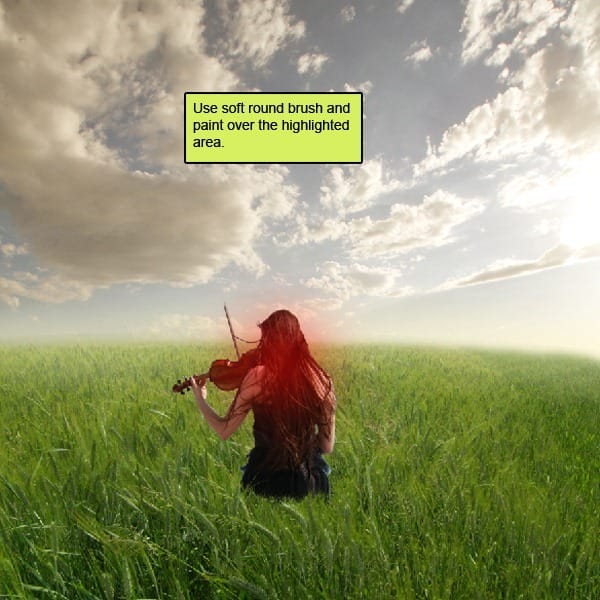
The result should be similar to this:

Step 12: Fix the girl on Background
First off, let’s open Dark Tunes 20 stock in Photoshop. We will be using the girl from this stock image so we will need to transfer it to our main canvas.

Click the Dark Tunes 20 and press P to activate pen tool and then make a selection around the girl and then click V to activate the Move Tool. Left-click the image and drag the image to the main canvas and change layer name to “girl”.

The result should be similar to this:

Step 13
Next, activate the Transform tool (Ctrl/Cmd +T), then while the “Girl” layer is selected and then resize it as shown below:

The result should be similar to this:

Step 14
Activate the brush tool (B) then right click on the canvas while the Brush tool (B) is active and then pick this brush:

Now activate Erase tool (E) with these settings Now let’s erase :
- Brush size: 400px
- Hardness: 0%
- Opacity: 40%
- Flow: 100%
Now let’s erase :


The result should be similar to this:

Step 15
Add a vactor mask to the “girl” layer. Now activate Brush tool (B) with these settings Now let’s erase:
- Brush size: 400px
- Hardness: 0%
- Opacity: 40%
- Flow: 100%
Now let’s erase :

The result should be similar to this:

Step 16
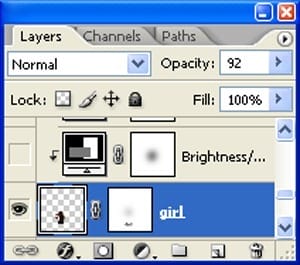
Reduce the opacity of the girl layer to 92% .

The result should be similar to this:

Step 17
Now activate the Blur tool (R) .

Fill these settings :

Now we are going to use blur tool on the hard edges to make them smooth.

The result should be similar to this:

Step 18
Now let’s make girl’s shadow.Activate a new layer and name it “girls shadow”. Activate the brush tool (B) then right click on the canvas while the Brush tool (B) is active and then pick this brush:
5 responses to “How to Create a Violin Player in a Grassy Landscape”
-
old but still good
-
Looks very interesting, and seems to be a comprehensive tutorial. Will definitely try out :)
-
Very interesting, easy and useful for everyone. Thanks for sharing.
-
linda imagem e com dicas espectaculares de aprendizagem…~
um muito obrigado por compartilhar conosco
-
so beautiful experience to create this amazing ambiance.
thank you for sharing with us


Leave a Reply