Learn how to create a suspenseful photo manipulation in Photoshop. You will learn how to create realistic distortions with the displace filter and apply photo effects to give it a cold look.
Gunshot Through a Glass Photoshop Tutorial
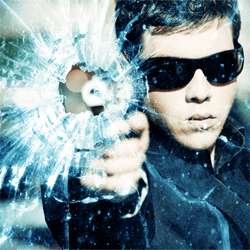
Preview of final results
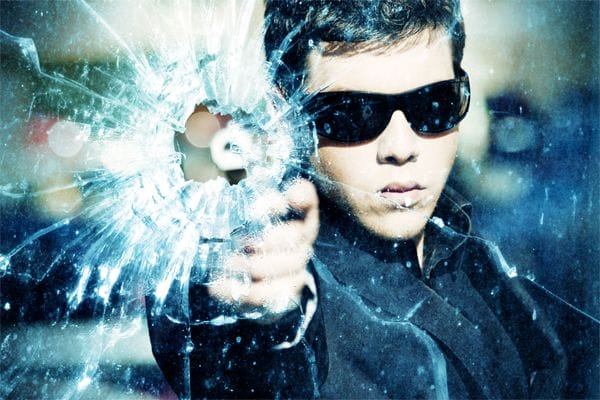
Rollover the image below to see the before and after effect. It may take a few seconds for the image to load when you first rollover the image.
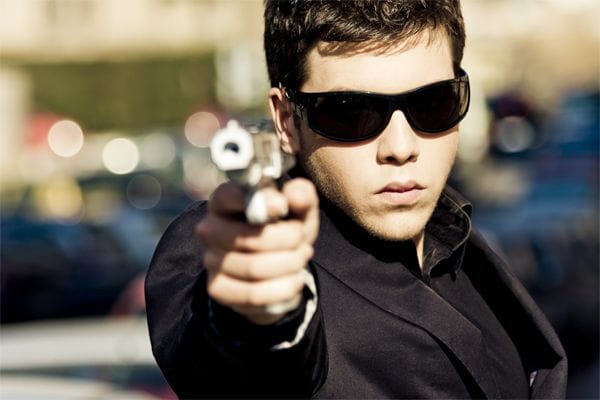
Stock photos
You will need a photo of a person pointing a gun and a photo of a window with a bullet hole on a dark background. The images used for this tutorial are stock photography from Dreamstime but you can use your own. If you like to use the same images used in this tutorial, click on the image below to purchase them.


Step 1 – Open the image of the shooter
Begin by opening the photo of the agent with a gun.
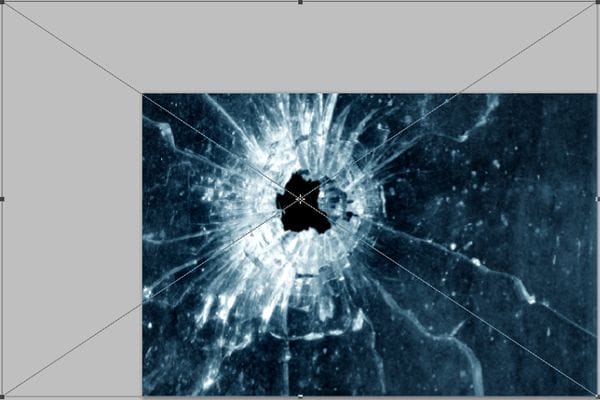
Step 2 – Place the photo of the bullet hole on a glass
Choose File > Place, browse for the image of the bullet hole on a glass, then click OK. The image is now placed onto your current document with the transform tool activated.
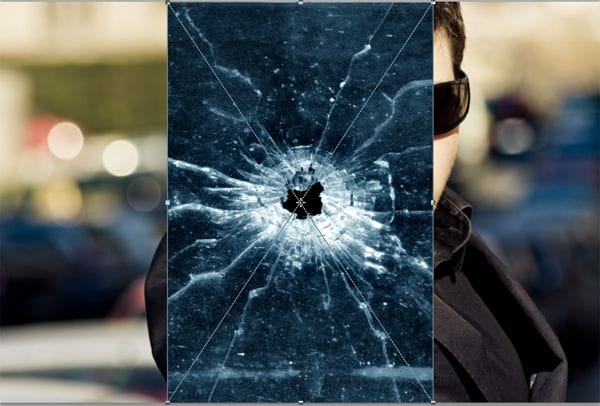
Rotate and enlarge the image like shown in the image below. The bullet hole should be positioned near the gun. Press enter on your keyboard to apply the changes.
Step 3 – Set the layer blend mode to Screen
In the layers palette with the top layer selected, change the blending mode to screen.
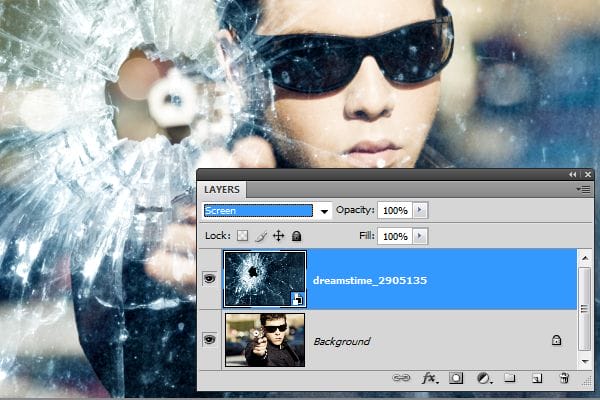
The image looks complete already but we’re not exactly done yet. When zoomed in, you can see that the glass doesn’t distort the image behind it. In the steps ahead, we’ll use the displace filter to create a distortion.
Step 4 – Prepare the layer for the displacement map
To distort the image behind the glass, we’ll be using the displace filter. Before we can use the displace filter, we have to create a displacement map which will tell the displace filter how to distort the image. First, we’ll prepare a new layer to create the displacement map on. Select the top layer then press Ctrl+J or select Layer > Duplicate to duplicate the layer.

If you are using Photoshop CS2 or newer, your layer should be a smart layer. You can tell if it’s a smart layer by looking for the ![]() icon on the bottom right corner of the the layer thumbnail. If your layer is a smart layer, right click on the layer then choose Rasterize Layer. You can also access this from the Layers > Rasterize > Layer menu item.
icon on the bottom right corner of the the layer thumbnail. If your layer is a smart layer, right click on the layer then choose Rasterize Layer. You can also access this from the Layers > Rasterize > Layer menu item.
8 responses to “Gunshot Through a Glass”
-

can u share psd this link is not working
-
a very very very very thnx to u!!! most awsum tutorials!! so easy to go thru!! results : http://i.imgur.com/pFq4yjj.jpg
-
Great tutorial,with cool effects.thanks
-
nice
-
<3.<3
-
nice and easy tutorial for new photoshop user
-
Thank you! I just made it. :)
-
Thanks…
Leave a Reply to Arjun AnjarakandyCancel reply