
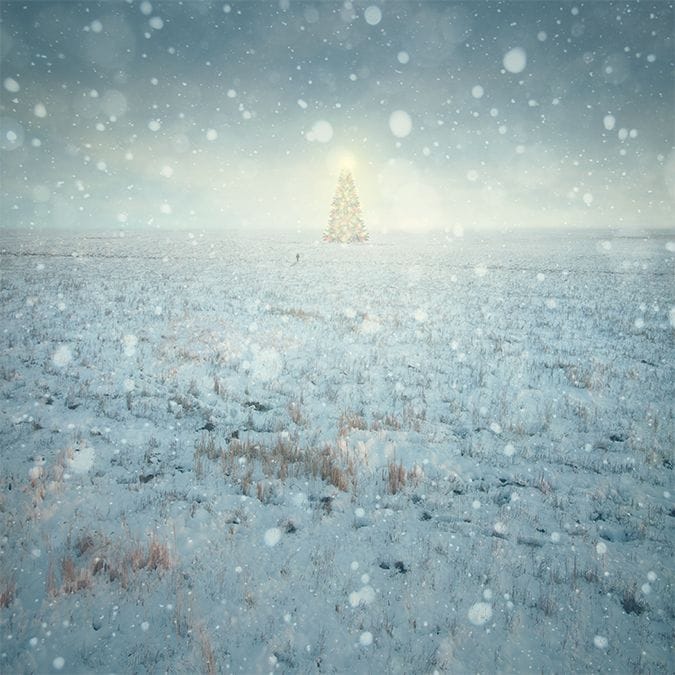
In this photo-manipulation tutorial, we will learn how to create a huge Christmas tree sitting alone in a desolate winter field. This tutorial will show you how to create this beautiful image using images and textures and apply special lighting effects to make the Christmas tree glow.
Preview of Final Results
Download the PSD
[vc_column width=”1/1″ el_position=”first last”]
[vc_cta_button title=”Download” href=”https://downloads.photoshoptutorials.ws/Giant Christmas Tree.zip” color=”btn” size=”btn-large” icon=”none” target=”_self” position=”cta_align_right” call_text=”Giant Christmas Tree.zip | 173.96 MB” width=”1/1″ el_position=”first last”]
[/vc_column]
How to Create a Giant-sized Christmas tree in a Winter Field
Tutorial Resources
- dry winter field – night fate stock
- storming sky – vimark
- Winter Field – night fate stock
- Frosted Christmas Tree PSD – dbszabo1
- Winter Walking – tlst
- snowing texture – wchild
- Glitter Bokeh Texture Pack – regularjane
Step 1
Now, let’s start by creating a new image file, go to the Menu bar and click File > New, and then input the following values on their respective fields:
- Preset: Custom
- Width: 3000 pixels
- Height: 3000 pixels
- Resolution: 300 pixels/inch
- Color Mode: RGB Color; 8 bit
- Background Contents: Transparent

Step 2
Now, we will be creating the sky of our Christmas image. To start, open “dry winter field” by night fate stock. Next activate the Rectangular Marquee Tool by pressing M on your keyboard.

Once activated, create a selection area around the sky as shown below:

Step 3
After that, activate the Move tool (V) and drag the image by first left-clicking on it and dragging it to our canvas. Once on the canvas, position it as shown below:

Step 4
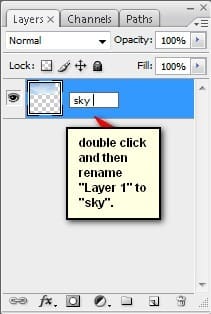
Rename the layer to “sky 1”. To rename a layer, simply double-click on the words: “layer 1” (you can find that on the layer window) to prompt a text box to appear.
Step 5
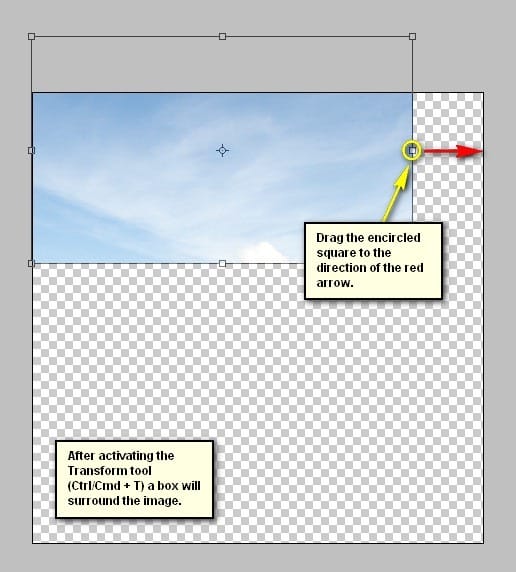
Now, activate the Transform tool (Ctrl/Cmd + T) and resize the image as shown below:

Step 6
Next, let’s add the second sky. Open “storming sky” by vimark and once open, activate the Rectangular Marquee Tool (M) and create a selection area around the sky of this image. See image below:

Step 7
Now, activate the Move tool (V) and drag this image to our canvas and put this layer above the “sky 1” layer. To do that, simply drag this new layer on top of the “sky 1” layer. Rename this layer to “sky 2”. Position it on the canvas as shown below:

Now, activate the Transform tool (Ctrl/Cmd + T) and resize this layer as shown below:

The result:

Step 8
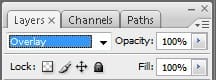
Now, let’s blend these two skies together. To do that, simply change the Blending mode of “sky 2”.

Change the Blending mode of “sky 2” to Soft Light and the Opacity, should still be at 100%.
The result:

Step 9
Next, we will darken the sky so it wouldn’t look flat. Start by left-clicking on the “sky 2” layer and then press Ctrl/Cmd + Shift + N on your keyboard to create a new layer directly above the selected layer; once the box opens, input “darken 1” on the name field.
11 responses to “How to Create a Breathtaking Christmas Artwork in Photoshop”
-

i agree that they are almost the same i think the overlay is a little darker than soft light
-
Intgihss like this liven things up around here.
-
Awesome resources.Huge collection.Great job.Very useful post.Thanks for sharing.
-
That’s a shrewd answer to a tricky qutiosen
-
-
i cant download the snow feild????
-
What a great tutorial!!
Thank you so much -
nice concept and tutorial thank you !
-
very Nice Tutorial
Thank you so much -
You forgot to write about darkening sky in Step 9. Just about layer creating.
-
At step 8, “Change the Blending mode of “sky 2″ to Soft Light” but you changed it to Overlay..
Well, which one is it sir?
-
Soft light is about the same as overlay. Overlay is more contrast and saturation.
-
Leave a Reply