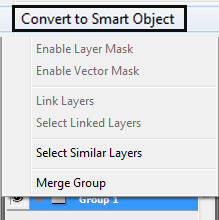
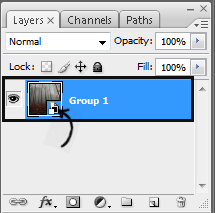
After you apply the smart object the layer have to look like this. This may help if you want to change any of the layers later.
Step 18
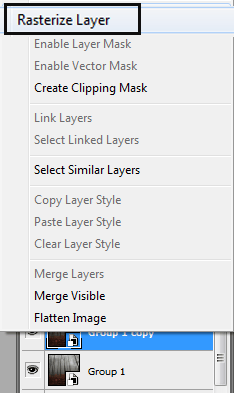
Duplicate the layer pressing CTRL + J and rasterize giving right click in the image and click the option “rasterize layer.”
Step 19
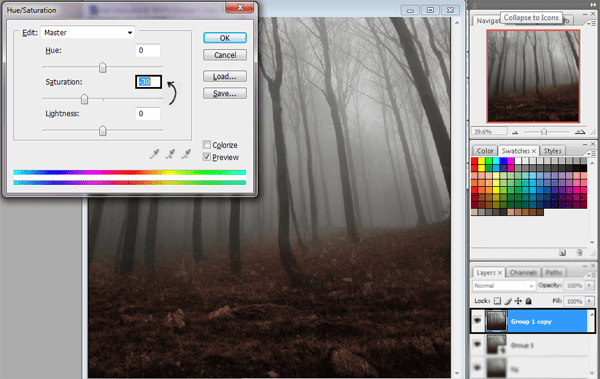
Change background colors. Press CTRL+U and in the option saturation put -30.
Step 20
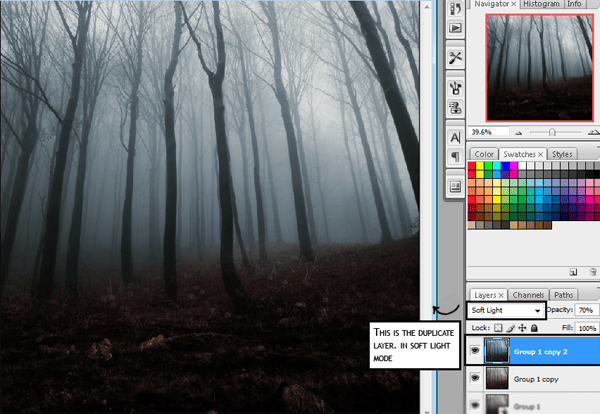
Duplicate the layer pressing CTRL + J and then change the layer to soft light at 70% of opacity.
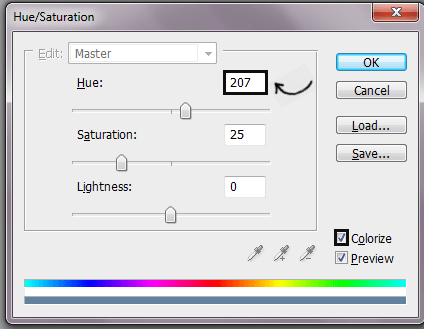
Modify color pressing CTRL+U in colorize mode. Adjust hue at 207 and press ok.
Step 21
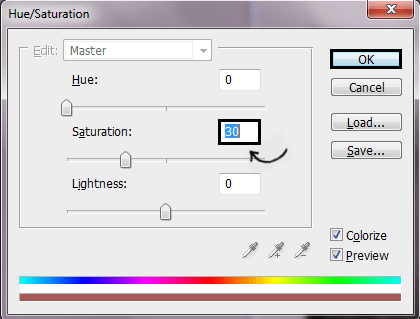
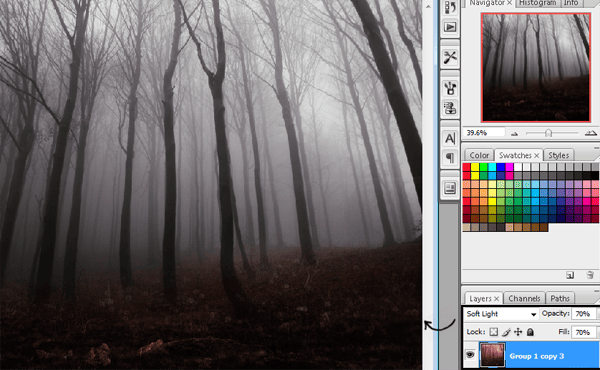
Duplicate that layer once again. Change color CTRL+U. just add more saturation 30%. Also reduce the fill of the layer at 70%.
Step 22
Transfer the model to the background and fix the size pressing CTRL+J.
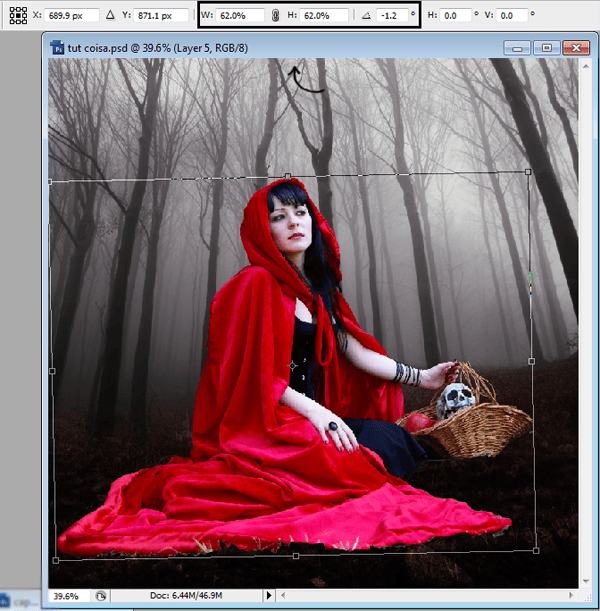
Step 23
Open a stock picture from a rock and cut the rock out with quick selection tool.
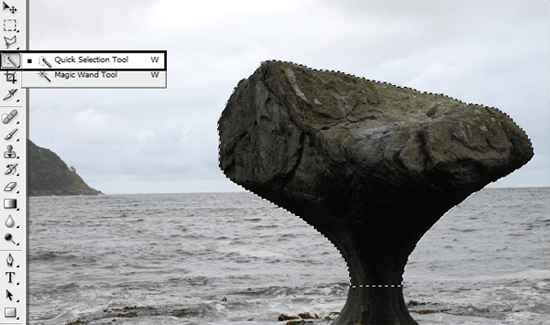
Step 24
Put the stone layer before the model’s layer and reduce the size with CTRL+T.

Step 25
Select mode’s hood with the polygonal lasso tool and duplicate the layer CTRL+J.
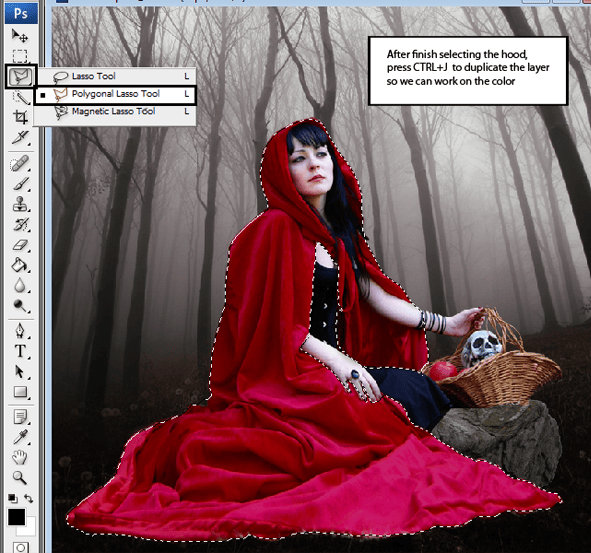
Step 26
Change the color of the hood pressing CTRL+U in saturation put -40.
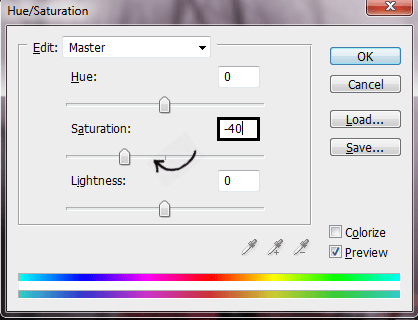
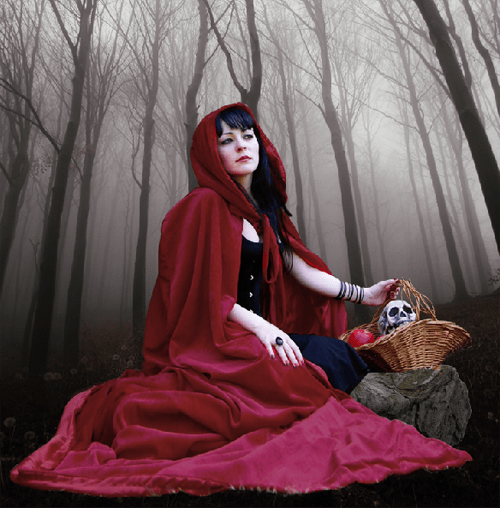
Step 27
: Duplicate the hood layer again. Change it to multiply mode and reduce opacity to 50% and Fill to 70%.
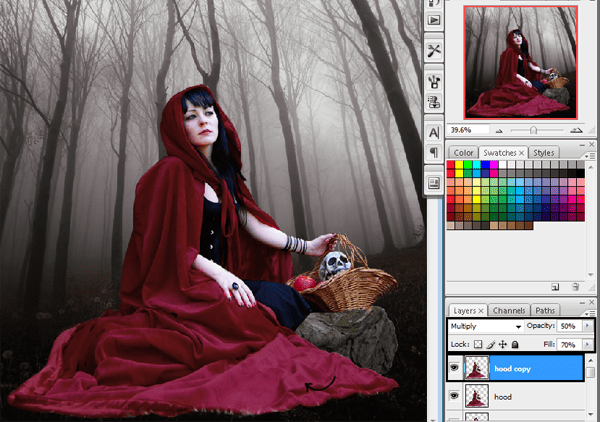
Step 28
Return to the model’s layer, and select her dress with lasso tool and then duplicate the layer with CTRL+J.
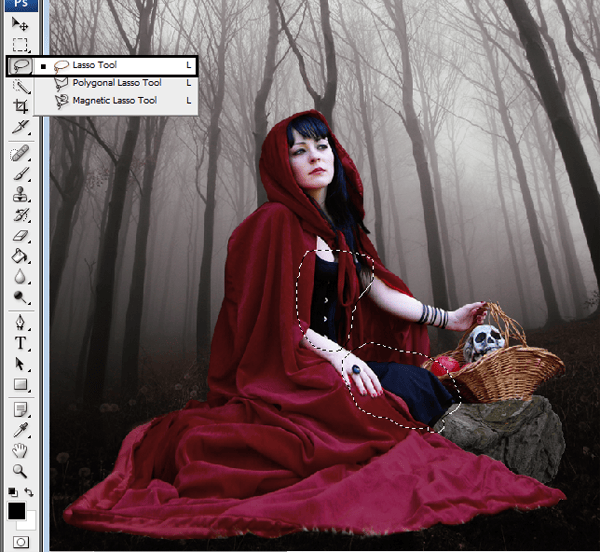
Reduce the saturation. Press CTRL + U. and in the option saturation put -100. In that way the dress will be black.

Step 29
Now select the model skin, and press CTRL+J to duplicate the layer.
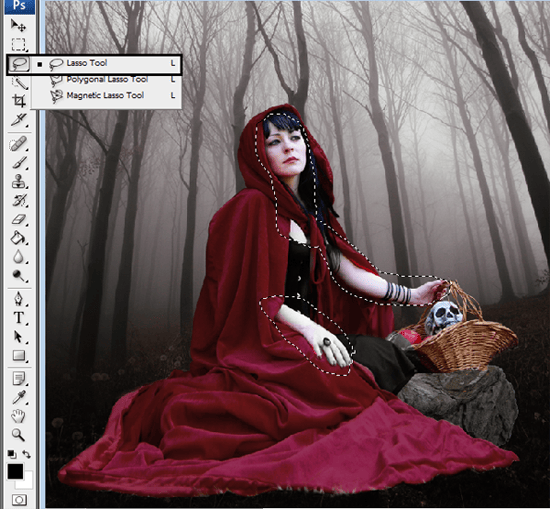
Step 30
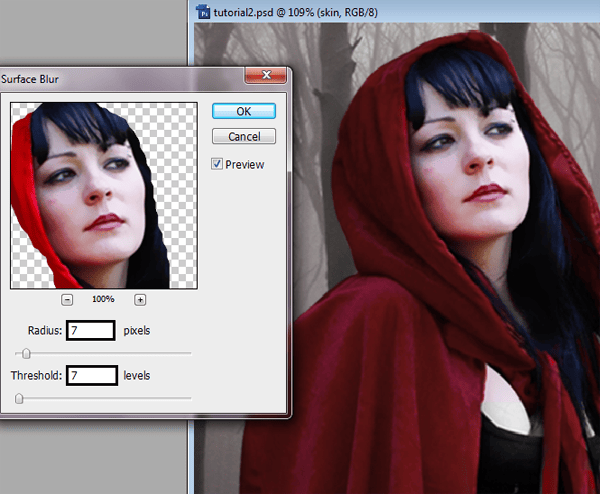
Go to filter-> Blur-> Surface Blur, and add 7 pixels for radius and for threshold to make the skin softer.
Step 31
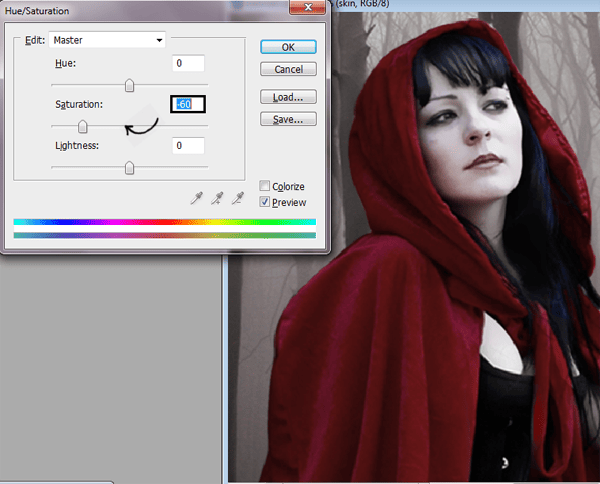
Change the color of the skin, pressing CTRL+U. Saturation -60.
Step 32
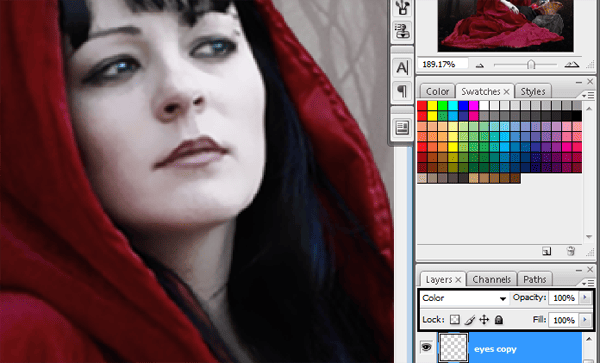
To make the eyes brighter, select the eyes with the lasso tool, duplicate the layer CTRL+J. and change the layer mode to color dodge.

Also if you want to make her eyes another color, just have to make some adjustments pressing CTRL+U. Using the layer in color mode.
Step 33
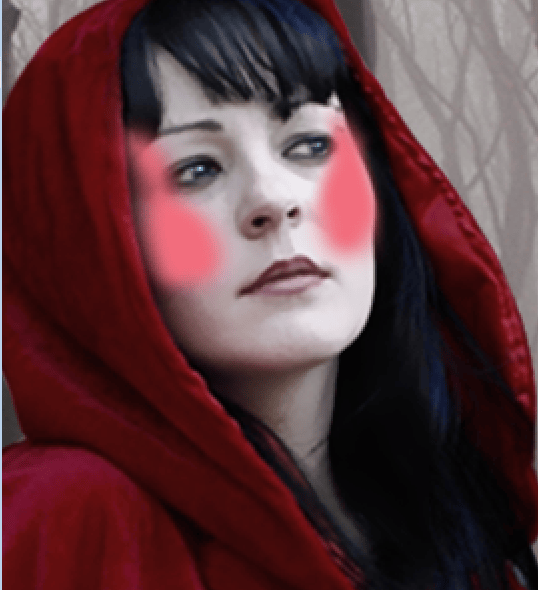
Create a new layer pressing SHIFT+CTRL+N, and paint with a soft brush over the model’s cheeks to make the blush, with a pink tone.
Step 34
Put the layer in multiply, and add some Gaussian blur. Go to filter -> blur -> Gaussian Blur. Add 10 of radius. You can change the opacity of the layer as much as you like.
33 responses to “How to Create a Red Riding Hood Artwork in Photoshop”
-
nice tutorial :)
-
loved it
-
Was forced to do this but still good work on the tutorial
-
Elegant, modern, very different..
-
Awesome…!!!
-
nice
-
As a beginner ,i appreciate it.thank you
-
i lkie artes!
-
-
try hard…
-
Love the tutorial thank you, heres a link to my final product http://1artpro.deviantart.com/art/Red-Ridinghood-350746058?ga_submit_new=10%253A1359240729
-
-
boas , mais um excelente tutorial e uma belo ensinamento… muito obrigado
-
@jorgemiranda de nada Jorge, fico feliz que achasse interessante :)
-
-
Thanks for making Photoshop easy to learn…
Just sharing:-
@Julia Garner thank you Julia I’m glad you found it useful
-
-
This is an awesome picture.
I like the color and the blur circle in the last part. make it more mysterious.-
@Ayaron thank you :)
-
-
thank you… great tutorial… hope there more excited tutor that I could try…
-
@macarip thanks, I hope to see your result!
-
-
Great tutorial, congratulations, best regards
-
Awesome Tutorial.. Love it..
-
reywen, rock under the skull basket.
-
my teacher forced us to do this. I hate it!!
-
-
where is rock picture?
-
Did you find it? I cant find it as well.
-
-
superb
-
thanks for tutorial its useful for me as beginner
-
nice use of photoshop ..
to create a red ridding hood artwork n photoshop..
thanks for sharing.. -
really nice post and it will be useful ..thanks to share.
-
nice tutorial…!!!
-
Hola andrea hermoso tutorial gracias por compartir tus conocimientos
graciela -
Thanks for this tutorial. I really enjoyed it. :)
-
shut up george
-


Leave a Reply