Make skin look perfect in one-click with these AI-powered Photoshop actions.

Step 15 - Adding Shadows under the Feet
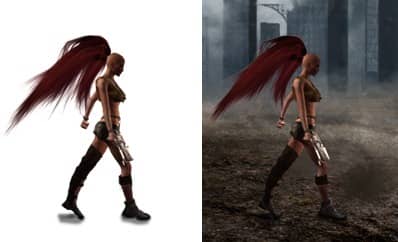
In the picture above you’ll see that the woman doesn’t look like she is on the plain, but more like she is levitating over it. To fix this add shadow under her feet. Create a new layer under WOMAN and name it FEET SHADOW. Select the Brush Tool (B), pick a black color, and set the opacity to 0%. Now paint a thin shadow just under her feet. Below, I used a white layer underneath so you can see what to paint better.

Step 16 - Adding the Rope
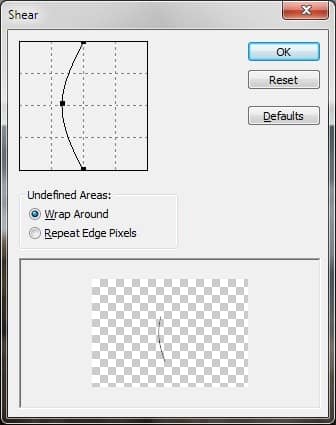
Add the rope the woman leads the elephant with. Create a new layer on the top of your layers and name it ROPE. Select the Line Tool (U) and pick a dark brown color. Set the Weight as wide as you want the rope to be. This depends on the size of the picture you’re working on. Once you find the proper weight paint a vertical line. Now go to Filter > Distort > Shear and set the filter as shown below.

Press OK.
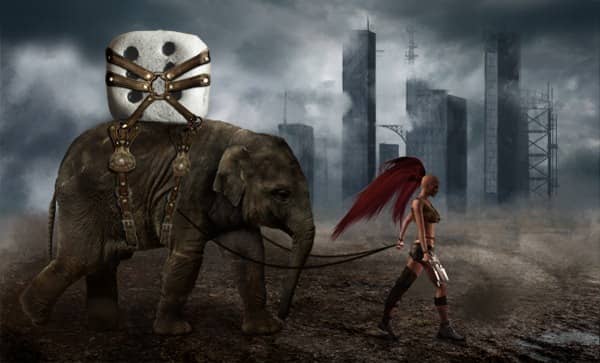
Press Ctrl + T and rotate the rope so it looks like the woman has it in her hand and it’s tied to the elephant’s belt. Duplicate the layer and place it a little higher to make it look like it’s in the background. Then add a vector mask to this layer and paint over the parts of the rope that are supposed to be behind the elephant with a black brush.

Step 17 - Adding Birds
Download the picture of the birds. Select some of them and drag them into the manipulation. Place them similar to as they are shown in the preview picture. Ravens that are farther in the background should be smaller and lighter. To make them smaller, press Ctrl + T and resize them. To make them lighter, press Ctrl + L to activate Levels Color Adjustment and lighten them a bit (you don’t need to use an adjustment layer because it won’t affect the image very much).
Step 18 - Motion Blur
Use motion blur to add some motion to the birds. I will explain the process on one bird and you can repeat the same steps on the rest. Duplicate the layer with the bird and place it under the bird. Now go to Filter > Blur > Motion Blur. Set the Distance to around 15 px (this depends on the size of the image you’re working with) and change the angle so that it fits the angle of the bird. Then press OK. Repeat the process with the rest of the birds.


3 comments on “How to Create an Amazing Apocalyptic Photo Manipulation in Photoshop”
Thanks for the tutorial, I really enjoyed it.
sir, your works is very nice.....
sorif,
hello Jarka Hrncárková thank you so much for this tutorial I've try it and I'll teach it to my students also thank u so much... :)