Step 19 – Adding the Mist
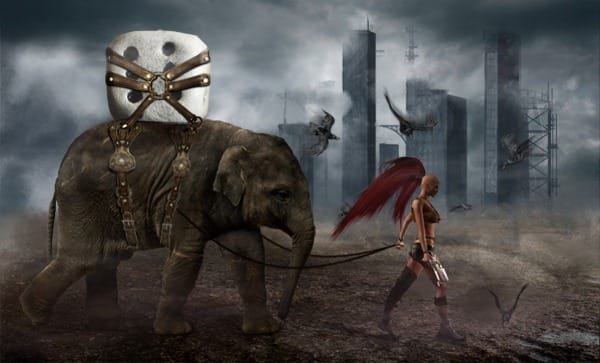
If you want to create mystic atmosphere in your manipulation adding mist adds a nice effect. Download some mist brushes (I used these) and upload them to Photoshop.
Create a new layer on the top of your layers and name it MIST. Select the Brush Tool (B) and select one of the mist brushes you installed. Now pick a bright color from the sky and paint some mist. I recommend that you to play around with different colors and opacities to get a more realistic result. Avoid using pure white because it’s too bright and not very common in nature. For example, if you see white flowers they’re not actually white but instead light yellow. The same thing goes about using black. Try to use darker tones of other colors. It’s a lot more realistic.

Step 20 – Global Light
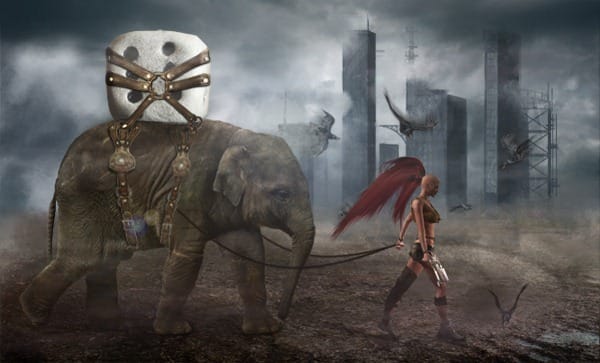
All of the elements are now placed in the scene. Now the focus is on setting the global light source and color adjustments. First, add a lens flare to the center of the image to create the main light source. To do this, add a new layer on the top of the layers and name it LENS FLARE. Select the Gradient Tool (G) and fill the layer with solid black color.
Now go to Filter > Render > Lens Flare and choose the flare you like. I used 105mm Prime. Press OK. To make the flare more realistic, blur it a bit. Go to Filter > Blur > Gaussian Blur, then set the value Diameter to about 1 px. Press OK. To blend the layer nicely, change the Blending Mode to Screen.

Step 21 – More Lights and Shadows
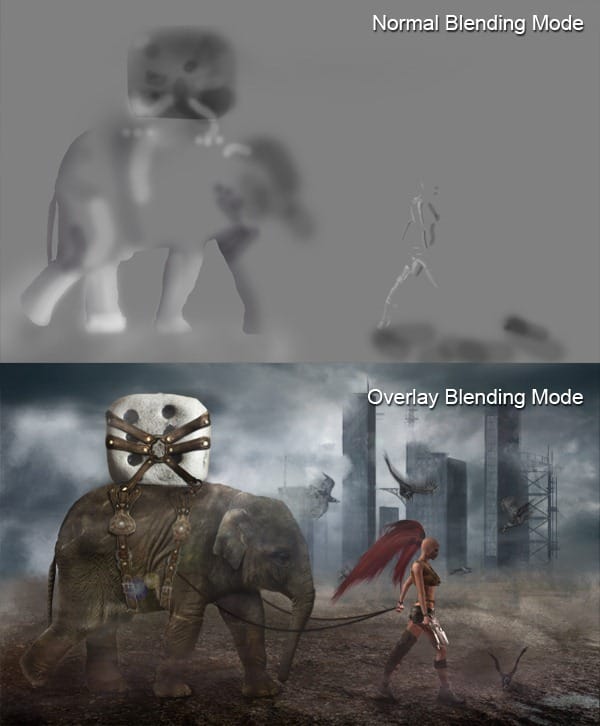
There should be more light and shadow on the objects in the foreground and also on the ground. To do this, add a new layer on top of your layers and fill it with solid #808080 grey color. Change the Blending Mode to Overlay.
Select the Brush Tool (B) and choose a soft round brush. Pick a white color and lower the opacity, then paint over the areas that should have more highlights. Next pick a black color and paint over the shadows.

Step 22 – Better Light Source
The light source needs to be more visible. Add a new layer on top of your layers and fill it with solid #808080 grey color. Now go to Filter > Render > Lightning Effects, and set it with the settings shown below. Change the Blending Mode of this layer to Overlay.
3 responses to “How to Create an Amazing Apocalyptic Photo Manipulation in Photoshop”
-
Thanks for the tutorial, I really enjoyed it.
-
sir, your works is very nice…..
sorif, -
hello Jarka Hrncárková thank you so much for this tutorial I’ve try it and I’ll teach it to my students also thank u so much… :)


Leave a Reply