Turn any photo into a dot grid artwork with these Photoshop actions. You'll get great results with dots that change size. They get larger in brighter areas and smaller in darker areas. Free download available.
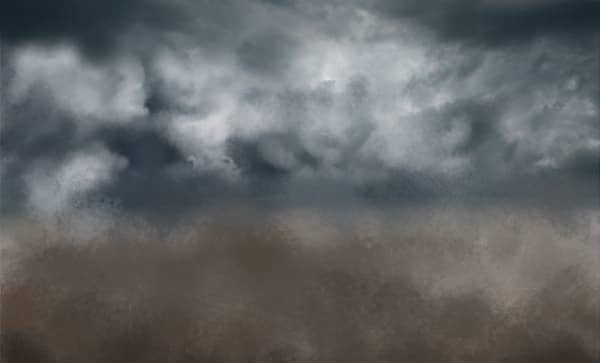
Select the Brush Tool (B) and select one of the brushes you installed. Pick a dark brown color (a bit darker then the gradient brown) and paint some texture on the GROUND TEXTURE layer. See below for an example:
Download the picture of the ground (if you use resources from my blog use Ground 1) and drag it into the manipulation. Name the layer GROUND 1 and place it on the top of your layers. Change the Blending Mode of the layer to Soft Light.

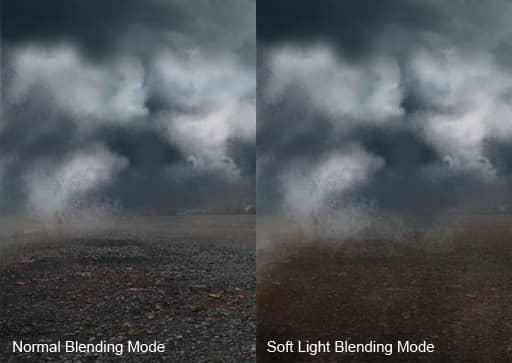
For this image you could use the Normal Blending Mode but the Soft Light creates a nice painted look. You can see a comparison below:
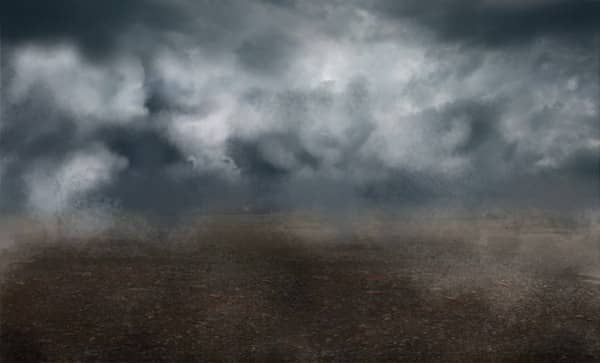
Add a vector mask to GROUND 1 and blend the image. After this step your picture should be similar to the one below.
Step 4 - Adding Details to the Foreground
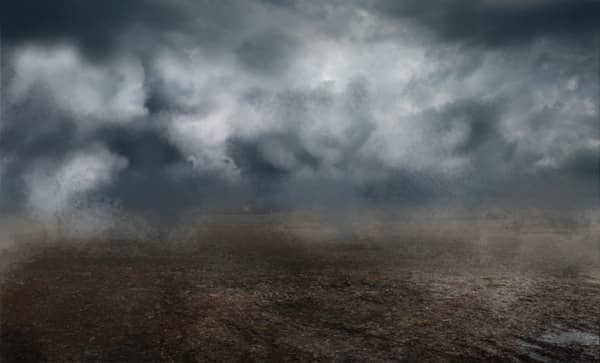
The ground in the foreground looks a bit flat and uninteresting. It would look better with more details. To do this, download Ground 2 from the blog mentioned previously (or use your own resources) and drag it into the manipulation. Name the layer FOREGROUND DETAILS and put it on the top of your layers. Change the Blending Mode to Soft Light again and add a vector mask. Select the Brush Tool (B) and select a soft round brush. Pick a black color and blend this layer.
Step 5 - Adding Skyscrapers
Download or paint the skyscrapers. If you want to download them, download them from the link provided earlier and drag them into the manipulation and blend them as you did it in the previous steps. If you want to paint them by yourself you can use custom Photoshop brushes.
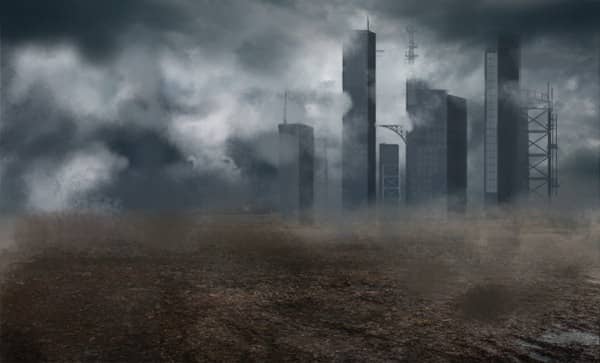
Step 6 - Creating the Path
Connect the background and foreground to make your picture look more unified. Connect them by creating a path from the city to the foreground. To do this, add a new layer on top of your layers and name it PATH. Select the Gradient Tool (G). Choose #808080 grey and fill the layer with this solid color. Change the Blending Mode to Overlay.
Select the Brush Tool (B), and choose some of the texture brushes that you installed earlier. Pick a light grey color and paint the curve in the area where the path should lead. Then pick a darker grey color and paint around the borders of the path. See a comparison of the two blending modes in the image below. The background path should be lighter because things in the distance tend to be lighter.


3 comments on “How to Create an Amazing Apocalyptic Photo Manipulation in Photoshop”
Thanks for the tutorial, I really enjoyed it.
sir, your works is very nice.....
sorif,
hello Jarka Hrncárková thank you so much for this tutorial I've try it and I'll teach it to my students also thank u so much... :)