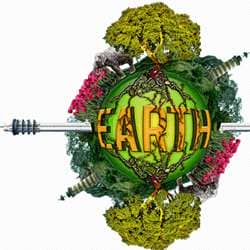
Luminar AI lets you turn your ideas into reality with powerful, intelligent AI. Download the photo editor and see how you can completely transform your photos in a few clicks.
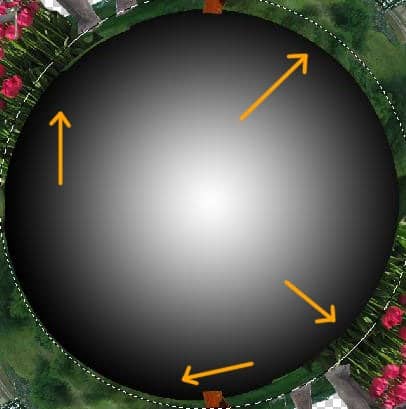
With the sphere selection enabled, go through all layers separately and hit delete to erase the pieces of the picture that hangs over the sphere to much. If you have done that with all the layers you will end up with something like this :
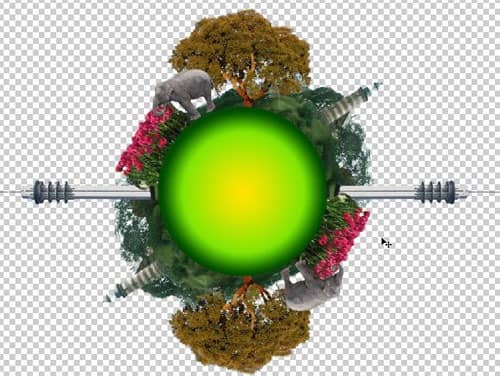
Step 10 – Add a Green Photo Filter
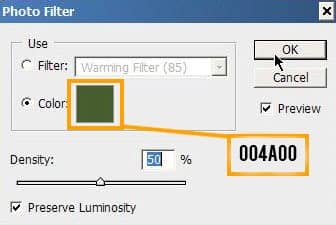
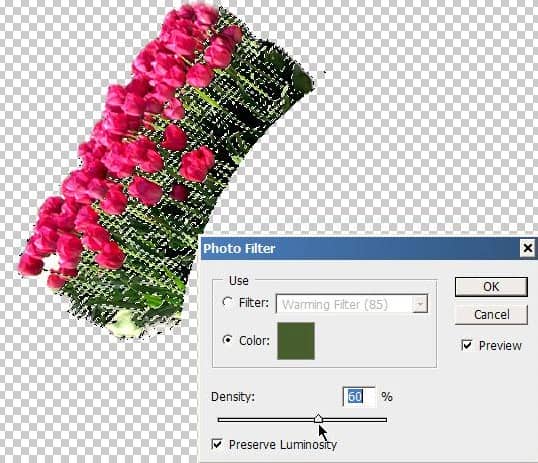
I used different filters to adjust the colors. Hue and saturation and exposure settings are the most common i used. But first i used the photo filter to give all the picture layers a greenish photo filter. The color i used is the color from the outside gradient of the sphere. So they will match a little bit better.
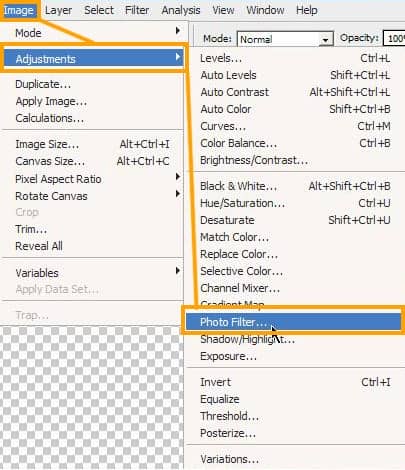
Give all the layers (except the elephant) this photo filter adjustment.
I do not want to ruin the beautiful tulips color, so select out only the green section of it. Use the color range selector we used earlier:
Step 11 – Further adjustments
Also apply the Exposure and Hue/Saturation filters on the pictures to lift up the colors:
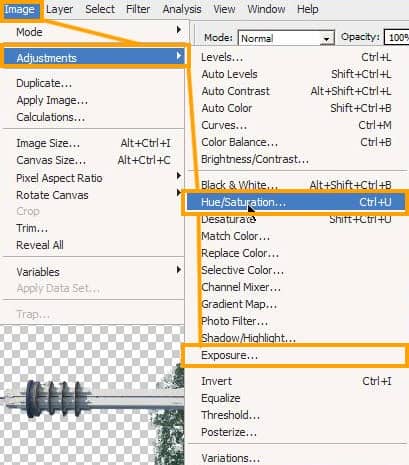
For the people who want to know exactly witch settings i used :
- Tulips: (always mirror and original) Exposure +0.92 Offset -0.0137 Gamma 1,02.
- Tulips: Hue +7 Saturation +40
- Oak: Exposure +0.65 Offset -0,0765 Gamma 0,78
- Danish tower: Exposure +0.39 Offset -0.0333 Gamma 0,91
- Broadcast tower: Exposure +0.81 Offset - 0.0412 Gamma 1,08
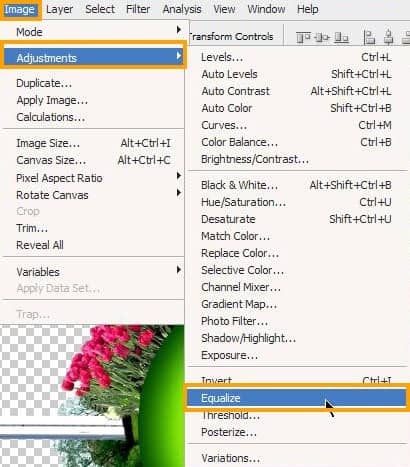
For the elephant i used the setting Equalize. This give the elephant(s) the right color setting for this project.
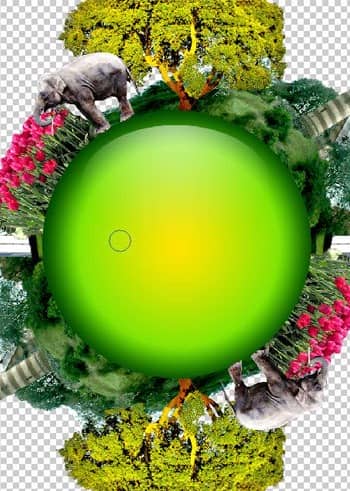
If you have done all of that, you have something similar to this:
Step 12 – Add the Earth text
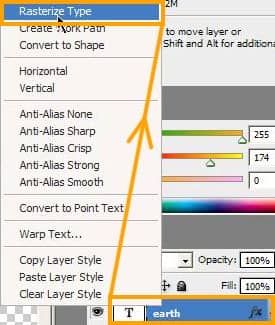
In the next steps we are going to insert the EARTH text. Use the Type Tool (T) and create you own text or follow my text. Rasterize the text, right click on the text layer and choose rasterize. I gave the text a little bevel in blending option but you can also do it later*.
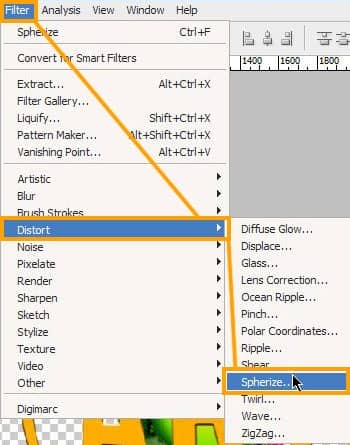
Then spherize the text about three times at 100%.
Also you can use a little bit warp (Edit > Transform > Warp) to get it complete right.
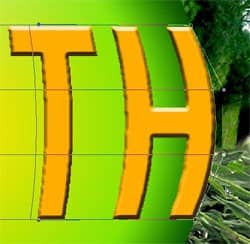
I cut out the letters E and A then put them on a different layer. Also did the same with the T and H. I did that because I want to create different drop shadow effect.
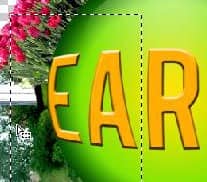
When you give the EA & TH its own layer, select the EA layer, right click on it then choose blending options.
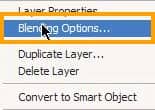
Right click on the layer then choose Blending Options. Give it a drop shadow. Uncheck the Use Global Light option. Pay attention to the angle of the drop shadow. Repeat this for all the letters. Use the opposite angle setting for the T and H letters. The letter R should have no drop shadow.
