Luminar AI lets you turn your ideas into reality with powerful, intelligent AI. Download the photo editor and see how you can completely transform your photos in a few clicks.
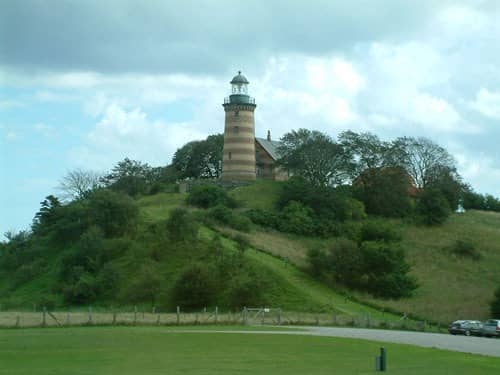
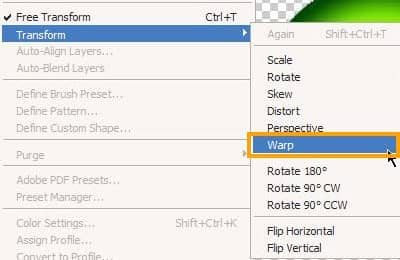
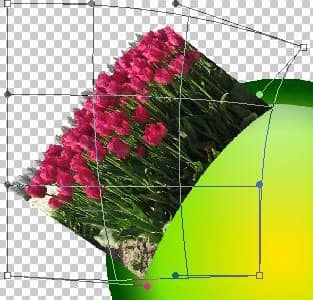
Warp this image using the Edit > Transform > Warp tool.
Carefully warp the image to fit the sphere.
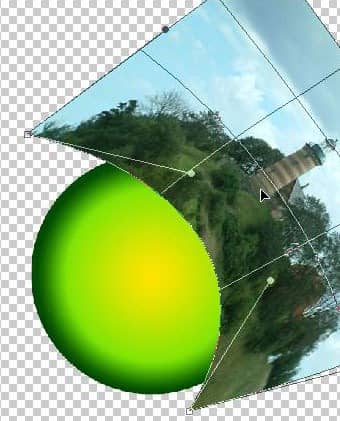
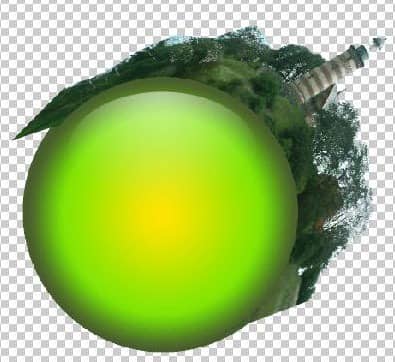
If you get it in the right curve, use the Magic Wand Tool (W) or the Eraser Tool (E) to delete unwanted sky pieces. You can also use the color range selector we used earlier to delete unwanted areas of the picture.
Step 6 – Add an elephant
This picture is taken in The Netherland during a zoo visit! Use the Pen Tool (P) and carefully draw around the elephant.
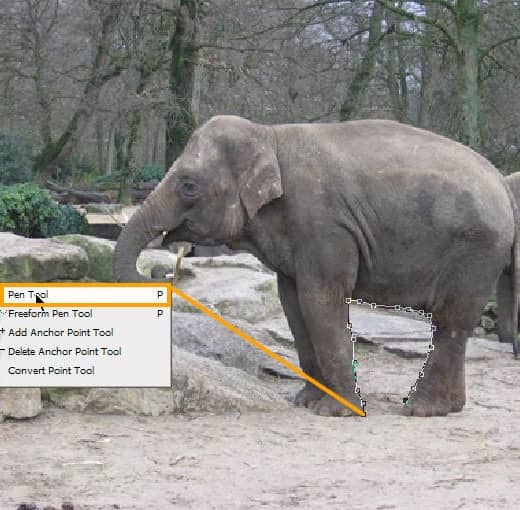
Then when you are finished with the Pen Tool (P), right click on the pen line and choose Make Selection.
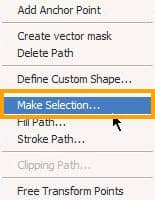
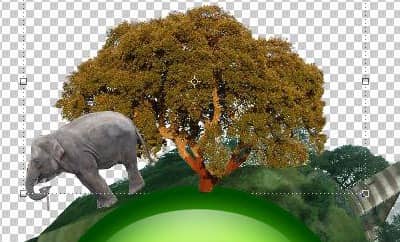
Hit delete and you have a cut out elephant. Place this on the left side of the north pole of our sphere.
Step 7 – Add some tulips
Now we are adding some beautiful tulips! This picture is made in The Netherlands as well, during a really nice sunny day in April!
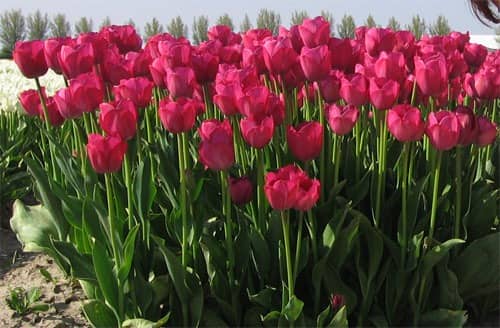
I cut out a piece of the photo i need for the project and rotate it like this. Then I deleted the areas we don't need with the Eraser Tool (E) and with the Magic Wand Tool (W).
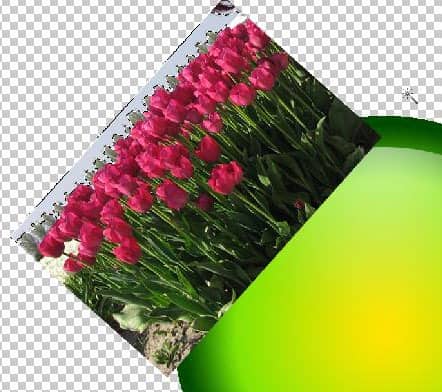
Choose Edit > Transform > Warp then warp the photo of the tulips around the sphere. You don’t need to warp it completely around the sphere because we delete some area's later.
Step 8 – Add the broadcast tower
Now we are going too add the 5th and last picture into this project. I think it is a picture of radio/TV broadcast tower. This photo was also photographed in The Netherlands during the same day as the beautiful tulips.
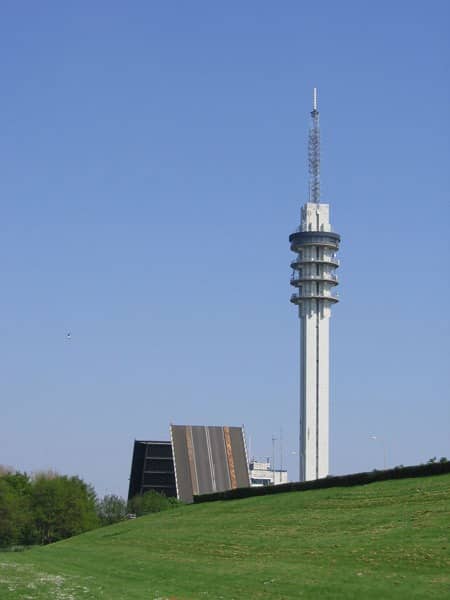
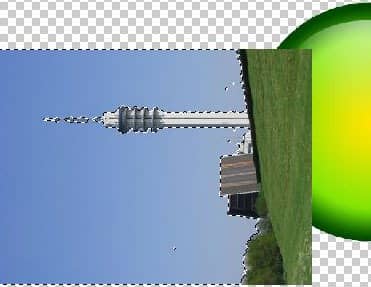
Cut out this tower with the Pen Tool (P). When you are finished, right click on the pen line then choose Make Selection. Place the tower on the west side of the sphere.
Step 9 – Mirror the image
I hope you named all your layers! Now we are going to mirror all the pictures to the other side of the sphere. One by one duplicate your layers, so -tulips- duplicate become -tulips mirror- etc.
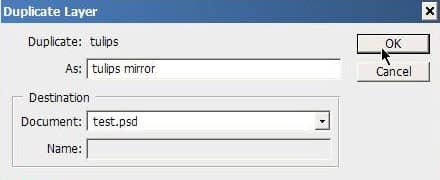
If you have done that, then one by one select the layers and checkmark Show Transform Controls.

Drag the picture diagonal, so it will mirror. Then to scale it correctly adjust the settings to -100% :

Then place the selected picture at the right location, exactly opposite of the original. Then when you have mirror all the pictures, Ctrl + click the sphere layer to select it. Choose Select > Modify > Contract and play with the setting to shrink the selection but not too much! Don't contract the selection that much or else it would not go beyond any picture! I have made the sphere black & white so you can see witch area's will be deleted so you get the idea of what we are doing.

