Luminar AI lets you turn your ideas into reality with powerful, intelligent AI. Download the photo editor and see how you can completely transform your photos in a few clicks.
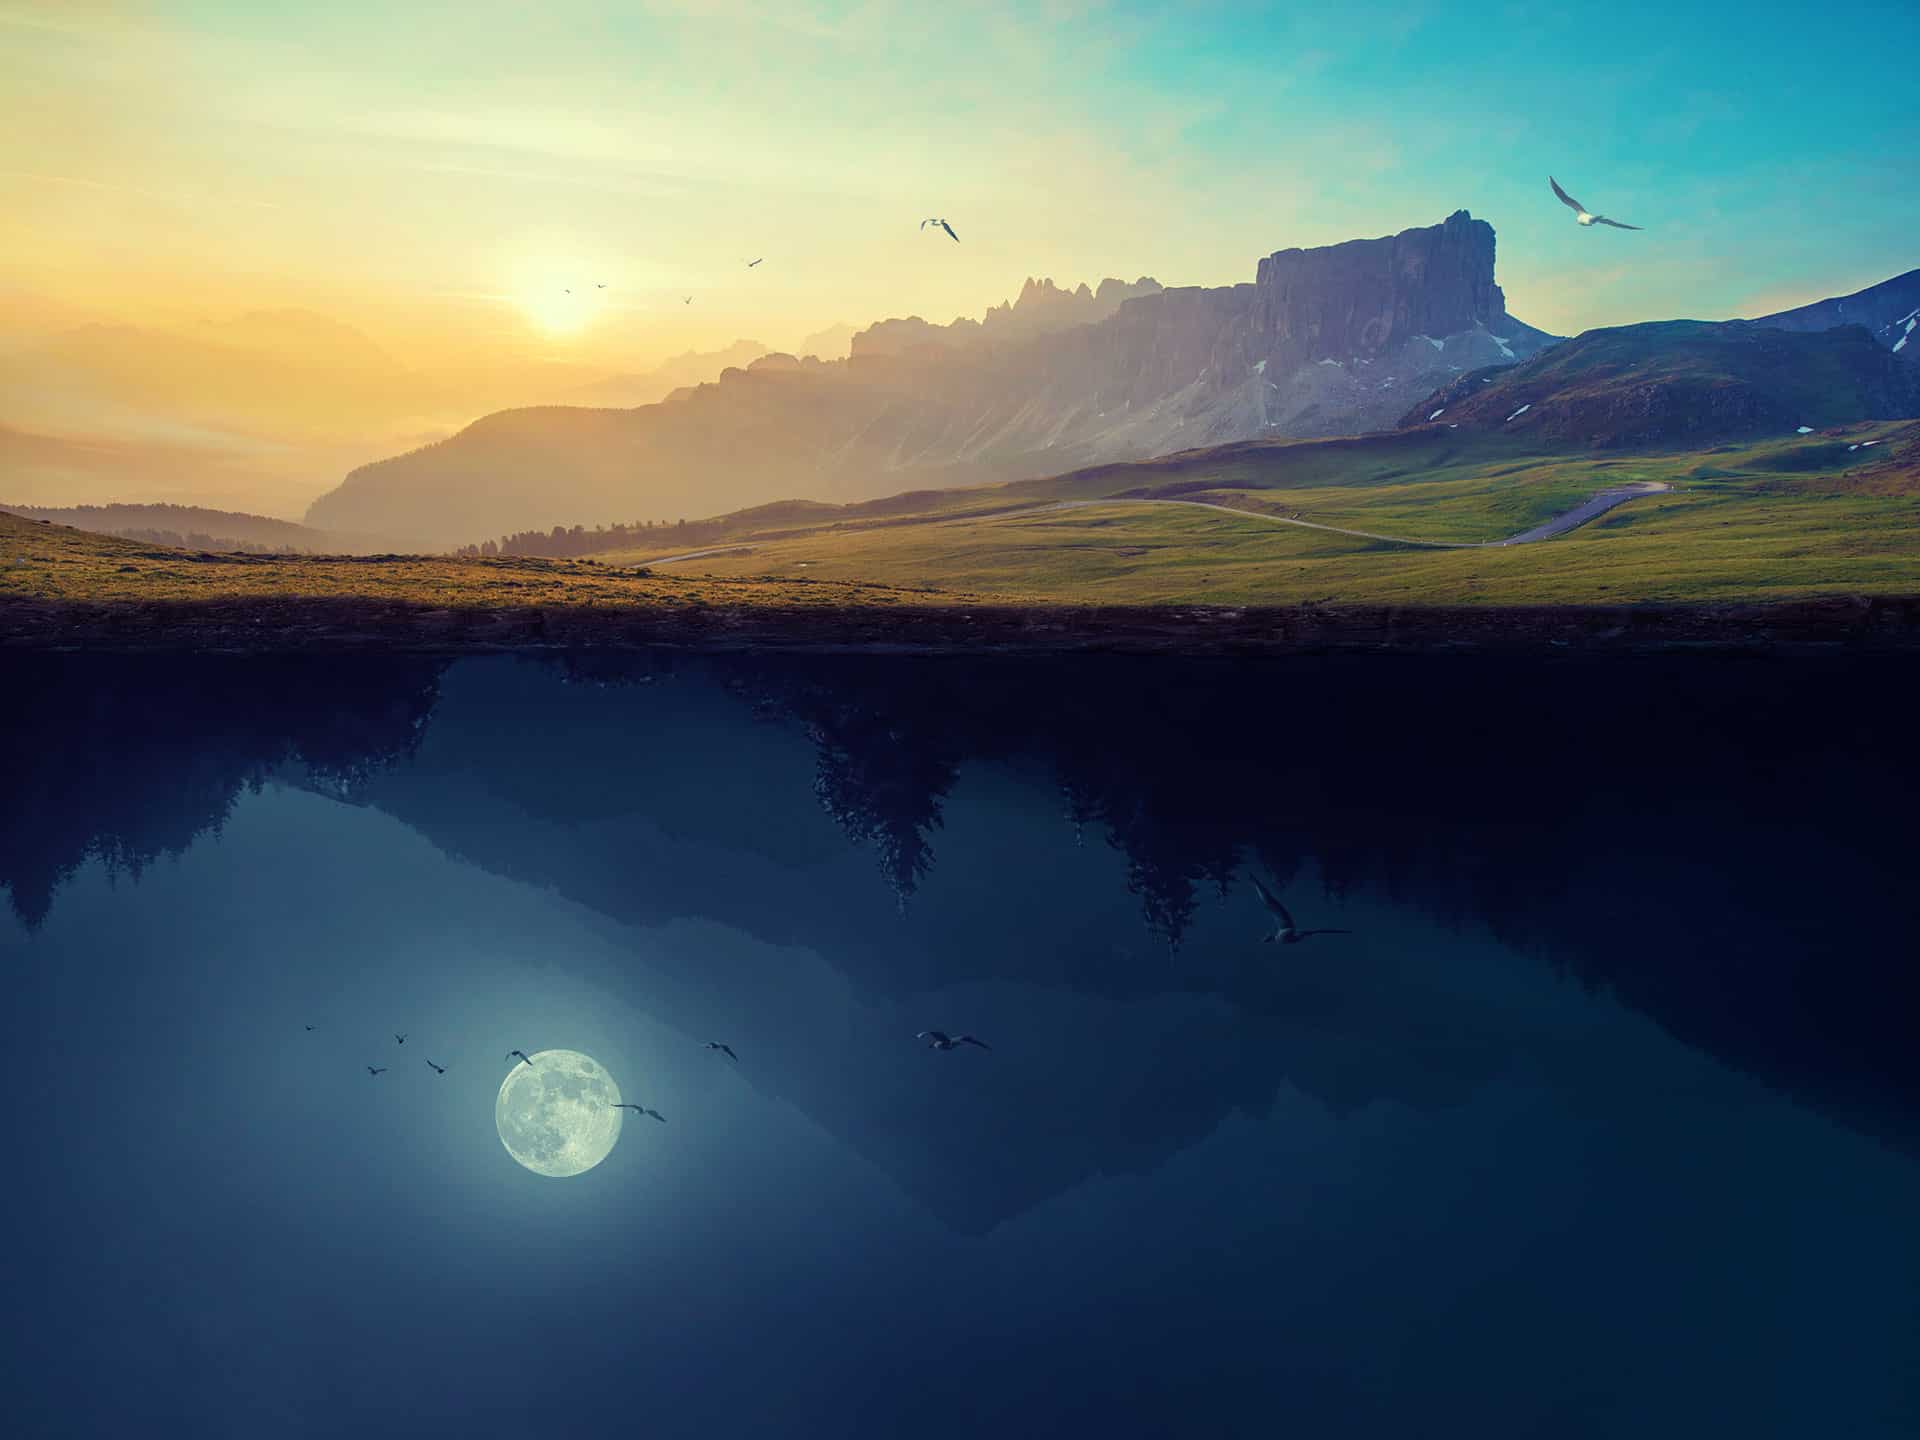
In this tutorial, I'll show you how to create a surreal upsidedown landscape featuring the time of day and night. First, we'll build the base environment with several stock images of sky and landscape. After that, we'll add the underground mountains, the moon, and birds. Later, we'll add more details and refine the scene using brushes, dodging, and layer modes. We'll use several adjustment layers to enhance the final effect.
Preview of the Final Result
Tutorial Resources:
Step 1
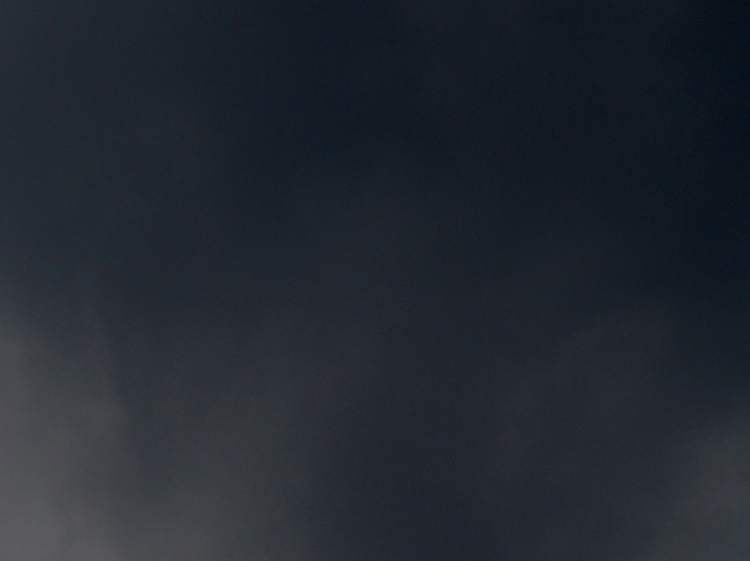
Create a new 2000x1500 pxdocument and fill it with white. Open the sky 1 image an drag it into the white canvas using the Move Tool (V). Show the right of the sky to cover the canvas.
Step 2
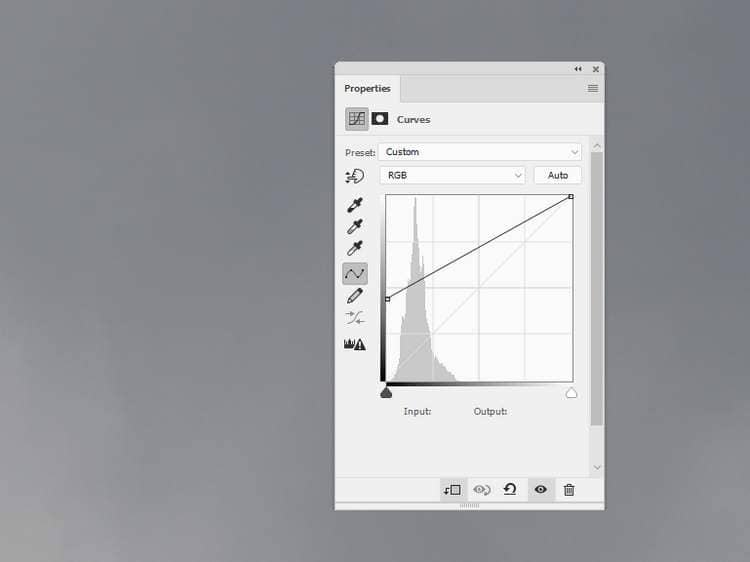
Go to Layer > New Adjustment Layer > Curvesand increase the hazy light much to make the sky look lighter . On the layer mask, activate the BrushTool (B)and select a soft round one with black color . Use this brush with the opacity about 5-10%to erase the left bottomof the sky to make it a bit darker than the rest.
Step 3
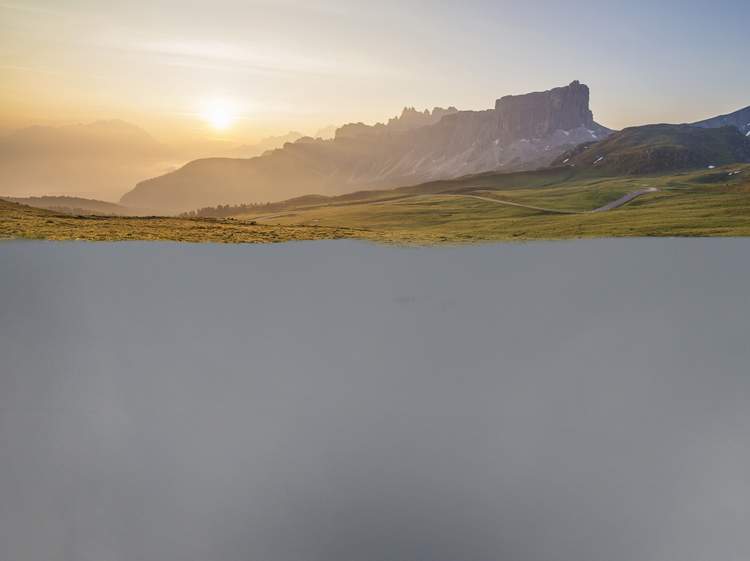
Open the landscape 1 image and drag it onto the upper of the main canvas and use the Free Transform Tool (Ctrl+T)to resize it to fit the size of the document.
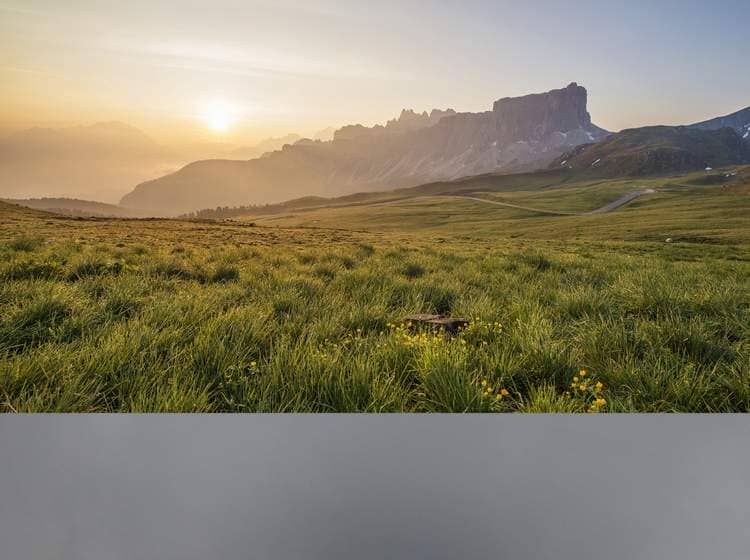
Click the second icon at the bottom of the Layerspanel to add a mask to this layer. Use a medium-soft black brush to remove the bottom of the landscape image .
Step 4
Place the landscape 2 image below the landscape 1 image. Flip it vertically (Edit > Transform > Flip Vertical) and set this layer below the landscape 1 one.
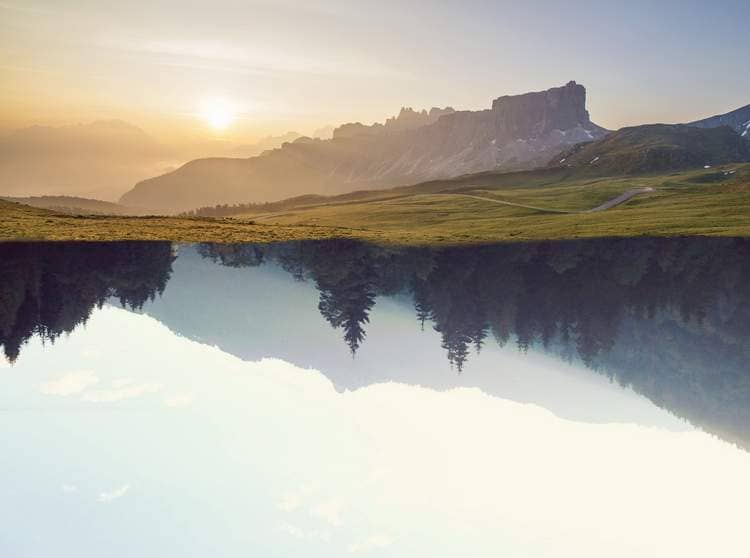
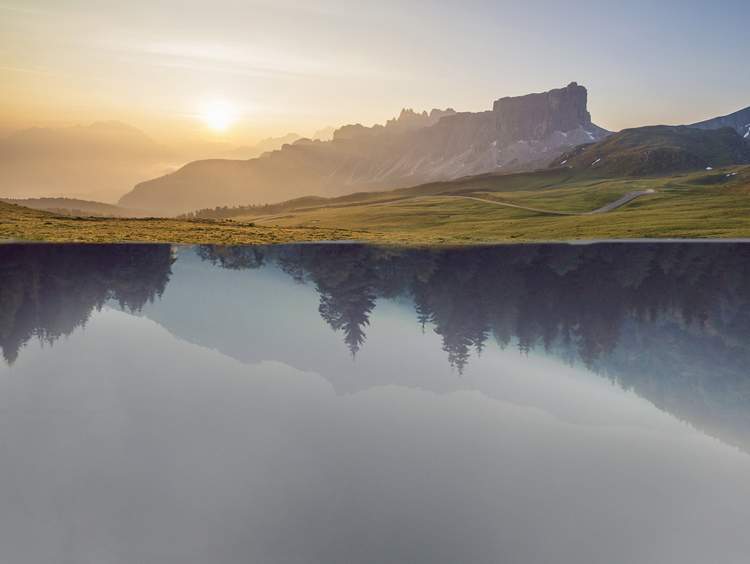
Add a mask to this layer and use a soft black brush with the opacity about 40-50%to reduce the sky's visibility and blend the trees and mountains with the existing sky.
Step 5
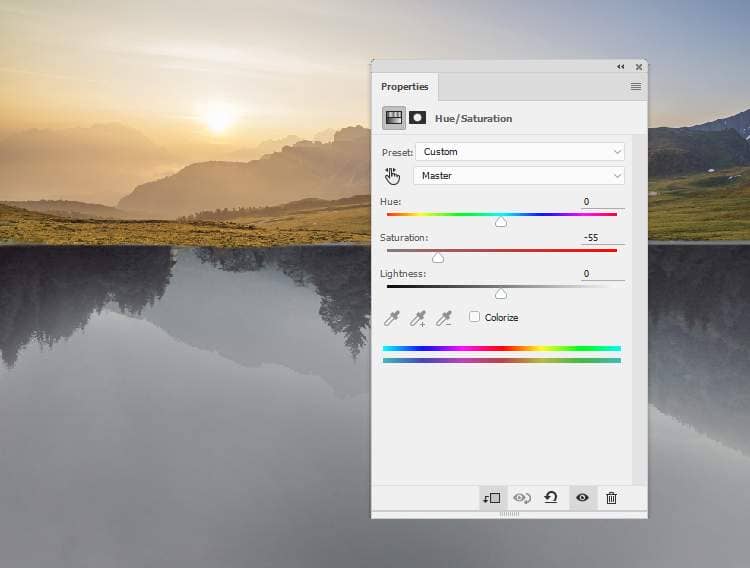
On the landscape 2 layer, go toLayer > New Adjustment Layer > Hue/Saturationand set it as Clipping Mask. Bring the Saturationvalues down to -55:
Step 6
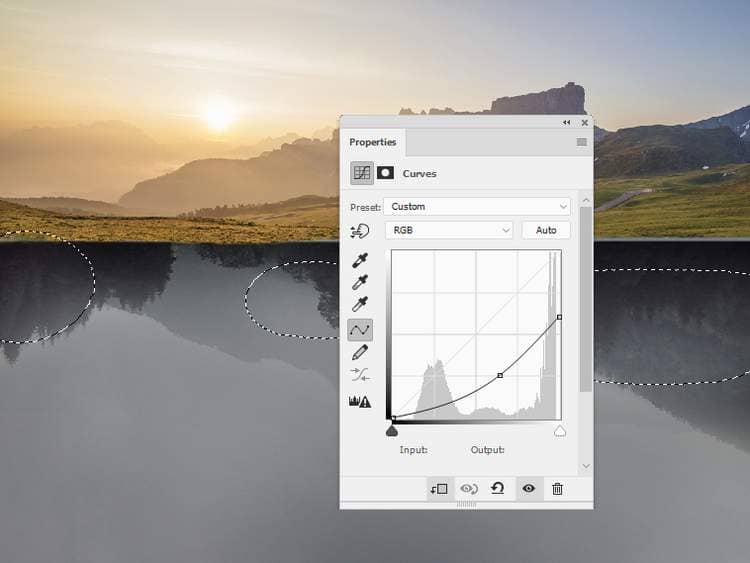
Make a Curvesadjustment layer (set as ClippingMask) and decrease the lightness. On this layer mask, use a soft black brush to reduce the effect on the trees or any details you feel too dark.
Step 7
Place the mountains image below the landscape 2 and flip it vertically. Move it to the lower section of the scene and change the mode to Hard Light 100%.


5 comments on “How to Create a Surreal Upside Down Landscape with Photoshop”
i love you<3
hey
yooo
Ooh! Cool! Thank you!
no