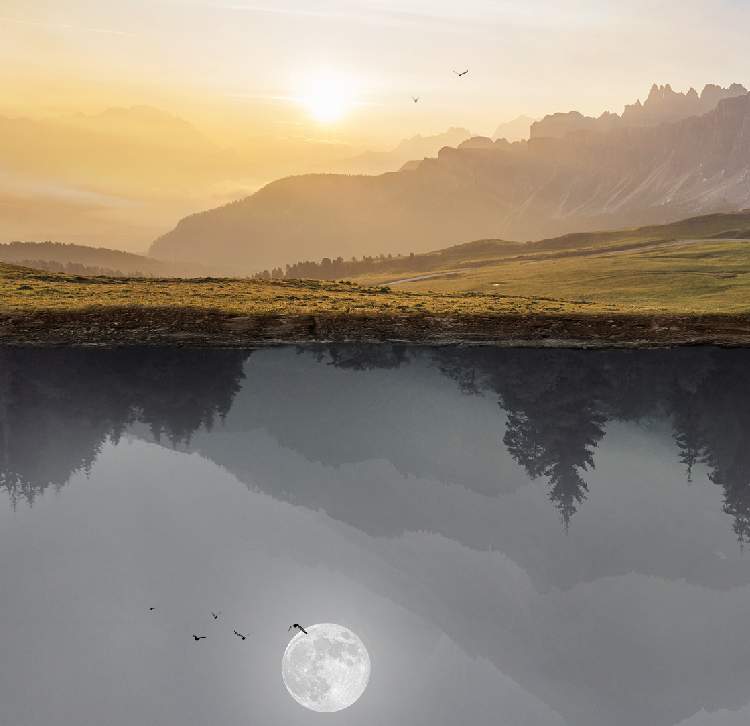
Step 21
Select all of the bird layers and hit Ctrl+Gto make a group for them. Change the group’s mode to Normal 100%and create a Curvesadjustment layer to increase the hazy light on the birds. On this layer mask, use a soft black brush to reduce the effect on the birds near the moon.
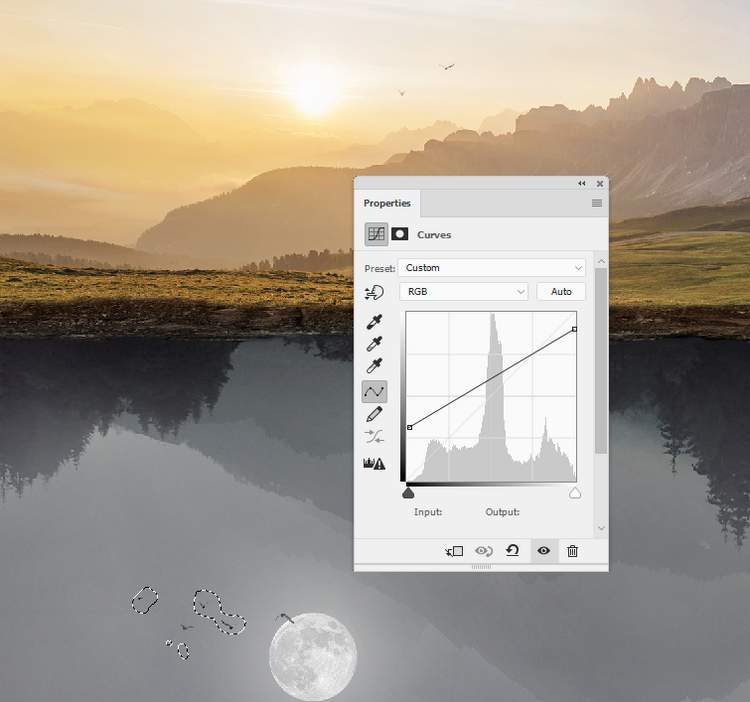
Step 22
Open the birds 2 image and cut them out using the Magic Wand Tool. I’ve chosen the following ones to add to the middle and right of the underground, creating a flow of the flying birds from left to right and upwards. Resize them to be a bit bigger than the birds 1 as they’re nearer the foreground than the birds 1 ones.
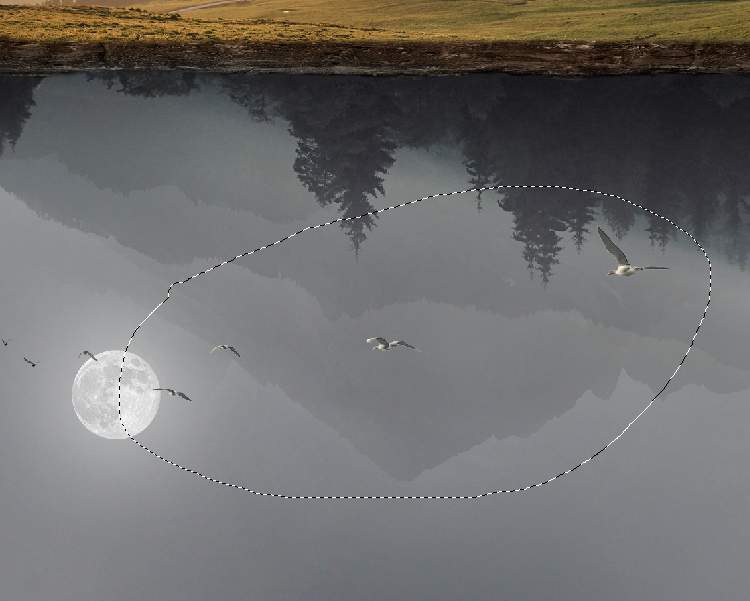
Step 23
Make a group for these birds and change the group’s mode to Normal 100%. Create a Hue/Saturationadjustment layer and bring the Saturationvalues down to –55:
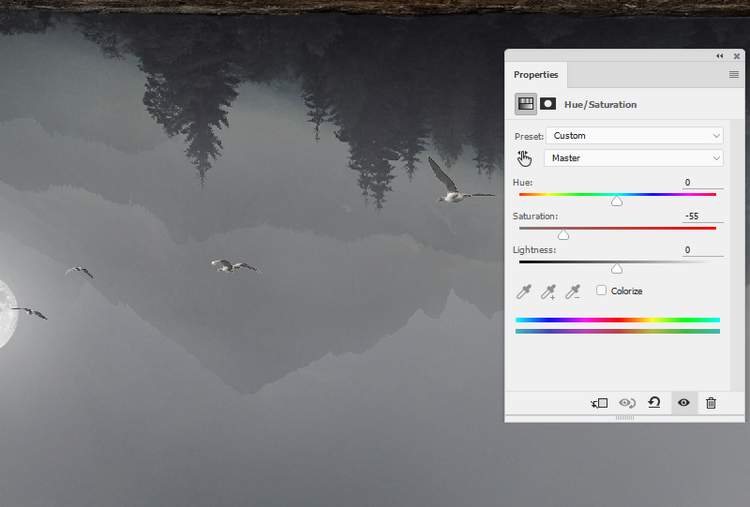
Step 24
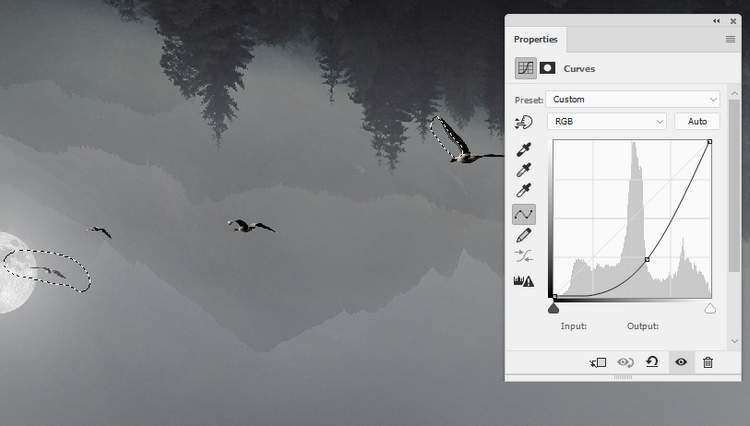
Make aCurvesadjustment layer to darken the birds. On this layer mask, use a soft black brush to reduce the contrast on the ones below:
Step 25
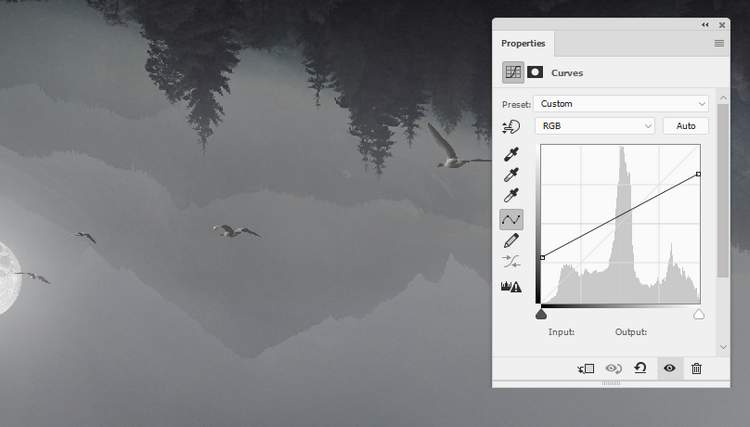
Create anotherCurves adjustment layer to increase the hazy light on the birds, making them intergrated better with the background.
Step 26
Add a new layer and use a soft brush with the color #e4e4e4to paint highlight on the wings of the bird on the right. I’ve used a layer mask to reduce the light a little.

Step 27
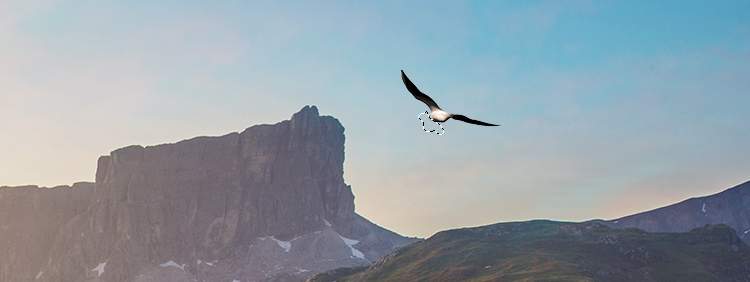
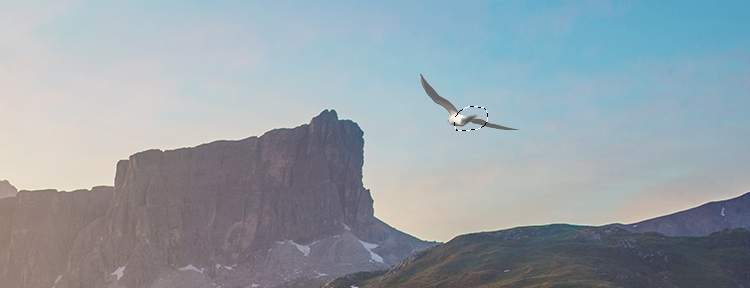
Cut out the birds 3 from the original background and take different birds to add to the space above the ground. I’ve chosen the following one but feel free to take your own. Vary their size to make them in the different distances but towards the sun. Set two tiny ones near the sun’s area.

Step 28
Add a mask to the bird layer nearest the foreground and use a hard black brush to remove the head of this bird.
Step 29
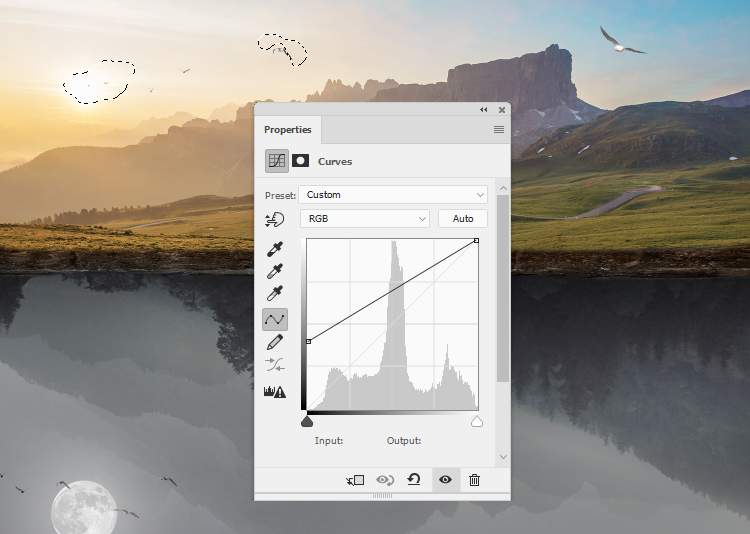
Create a group for these birds and add a Curvesadjustment layer within this group. Increase the lightness so much and on this layer mask, reduce the effect on the birds nearer the sun, leaving it visible mostly on the biggest bird.
Step 30
Make a new layer within this group and use a hard black brush to paint the missing tail for the big bird.so it looks more similar with the birds on the underground area.
Step 31
Create a new layer on top of the layers and use a medium-hard brush with the color #e4e4e4to paint highlight on the underground trees as they’re illuminatedby the moonlight.
5 responses to “How to Create a Surreal Upside Down Landscape with Photoshop”
-
i love you<3
-
hey
-
yooo
-
Ooh! Cool! Thank you!
-
no
-


Leave a Reply