Step 32
Make a new layer, change the mode to Overlay 100%and fill with50%gray. Select the Dodge Tool (O)with Midtones Range, Exposureabout 10%-15%to strengthen the highlight and paint more details for the trees. You can see how I did it with Normalmode and the result with Overlaymode.


Step 33
Create a new layer and use a soft brush with the color #eee2d5, the opacity about 20%to paint more dreamy light on the bird on the middle.

Make another layer and change the brush’s color to #a4c3ce, the opacity about 10%to paint on the biggest bird, making it blended better with the dreamy sky.

Step 34
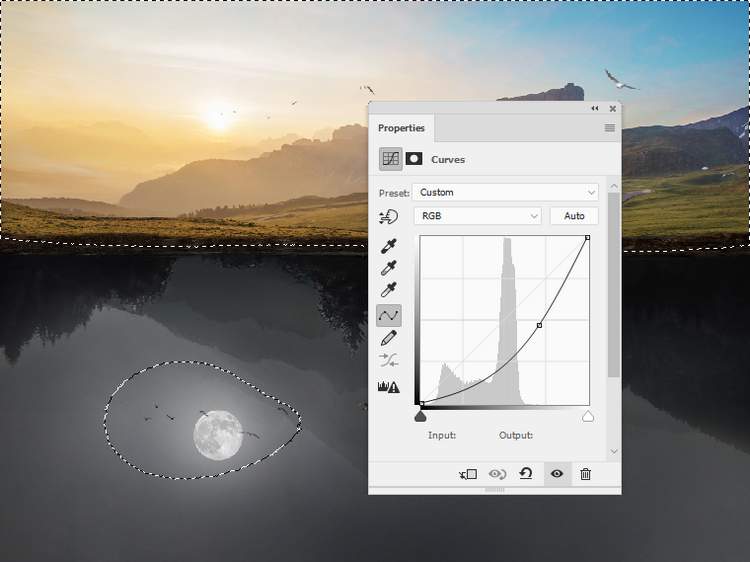
Create a Curvesadjustment layer on top of the layers and reduce the lightness. On this layer mask, paint on the sunlight landscape above and around the moon to reveal the light there.

Step 35
Make a Gradient Map adjustment layer and pick the color #e10019and #00601b. Lower the opacity of this layer to 20%.

Step 36
Make a Color Balanceadjustment layer and change theMidtones, Shadowsand Highlightssettings.


Step 37
Add a Color Lookupadjustment layer and pick NightFromDay.CUBE. On this layer mask, paint on the bright area above and around thee moon’s part.

Step 38
Create a Vibranceadjustment layer to enhance the final effect.

Final Result

Download the PSD
5 responses to “How to Create a Surreal Upside Down Landscape with Photoshop”
-
i love you<3
-
hey
-
yooo
-
Ooh! Cool! Thank you!
-
no
-

Leave a Reply