Make your artwork look like they're from an alternate universe. These Cyberpunk presets work with Photoshop (via the Camera Raw filter) and Lightroom. Download all 788 presets for 90% off.
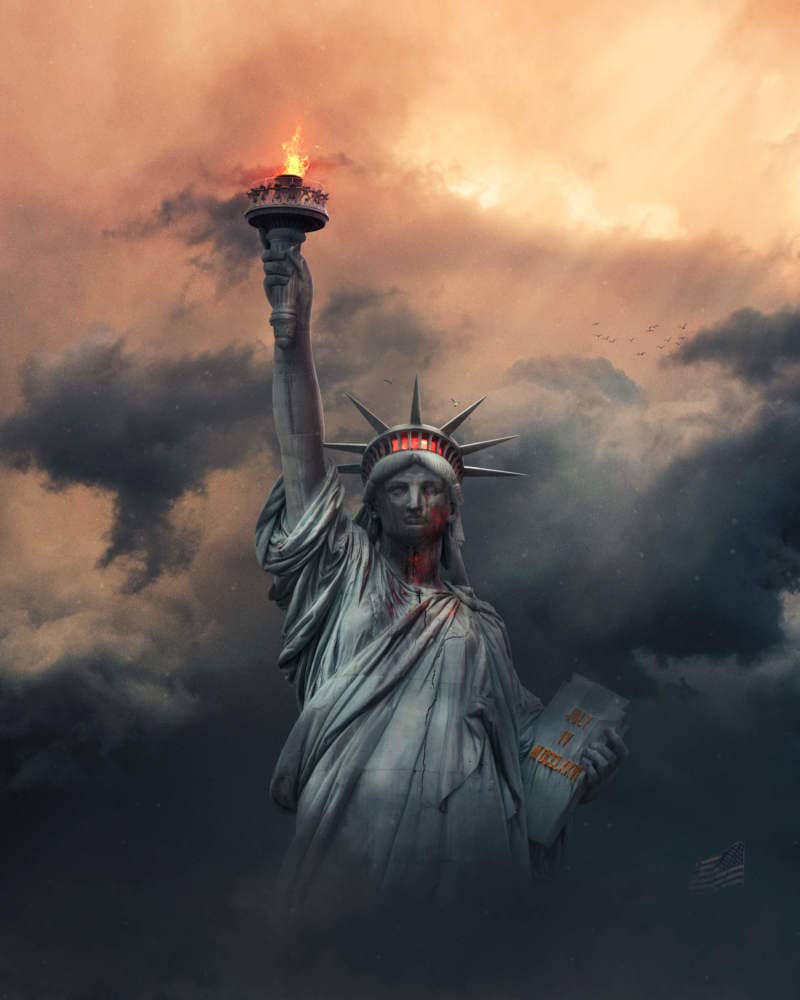
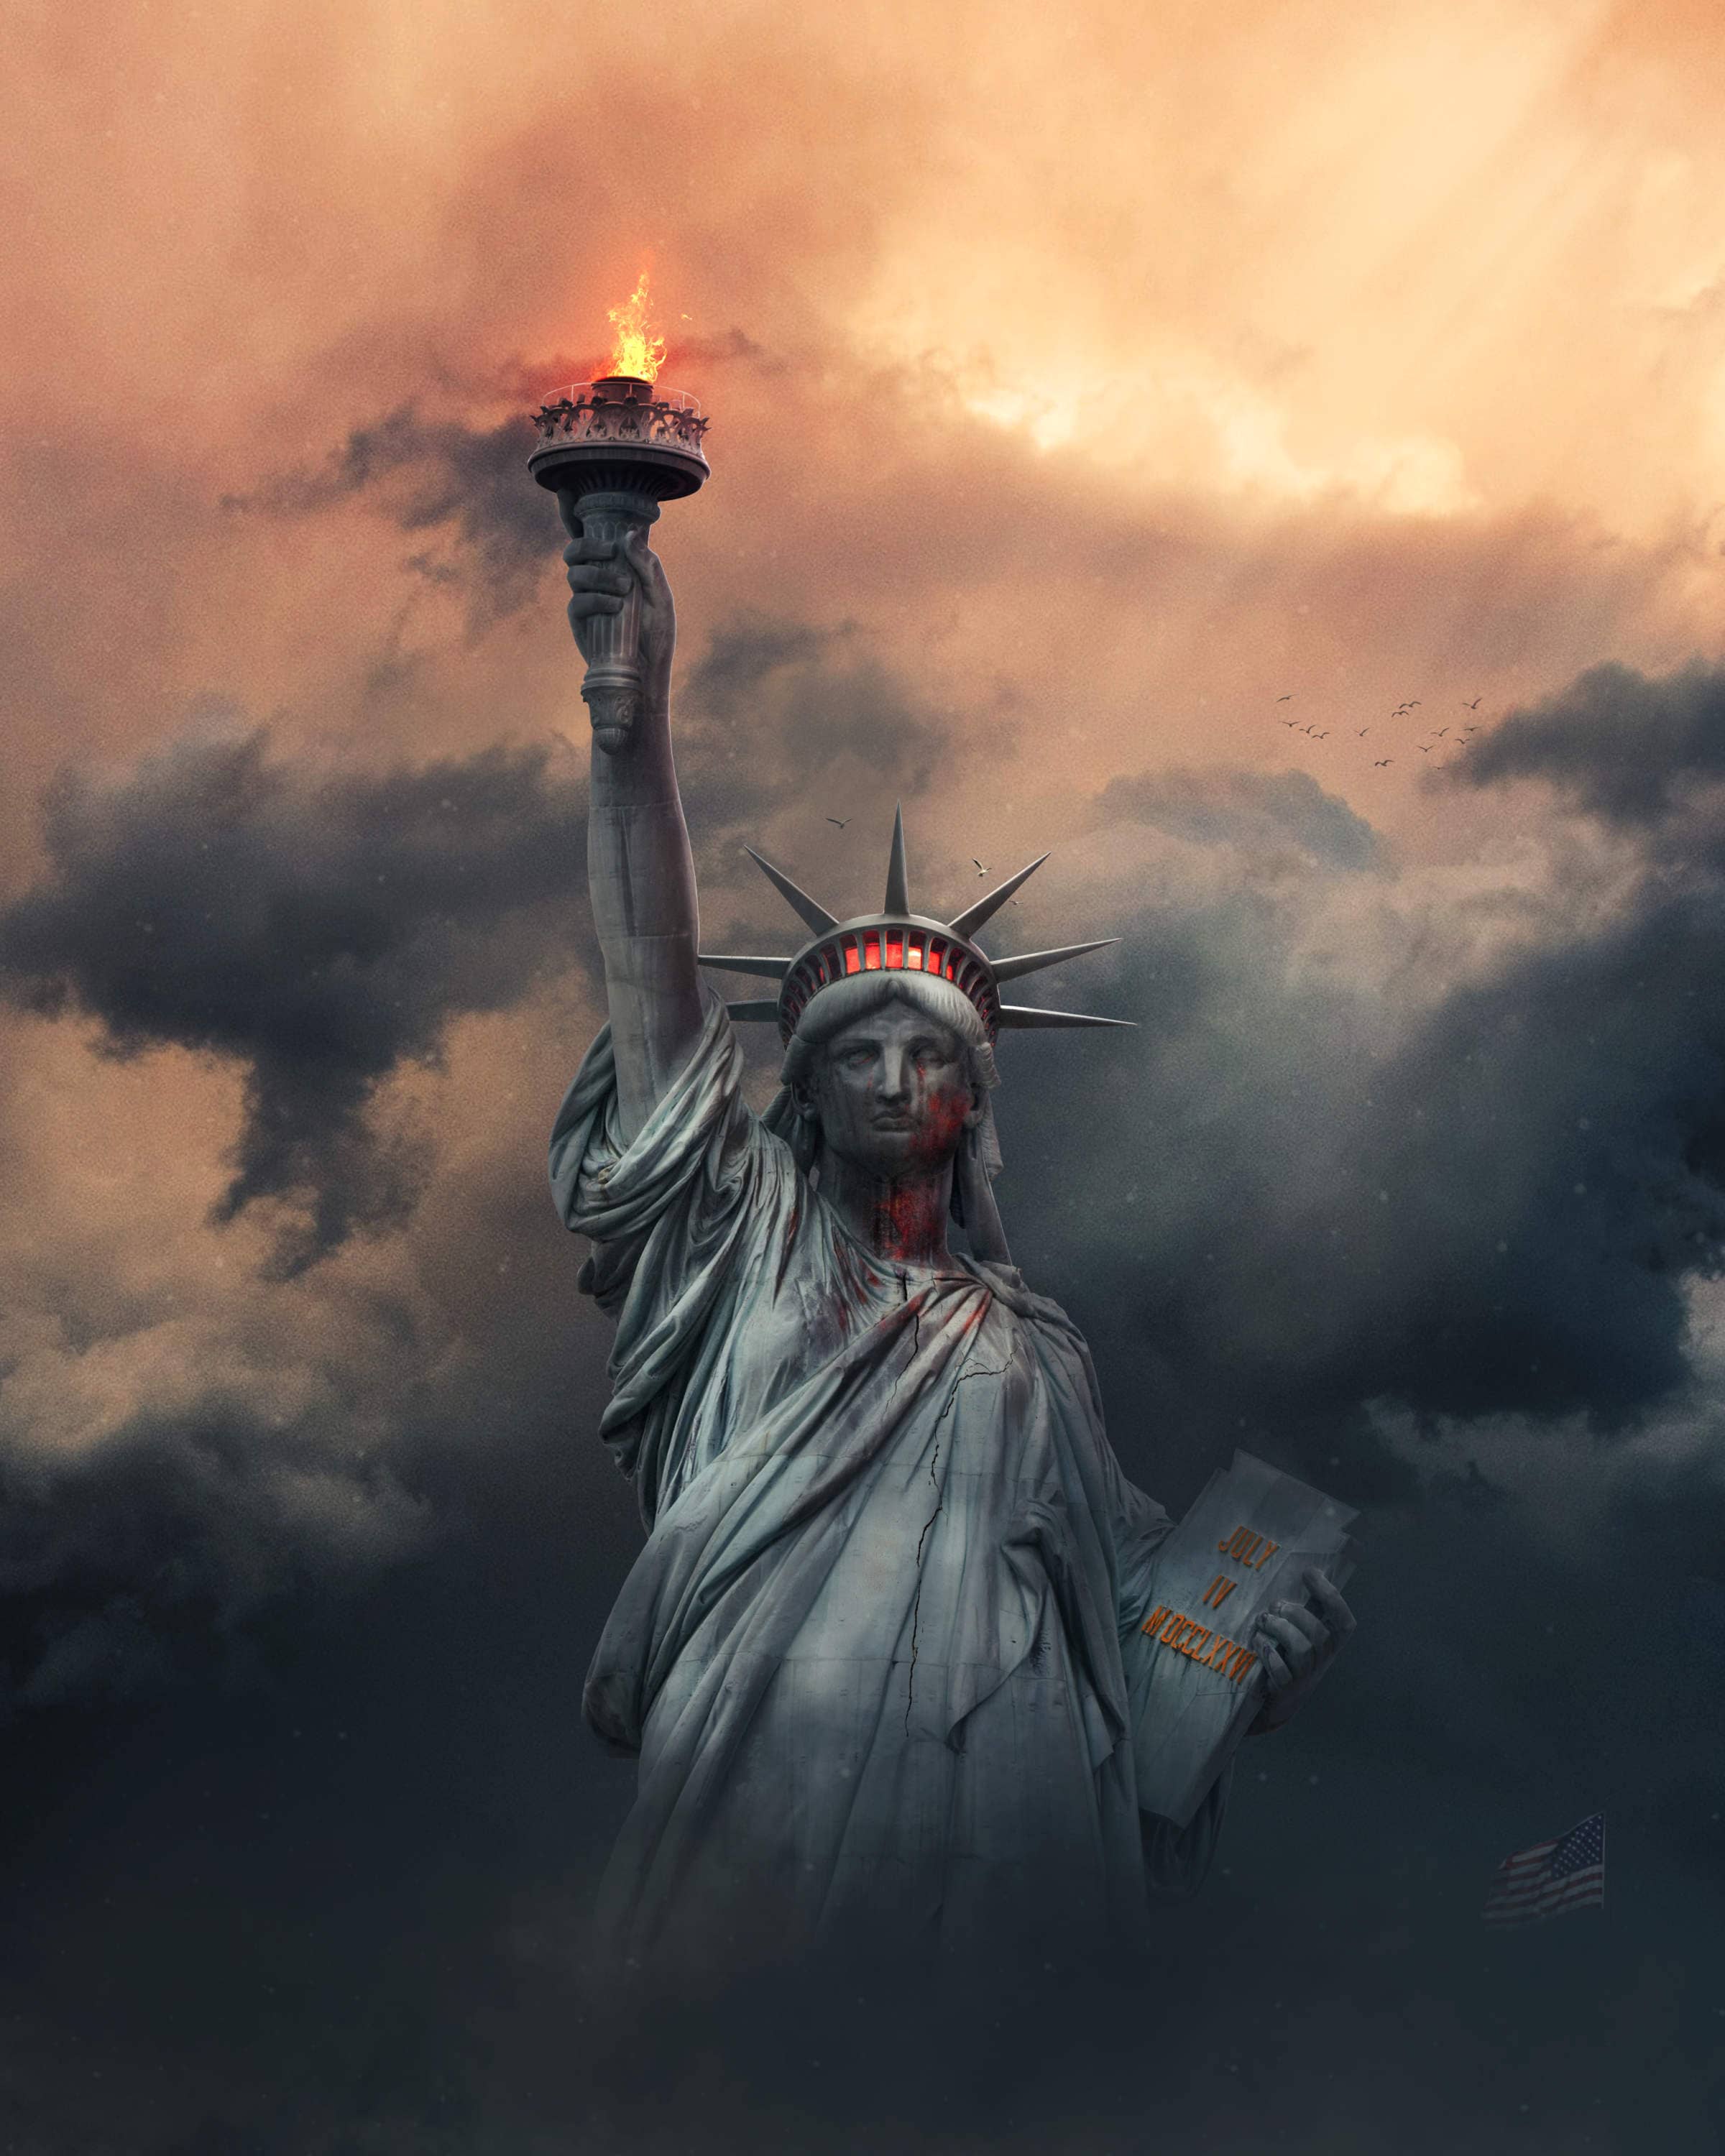
“The Statue of Liberty means everything. We take it for granted today. We take it for granted. Remember the Statue of Liberty stands for what America is. We as Democrats have to remind ourselves and remind the country of the great principles we stand for. This is a place of protection. This is not a country of bullies. We are not an empire. We are the light. We are the Statue of Liberty.” In this Photoshop tutorial, we will learn how to create a surreal scene of the statue of liberty. First, we added clouds, flag and statue then blended it with Adjustment layers. Next, added lava texture and birds. After that added some clouds and ray brushes and finally added Camera Raw Filter.
Preview of Final Image
Tutorial Resources
- Background
- Flag
- Statue
- Fire
- Birds
- Seagulls
- Starrynight Texture
- Lava Texture
- Clouds Brushes
- Rays Brushes
- Crack Texture
Step 1
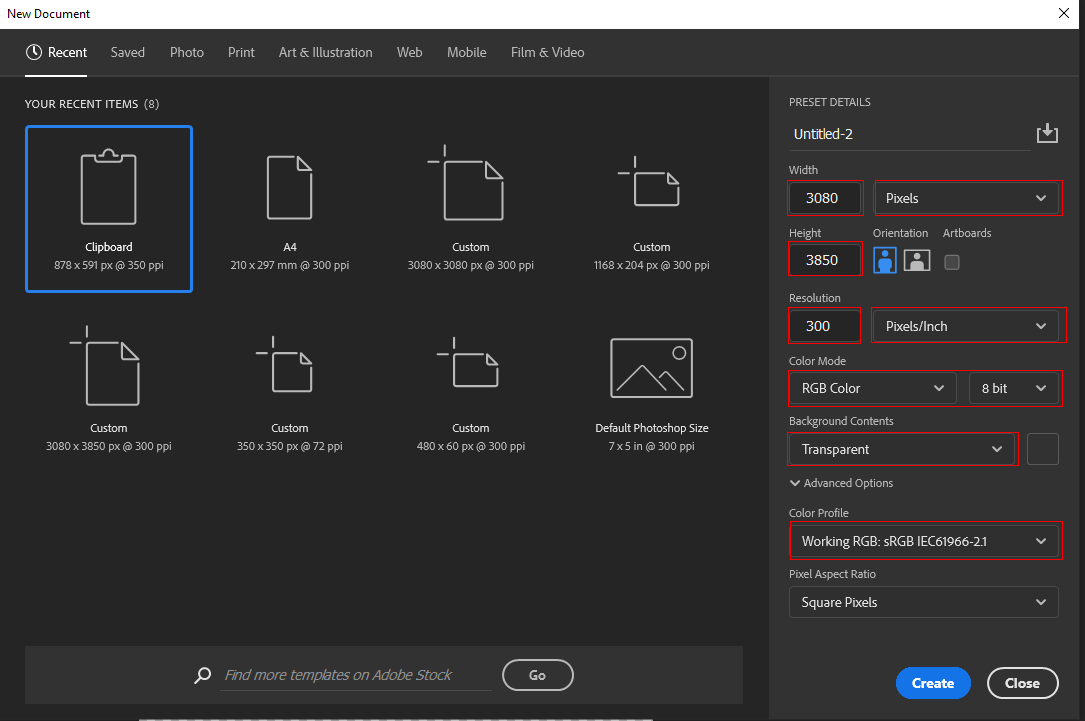
Now, let’s start by creating a new image file, go to the Menu bar and click File > New, and then input the following values on their respective fields
- Preset: Custom
- Width: 3080px
- Height: 3850px
- Resolution: 300px
- Color Mode: RGB Color 8 bit
- Background Contents: Transparent
Step 2
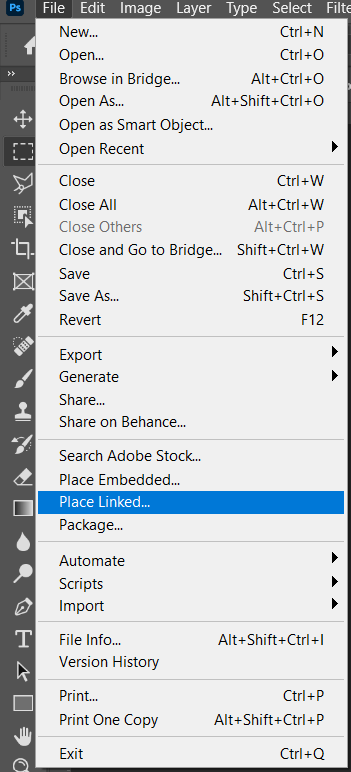
Now, place Background Go to File > Place and select Background Then place it to our work canvas and position the image with the transform tool (Ctrl / Cmd + T). Hold Alt + Shift and rasterize like the image below. In Photoshop CC only hold Alt to rasterize all sides together.

Step 3
Next, we will open the Flag image. After you open the image, use Rectangular Marquee Tool(M).
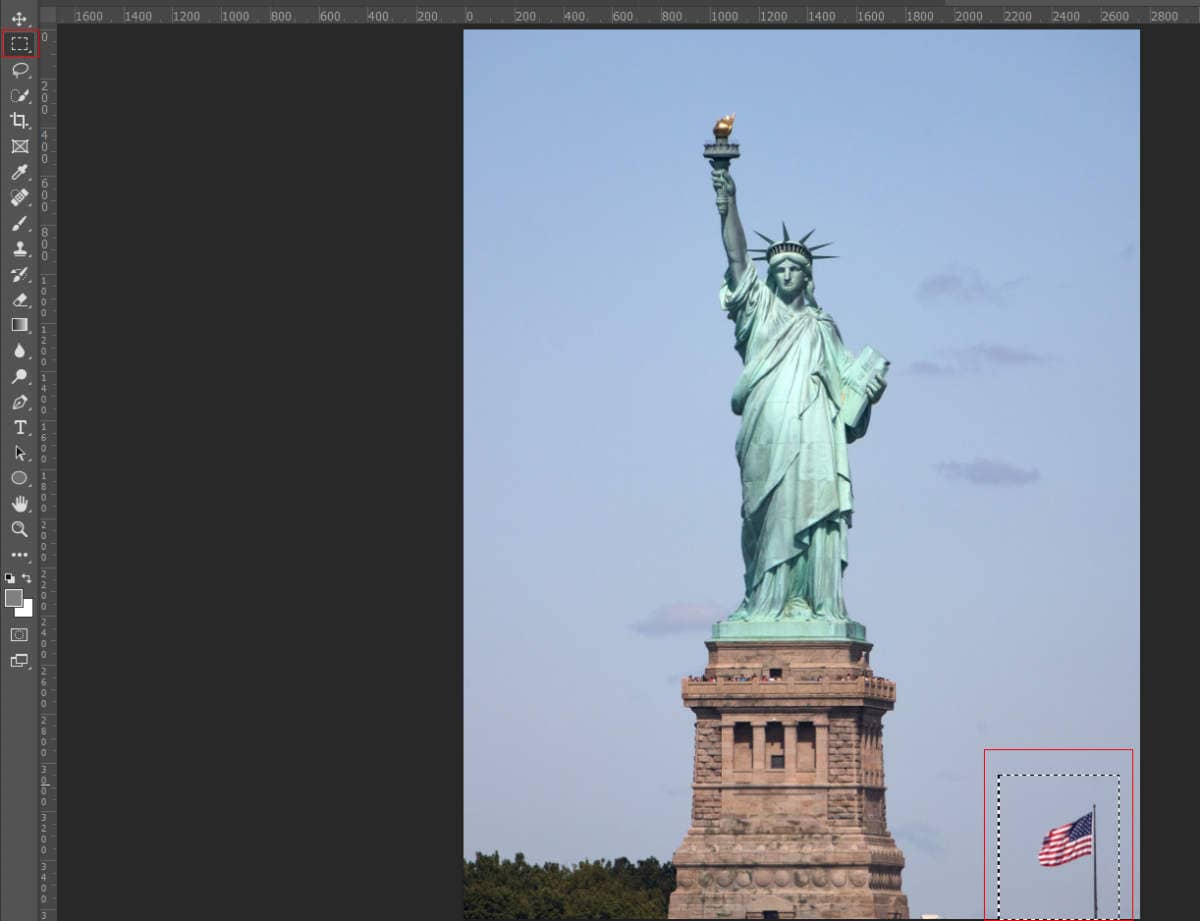
After the selection area has been created, simply copy (Ctrl / Cmd + C) and Paste (Ctrl / Cmd + V) it to our work canvas. Then position the image with the transform tool (Ctrl / Cmd + T). Hold Alt + Shift and resterize like image below. In Photoshop CC only hold Alt to resterize al sides together.
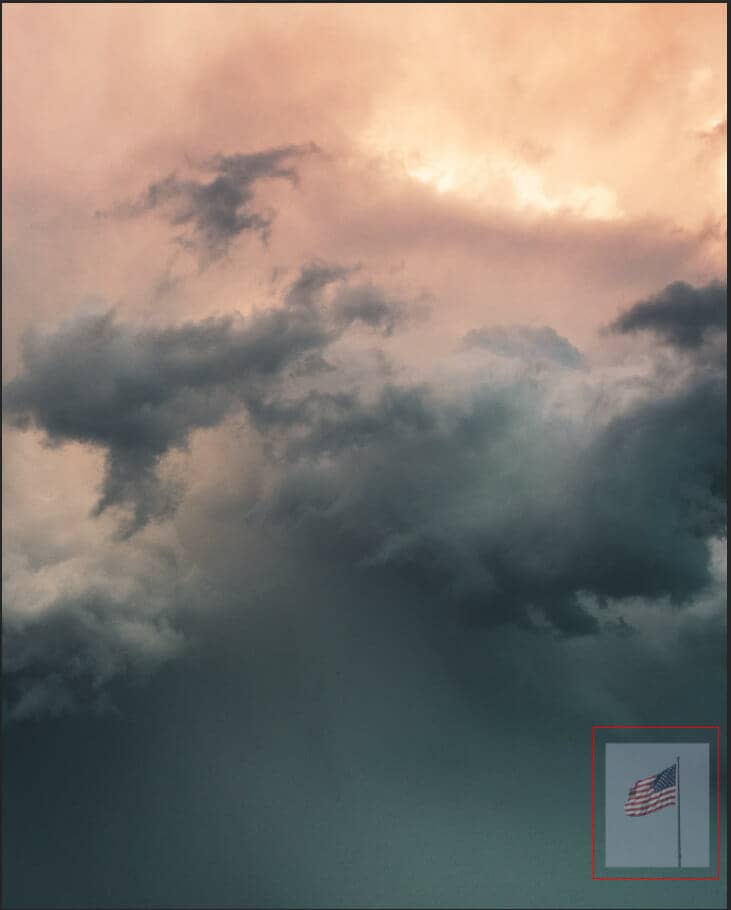
Now create a layer mask on the flag layer and use Brush Tool(B) Soft Round with foreground color black and paint over the flag to delete the background. Opacity set to 44%.

Step 4
Now, go to File > Open and select Statue of Liberty. Then use a Pen Tool(P) and start selecting. When we finish the selection press right-click on mouse and “Make Selection” then create a layer mask. The simplest path you can draw with the standard Pen tool is a straight line, made by clicking the Pen tool to create two anchor points. By continuing to click, you create a path made of straight line segments connected by corner points.


6 comments on “Create a Symbolic Statue of Liberty Photo Manipulation in Photoshop”
Where's the crack texture image link? you never put it in.
Thanks for letting us know! The links are fixed.
The ray brush link takes you to lava texture. it ddoesnt take you to a ray brush
This was a great tutorial! I love the intro you gave about what america is. I love the tutorial. Symbolic, fun, and great final result!
It's a nice tutorial.
Really nice tut! Thank you!