- Select the Pen tool.
- Position the Pen tool where you want the straight segment to begin, and click to define the first anchor point (do not drag).
- Click again where you want the segment to end
- Continue clicking to set anchor points for additional straight segments.
- The last anchor point you add always appears as a solid square, indicating that it is selected. Previously defined anchor points become hollow, and deselected, as you add more anchor points
- Complete the path by doing one of the following:
- To close the path, position the Pen tool over the first (hollow) anchor point. A small circle appears next to the Pen tool pointer
 when it is positioned correctly. Click or drag to close the path.
 - To leave the path open, Ctrl-click (Windows) or Command-click (Mac OS) anywhere away from all objects. To leave the path open, you can also select a different tool.


Feather Radius set to 0px and check Anti-aliased. After the selection area has been created, simply copy (Ctrl / Cmd + C) and Paste (Ctrl / Cmd + V) it to our work canvas. Then position the image with the transform tool (Ctrl / Cmd + T). Hold Alt + Shift and resterize like image below. In Photoshop CC only hold Alt to resterize al sides together.
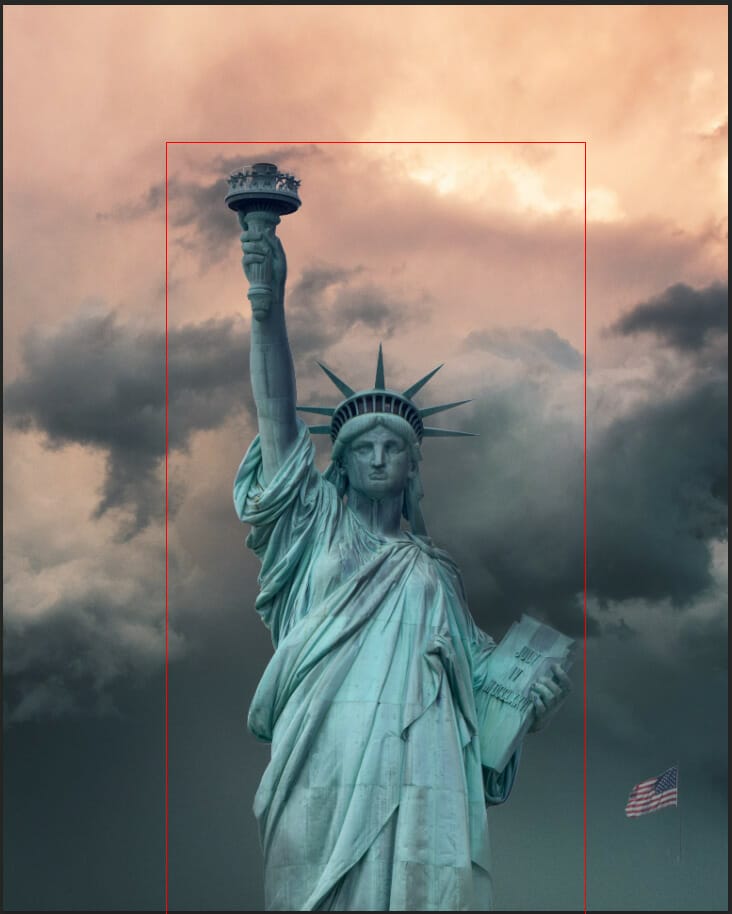
Step 5
Add Adjustment Layer “Color Balance”

Step 6
Add Adjustment Layer “Color Balance” and press Ctrl/Cmd + I to invert. Then use Brush Tool(B) Soft Round with foreground color white and paint.

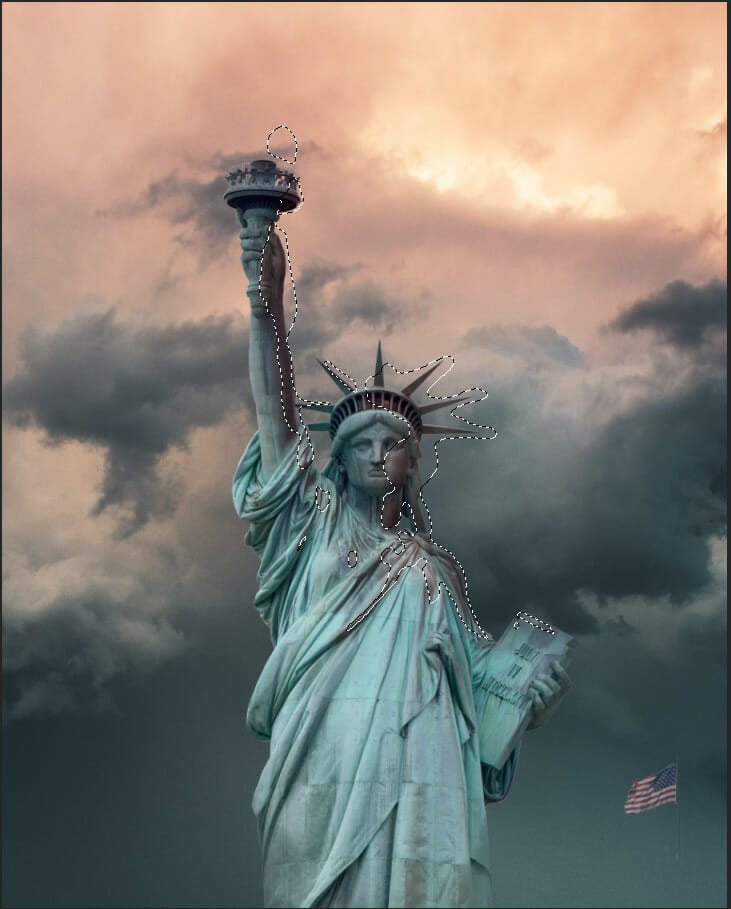
Step 7
Add Adjustment Layer “Hue/Saturation”

Step 8
Add Adjustment Layer “Exposure” and press Ctrl/Cmd + I to invert. Then use Brush Tool(B) Soft Round with foreground color white and paint highlight parts.

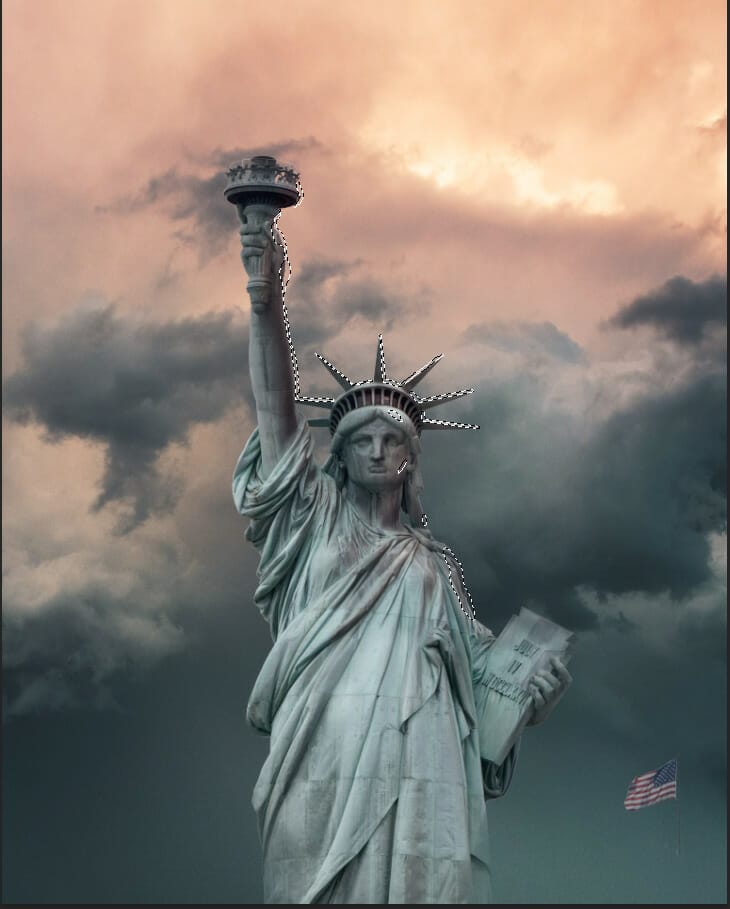
Step 9
Add Adjustment Layer “Curves” and press Ctrl/Cmd + I to invert. Then use Brush Tool(B) Soft Round with foreground color white and paint on Highlight parts.


Step 10
Add Adjustment Layer “Curves” and press Ctrl/Cmd + I to invert. Then use Brush Tool(B) Soft Round with foreground color white and paint on dark parts.

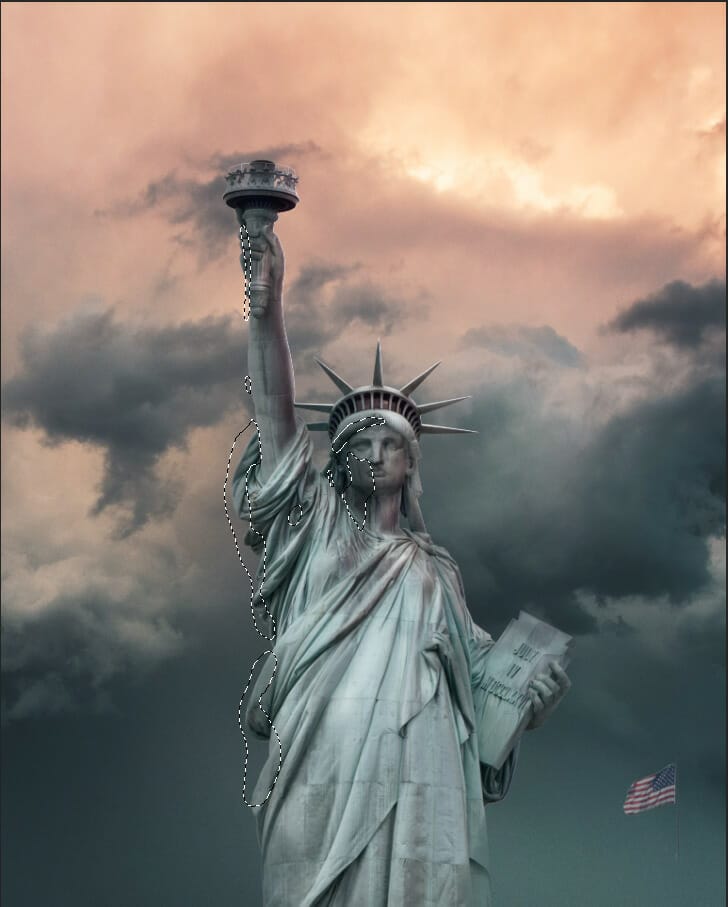
Step 11
Next, place Lava Texture Go to File > Place and select Texture. Then place it to our work canvas and position the image with the transform tool (Ctrl / Cmd + T). Hold Alt + Shift and rasterize like the image below. In Photoshop CC only hold Alt to rasterize all sides together.


Use Brush Tool (B) Soft Round with the foreground color black and paint delete some parts.

Change blend mode to Soft Light

Step 12
Next, place Crack Texture Go to File > Place and select Texture. Then place it to our work canvas and position the image with the transform tool (Ctrl / Cmd + T). Hold Alt + Shift and rasterize like the image below. In Photoshop CC only hold Alt to rasterize all sides together.


Blend mode change to Darken

Step 13
Now create a new layer and fill text on book. Use brush tool(B) soft round with foreground color orange(#e86b10) and paint. BKlend mode change to Overlay
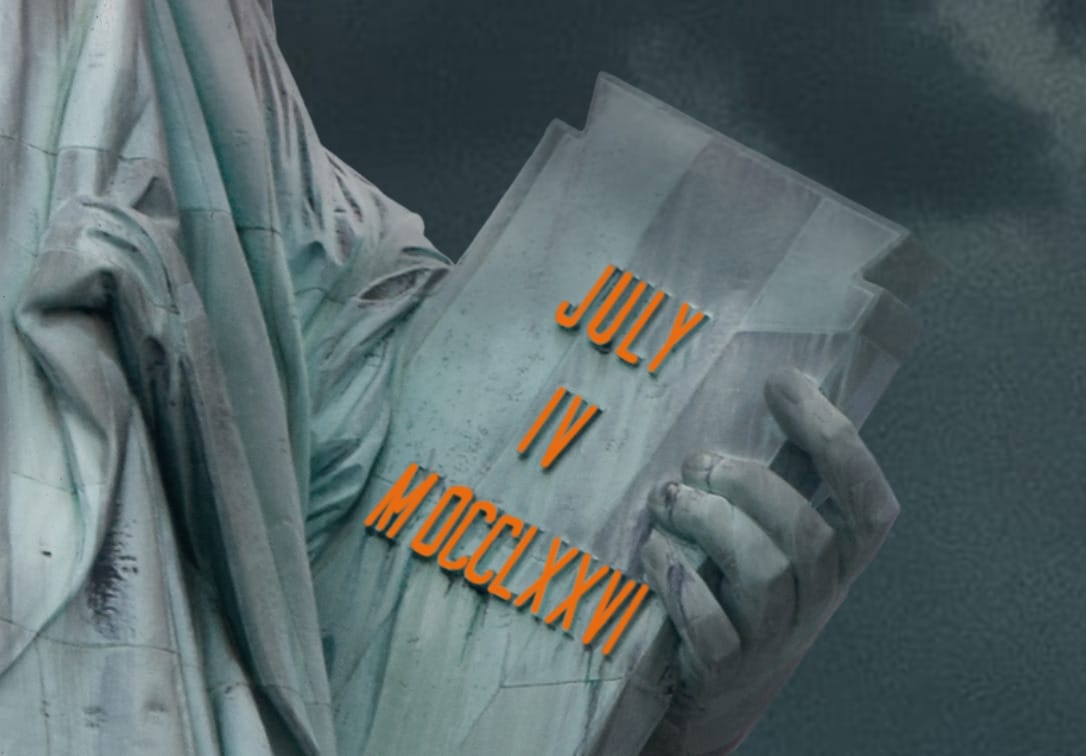

Right-click on the layer and select Blending Options. We now get a Layer Style options window. 1. Outer Glow

Step 14
Next, add some fire particles, After you open the image, use Rectangular Marquee Tool(M). With the Rectangular Marquee tool, drag over the area you want to select. Hold down Shift as you drag to constrain the marquee to(release the mouse button before you release Shift to keep the selection shape constrained).
6 responses to “Create a Symbolic Statue of Liberty Photo Manipulation in Photoshop”
-
Where’s the crack texture image link? you never put it in.
-
Thanks for letting us know! The links are fixed.
-
-
The ray brush link takes you to lava texture. it ddoesnt take you to a ray brush
-
This was a great tutorial! I love the intro you gave about what america is. I love the tutorial. Symbolic, fun, and great final result!
-
It’s a nice tutorial.
-
Really nice tut! Thank you!


Leave a Reply