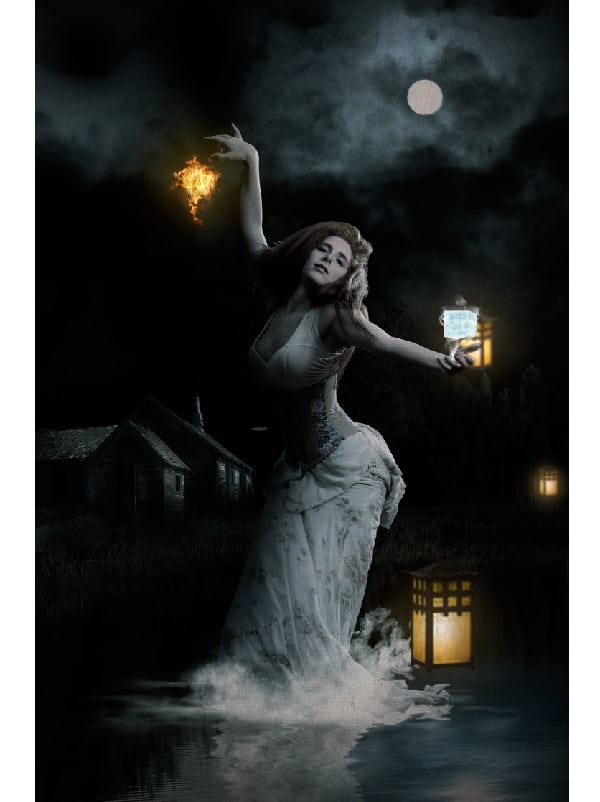
Step 20
In this step we will be creating the reflection of the Lantern in the water. Since the mirror image has opposite prospective we need to follow different procedure rather than flipping the whole Lantern Vertically.
- Cut the front face of the Lantern into a new layer and flip it vertically and place it as shown.
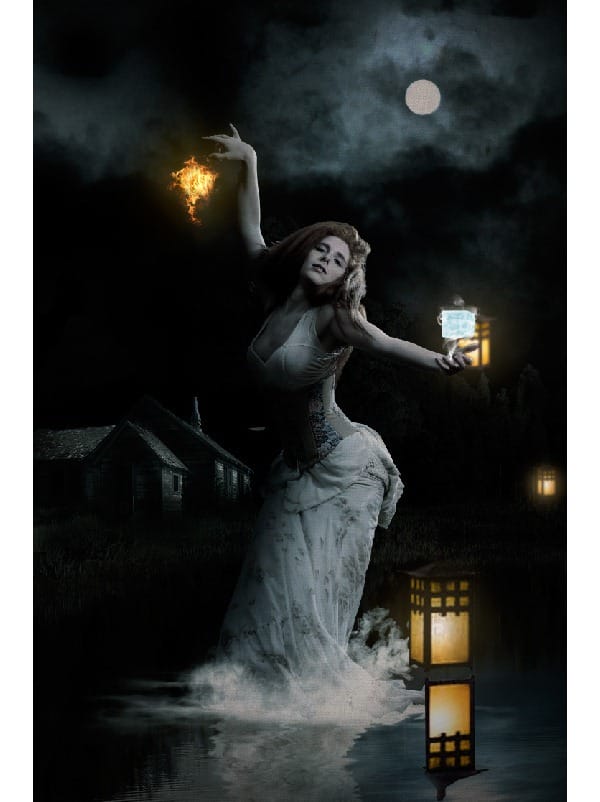
2) Now cut the side face of the Lantern and flip it vertically and transform it to fit the prospective as shown using the Move Tool (V).
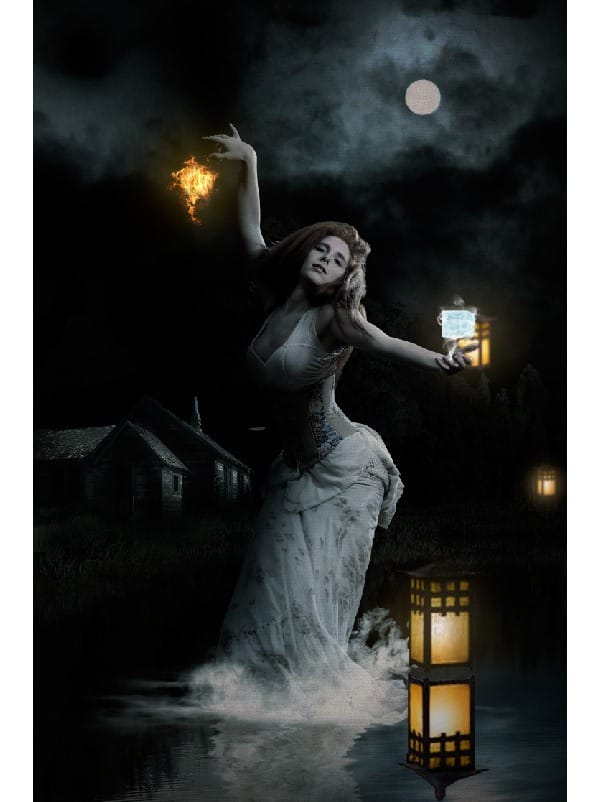
3) Since the lantern is floating by some height from the surface of water it’s base will be visible in the reflection. Hence paint a black base as shown.
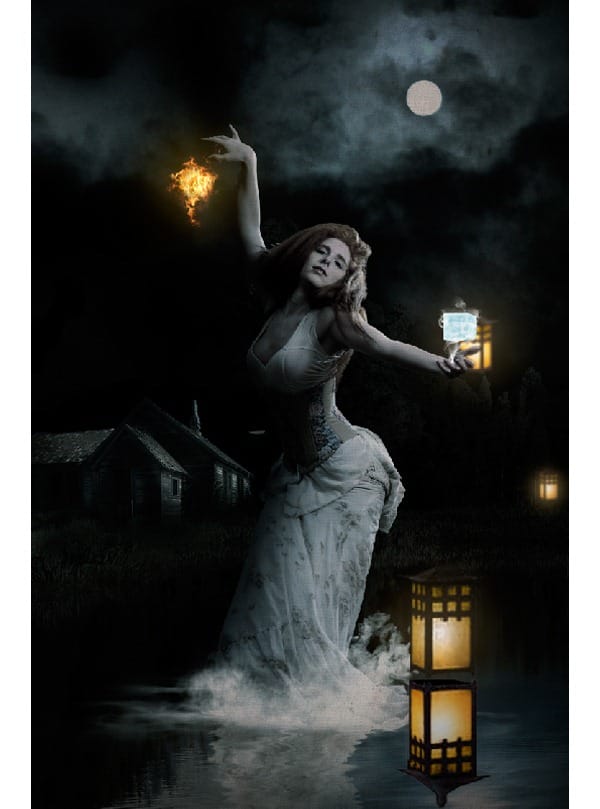
4) Now by using the Liquify Filter create the water disturbance to the Lantern Reflection Layer.
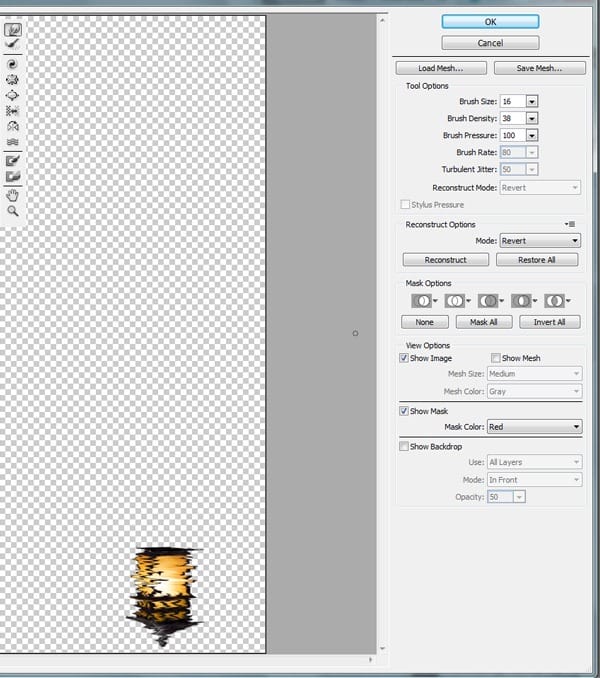
5) Move the Lantern Reflection layer downwards to show the distance between Floating Lantern and the water surface. Then reduce the Opacity of the layer to 76%.
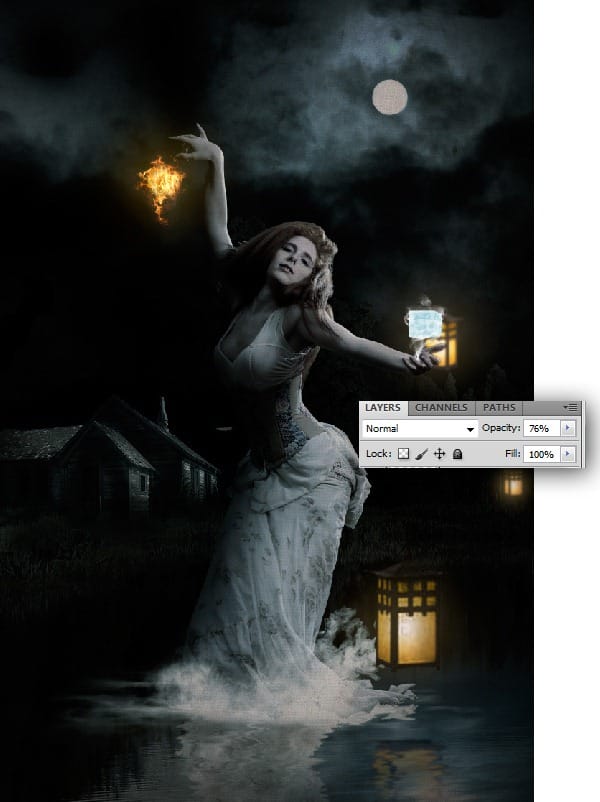
6) Similarly create reflection to the other lanterns in the BG.

Step 21
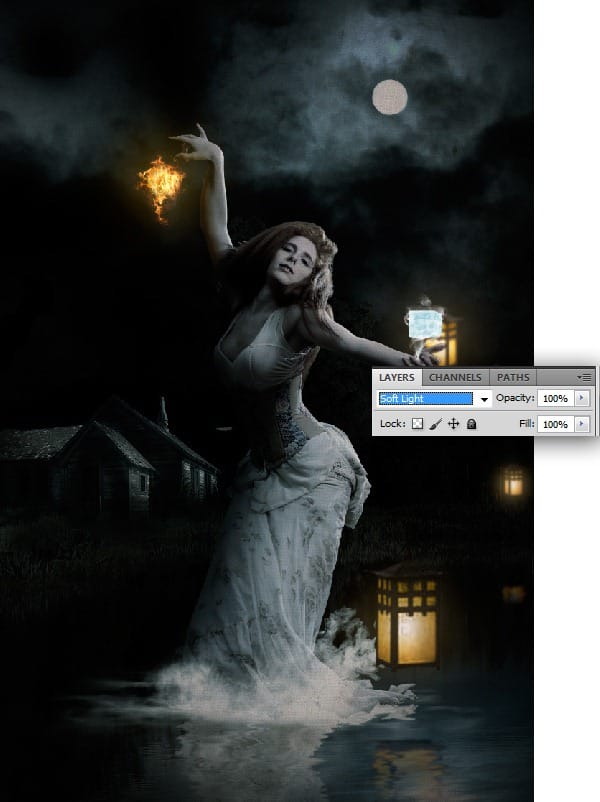
In this step we will be creating the fire light shade on the right hand of the women, to create a natural depth.
- Paint the yellow color on the right hand of the women as shown.

2) Now set the Blending Mode of the layer to Soft Light.
Step 22
In this step we are going to create the reflection of the house in the water. Here we are not going to use the Liquify Tools, because in the original landscape image the reflection in water near the shore was not heavily disturbed.
- Duplicate the image of the house and flip it vertically and move it downwards and place it as shown. Â Â Â Â Â Â Â Â Â Â Â
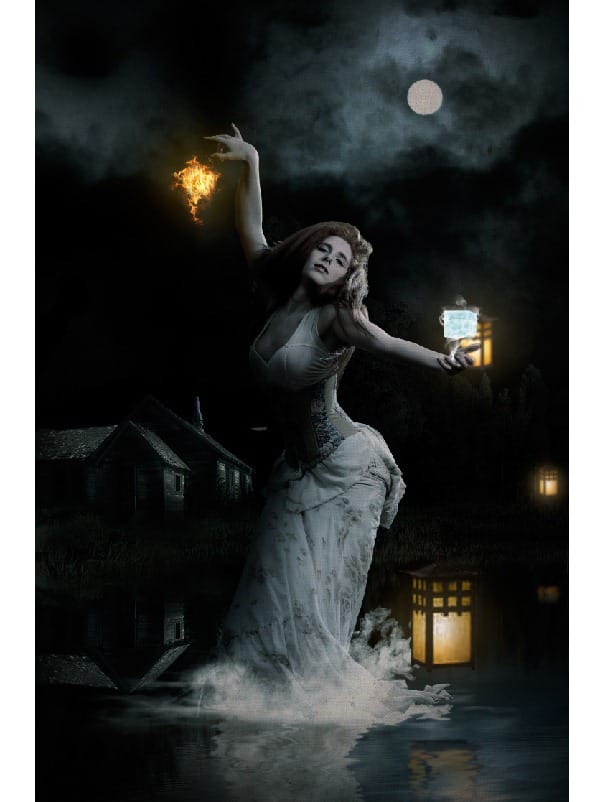
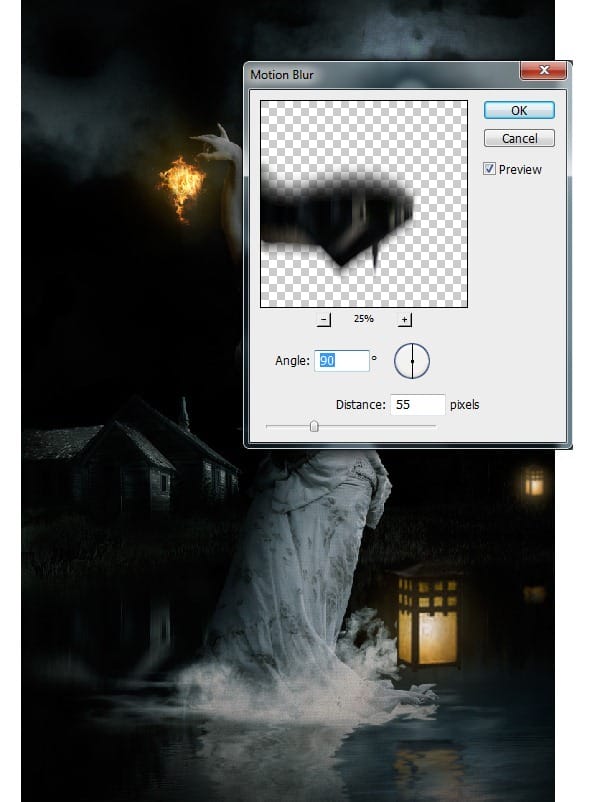
2) With the house layer selected add a Motion Blur with Distance 55px and angle 90 to get the natural as in the original landscape image.
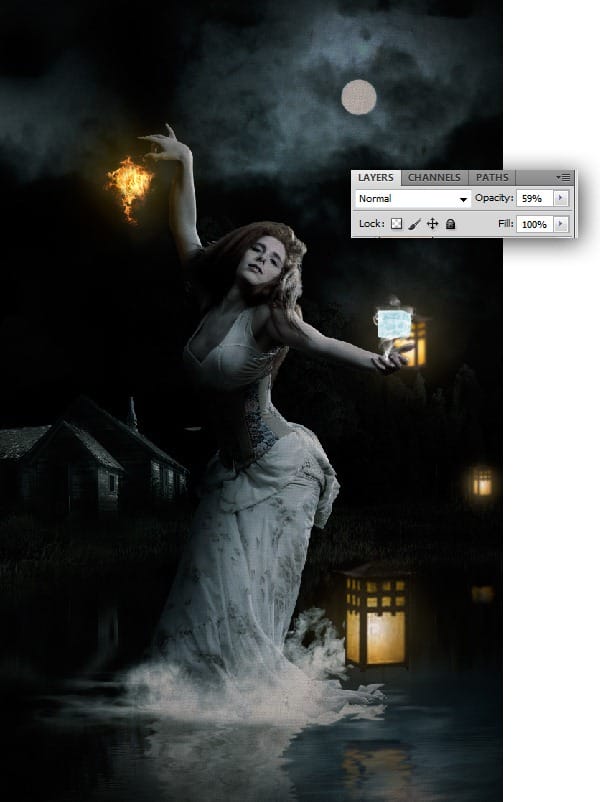
3) Then set the Opacity of the House Reflection layer to 59%.
Step 23
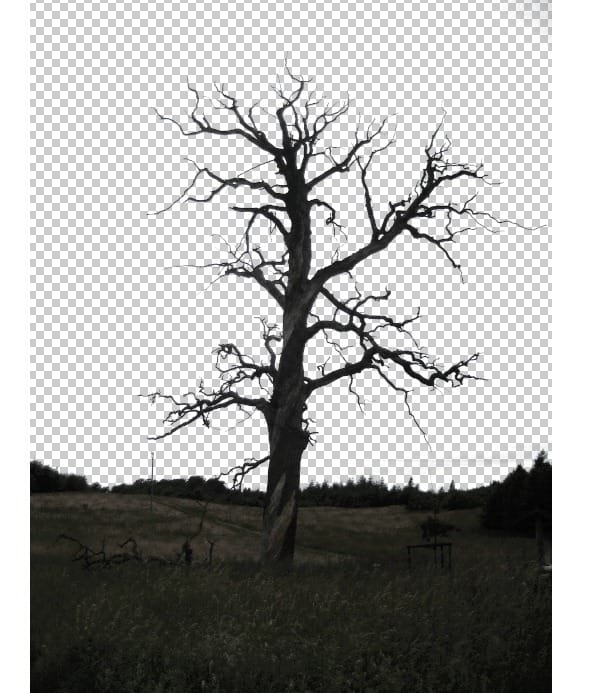
In this step we are going to cut the dead tree without losing any of its fine details into a new layer, which we will be using in the next step.
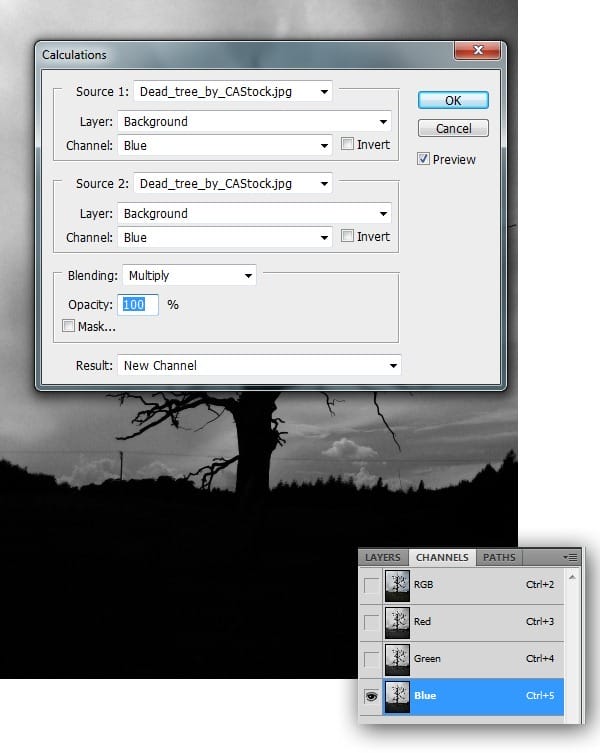
- Import the image of the Dead Tree and select the Blue Channel from the Channels pallet. The go to Image>Calculations and select Blue in both Source 1and 2. This creates an Alpha 1 layer in the Channels Pallet.
2) With the Alpha 1 layer selected set the levels in such a way that the dead tree becomes a complete silhouette.
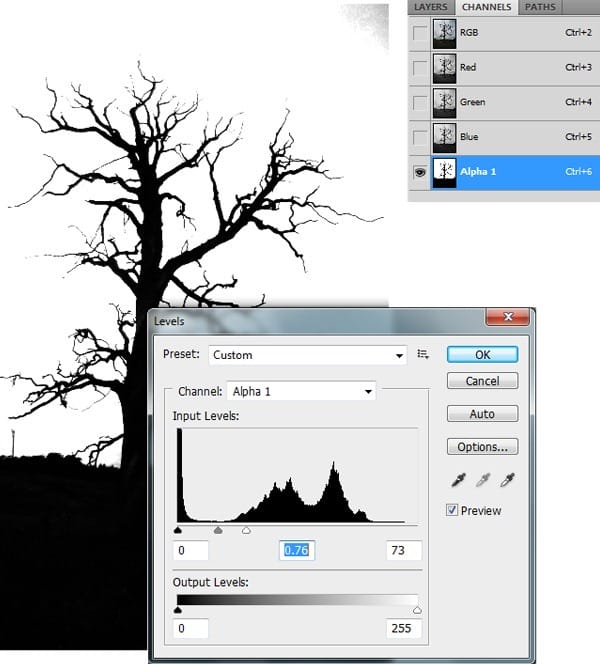
3) Now with the dead tree layer selected in the Layers pallet go to Select>Load Selection and select Alpha 1 from the Channel drop down list and press OK to form a mask around the tree.

4) With the mask selected around the tree erase the background sky.
Step 24
In this step we are going to add few dead branches in the scene to create a dramatic feel in it.
2 responses to “Create this “Heaven & Hell” Photo Manipulation”
-
amazing!! great to see the amazing work of great experienced art directors!!
-
Great! excellent Job Men


Leave a Reply