Find out how to create this elegant typography image with Photoshop! This tutorial will show you how to combine layer styles, Photoshop brushes, and stock photos to create this typography artwork.
Preview of the Final Result

Elegant Typography on Vista Background Photoshop Tutorial
IMPORTANT: Whenever you create an effect, use the action palette to store the functions so that it is easier for you to get the same effect when you need it again.
Step 1 – Create a New Document
Choose File > New (Ctrl/Command + N). This wallpaper size is 1440px (width) X 900px (height). You can use any wallpaper size that you wish.

Step 2 – Background
Use a gradient background, which will help in the upcoming steps to see how the image changes with each step. Select the gradient tool. Click on the Edit Gradient option in the left top corner.
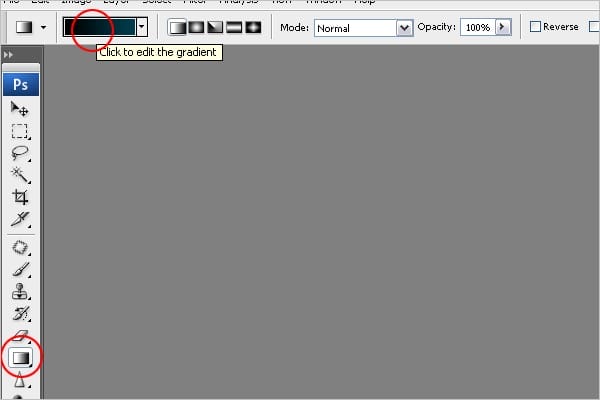
Step 3 – Changing the Color
Use
the two color option. Select the left side color option and change it to black (#000000), then select the right side option and make it blue (#014357).
Again, use the gradient tool and drag it to the topside of the screen.

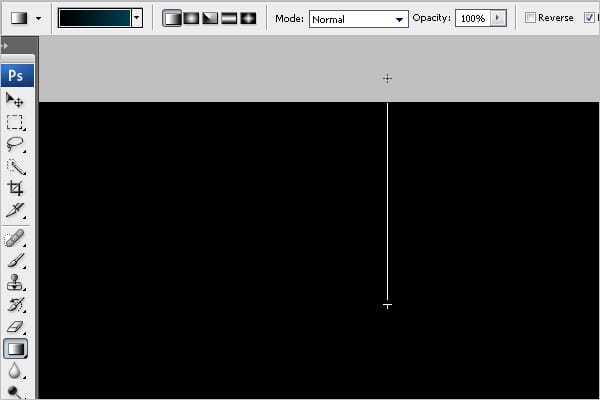

Step 4 – Creating the Text
Type the text “0”. Select the font Arial > Font size = 1119pt. > Color = #dedcdc. You can decide which font size works best for you

Step 5 – Adding Bevel and Emboss
Add bevel and emboss effects to give some depth to the text.


Step 6 – Download Floral Design
Add a floral design behind the text. This design gives a cool look to the text. You can get this design from this link:
https://myphotoshopbrushes.com/brushes/id/244
Once you have downloaded it, load the brush and choose the 1037 brush from the palette.
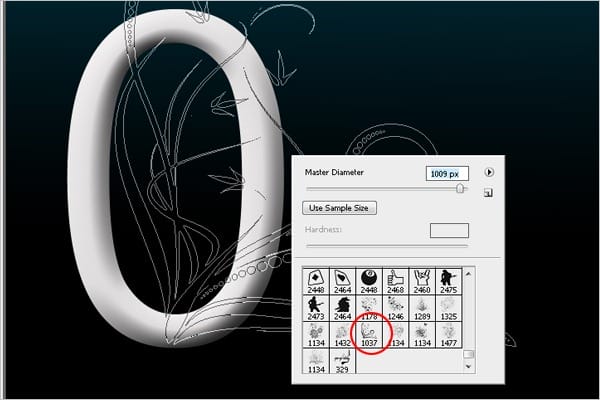
Step 7 – Adding Floral Design
Select create a new layer and choose the color gray (#808789). Click on the screen to place the design. Make sure that the design is placed behind the text.

Step 8 – Removing the Unwanted Design
Erase the design that is inside the text.


Step 9 – Adding Bevel and Emboss
Add bevel and emboss effects to give it a 3D feel.


Step 10 – Adding Outer Glow
Add a glow effect to give a glossy feel to the design.

Step 11 – Adding Stroke
Add a stroke effect. This will help blend and finish off the edges of the design.
Follow the settings below and select the stroke color as blue (#23758c).


Step 12 – Duplicating the Design
Add the design to the opposite side of the text. Duplicate the same design on the left side of the text.
Click on the design layer and Press Ctrl + J to duplicate > Press Ctrl + T to transform > Right click on the screen and select Flip Horizontal > Once it’s flipped, move the design to the left side of the text as shown in the final image below.
3 responses to “Elegant Typography on Vista Background”
-
LINK is Broken.
Download Floral Design
http://myphotoshopbrushes.com/brushes/id/244 -
I have to purchase the grass image?
-
Gorgeous but it will not appear good on non symmetrical letters.


Leave a Reply