

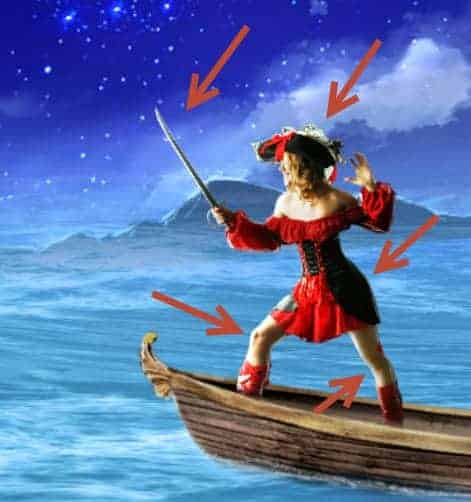
Step 45
I used a couple of layers set to either Overlay or Color Dodge to paint on the pirate girl and make her stand out. Create some subtle outlines with a 1px brush , especially around the sword (it will make it look sharp). After that use a larger soft brush at a very low opacity and paint over the existing highlights to make them stand out even more.
Step 46
Our scene look pretty good but it lacks dynamism. We can achieve that in this particular scene by adding some nice white splashes. With the splash brushes at various sizes and opacities create some splashes where the creature is emerging from the water and near the front of the boat. Use layers mask to blend them better and clipped Curves Adjustment Layers to make them whiter.
As you can see the devil is in the details. We could go on forever and add all kind of little details but I think that our scene looks good overall. Like a famous person said once a piece of art is not finished when you cannot add more to it but rather when you can’t take elements away from it without make it look incomplete (or something along those lines).

Step 47
Now it comes my favorite part: adding those nice final effects that will make the scene really stand out. So how do I know what to add? Well, there are a couples of think I almost always do for good looking final effects. I almost always add a lens flare, I paint with white on layers set to overlay to emphasize the main points, I increase the contrast, sometimes I add a vignette, I place good looking textures(nebulas, glitter and special fx) at top of everything and change the blending mode to Color Dodge.
Let’s start with a lens flare. Create a new layer and fill it with black. Go to Filter > Render > Lens Flare and choose the settings shown below. Change the blending mode of the layer to Screen and in the layer mask hide all the bright parts and leave only the subtle lower parts.

Step 48
The underwater part of our scene looks a bit dull. Let’s fix that by adding some random details. Open the image “Underwater2”, select all and copy/paste in our scene. Change the blending mode of the pasted layer to Overlay. Use the layer mask to hide the part above water. (And don’t forget to convert it to a smart object !)
12 responses to “Create an Epic Pirate Sea Battle in Photoshop”
-

This is so awesome! Detailed tutorial, thank you!
-
Great! How to view this article..
-
Nice
-
oh! nice tutorial, thanks for the shared.
-
thx!
I’ve spent 3 days for this tut-techniques and I think (hope-) ) I’ve done something very good) -
Omar EL-Midany wa7da b wa7da :P
-
اللهم صل عالنبي :D
-
تحوس انه نجم :v
-
-
The blood is too fake. It has a milky material and too much blood for merely a human.
-
wow nice work but the thing is that am new to this how can i get your article. i serious need to learn this, hope to hear from
-
An
-
Leave a Reply