

Make your artwork look like they're from an alternate universe. These Cyberpunk presets work with Photoshop (via the Camera Raw filter) and Lightroom. Download all 788 presets for 90% off.
Step 59
Open the image “Nebula1”. Select all and copy paste in our scene. Place the layer as shown below.
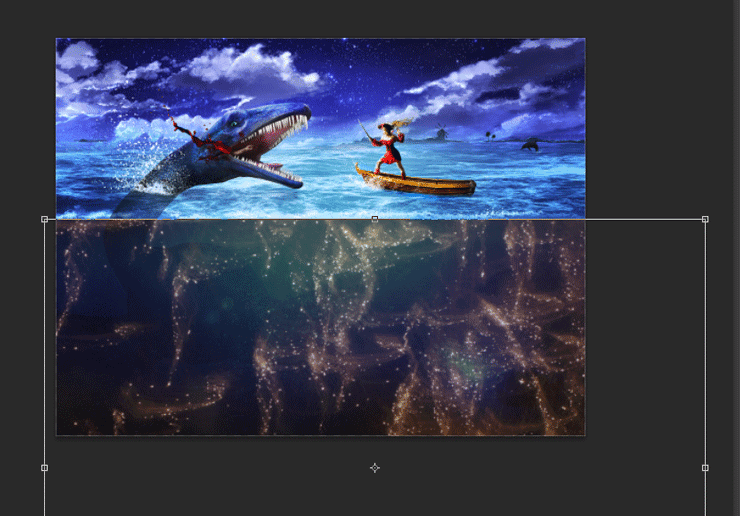
Step 60
Change the blending mode of the nebula layer to Color Dodge and lower the Opacity to 70%. In the layer mask hide all the bright areas and hard edges.
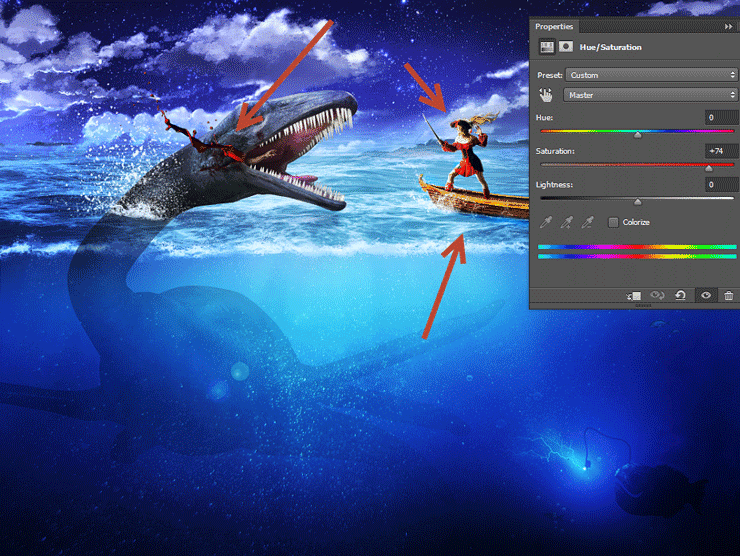
Step 61
Open the image “Nebula2” and do the same operations as we did at step 59 and 60 but this time in the layer mask reveal only the portion above water.
Step 62
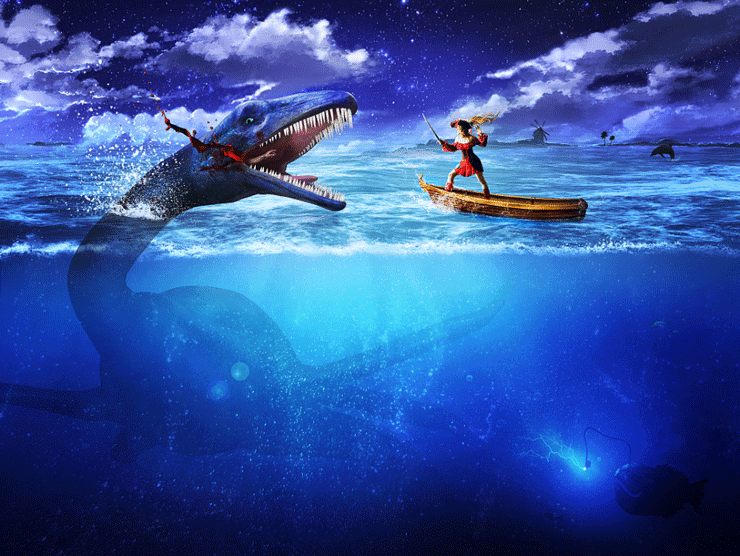
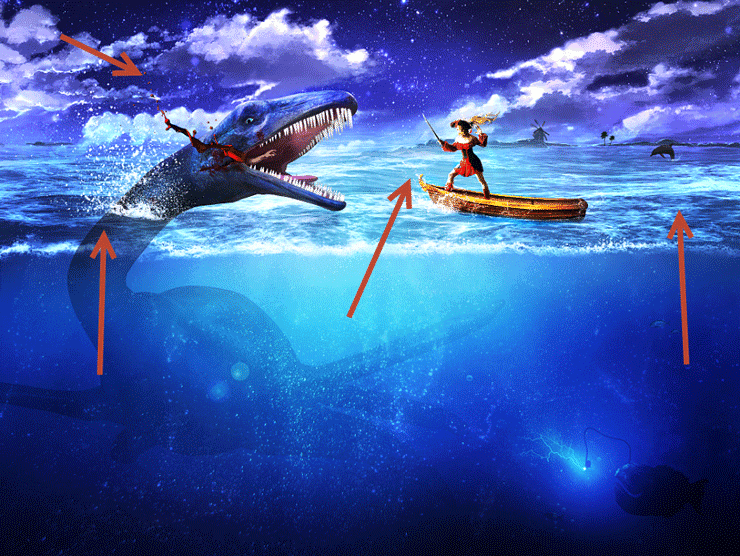
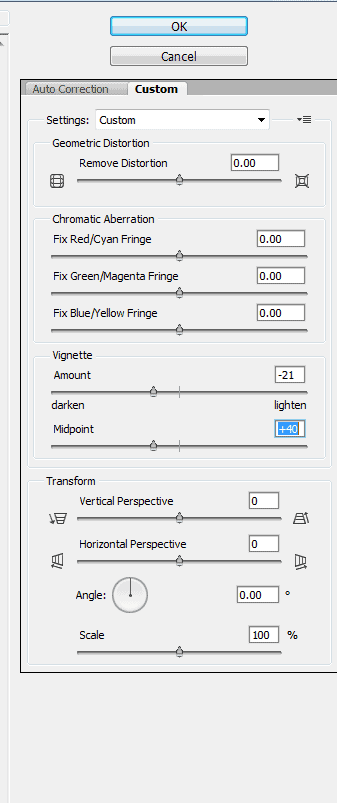
Finally let’s add a vignette to our scene. Create a new layer and fill it with white. Go to Filter > Lens Correction and use the settings shown below to create a vignette. Change the blending mode of the layer to Multiply and if the effect is too strong add a layer mask and hide the places where dark clipping occurs.
Final Results

Download the PSD
Tutorial by Johan Sandu

Thanks for following this tutorial! As you can see knowing the basics of Photoshop can save you countless of hours of head banging later! I hope you learned some useful tips and techniques! You can also find me on deviantart.
- Johan Sandu
12 comments on “Create an Epic Pirate Sea Battle in Photoshop”
This is so awesome! Detailed tutorial, thank you!
Great! How to view this article..
Nice
oh! nice tutorial, thanks for the shared.
thx!
I've spent 3 days for this tut-techniques and I think (hope-) ) I've done something very good)
Omar EL-Midany wa7da b wa7da :P
اللهم صل عالنبي :D
تحوس انه نجم :v
The blood is too fake. It has a milky material and too much blood for merely a human.
wow nice work but the thing is that am new to this how can i get your article. i serious need to learn this, hope to hear from
An