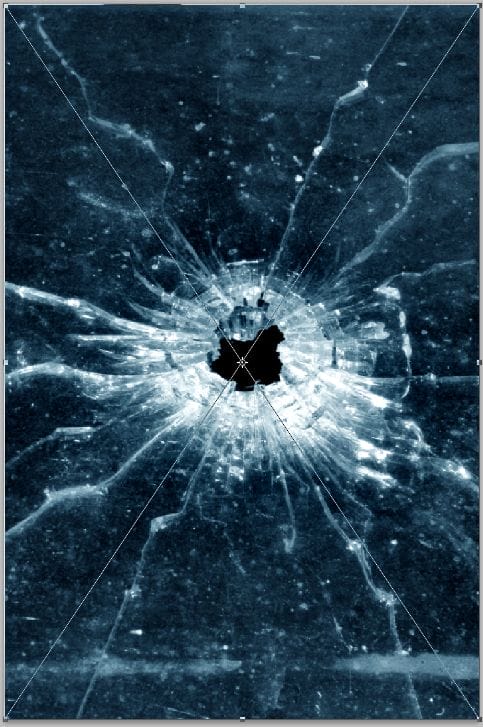
Step 18 – Add transparency to the glass layer
Using the same technique used earlier, we’ll make the dark area of the layer transparent so that it blends into the photo. Right click on the layer with the glass then choose Blending Options.
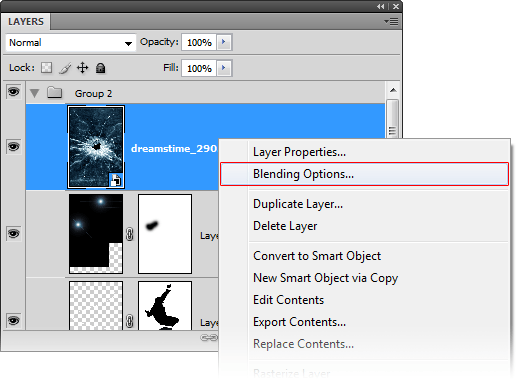
At the bottom of the window in the blend if options, drag the black input sliders towards the right until the background disappears.
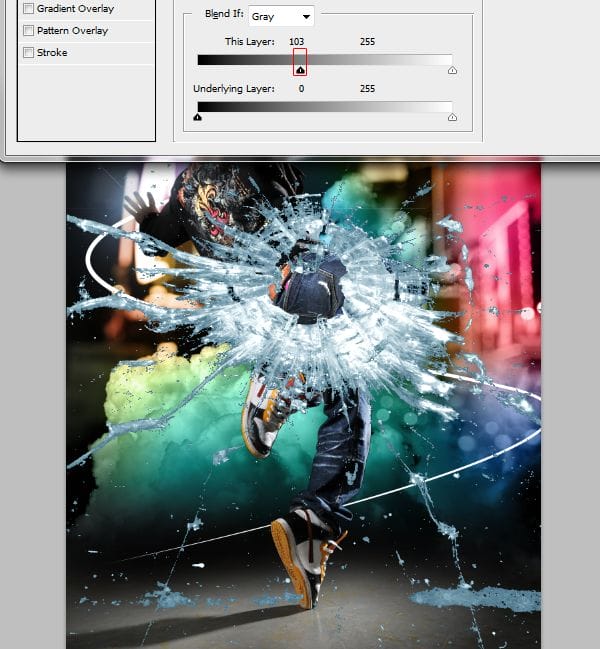
Hold the Alt key on your keyboard then drag the right black input slider towards the right until the edges are softened.
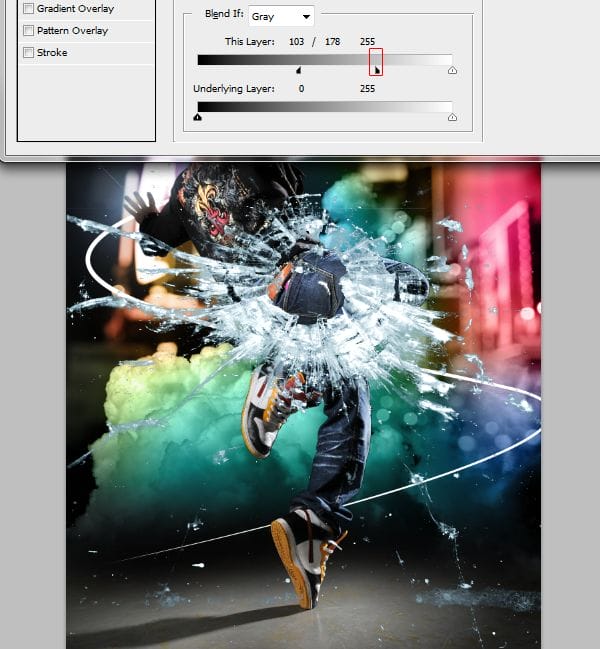
Change the blending mode of the current layer to luminosity. This will allow the color from the layers below to be seen through the glass.
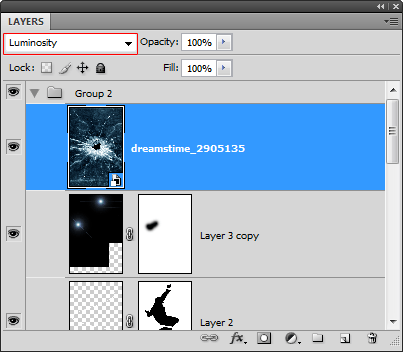
Step 19 – Prepare the layers
Duplicate the layer with the glass (Layer > Duplicate Layer)
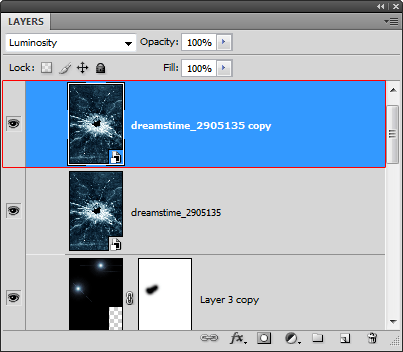
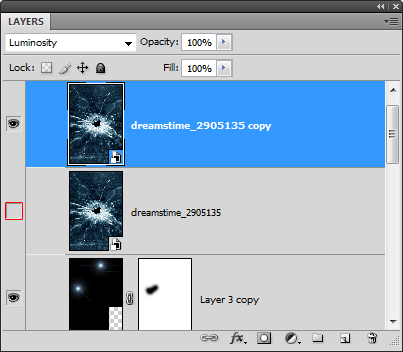
Hide the other layer by clicking on the ![]() icon.
icon.
Step 20 – Distort the first glass layer
With the current glass layer selected, choose Edit > Free Transform to use the transform tool. Hold down your left mouse button anywhere inside the boundary border then drag it to the models left ankle.
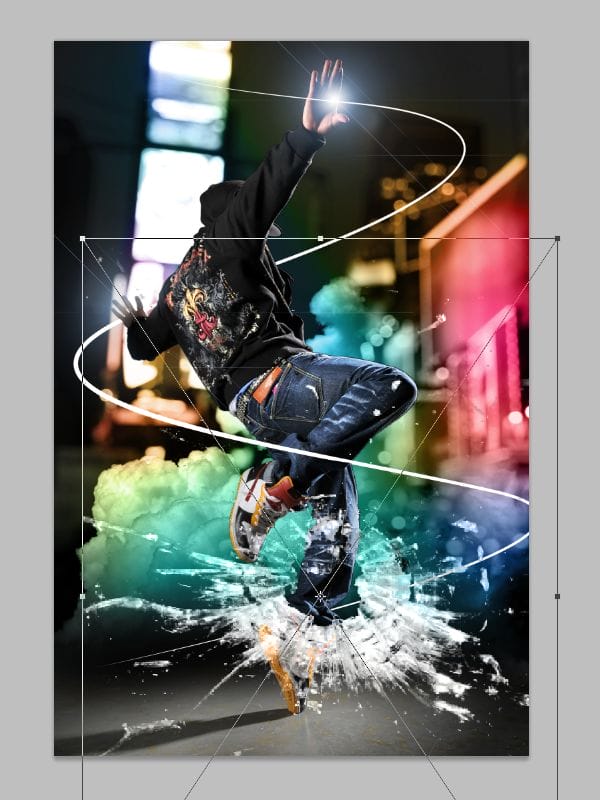
While holding down the Alt key on your keyboard, drag the upper middle handle downwards so that your shattered glass looks like the image below.
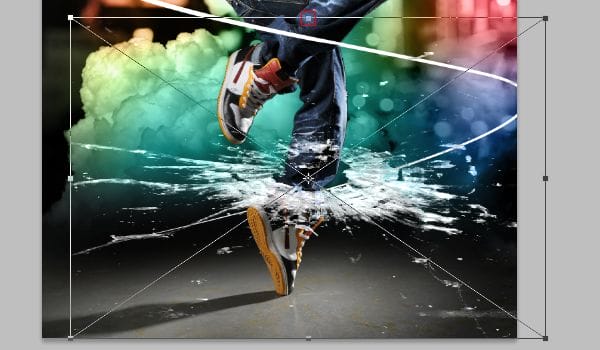
Rotate the layer like shown below. To rotate, position your cursor outside the bounding border then drag to rotate.
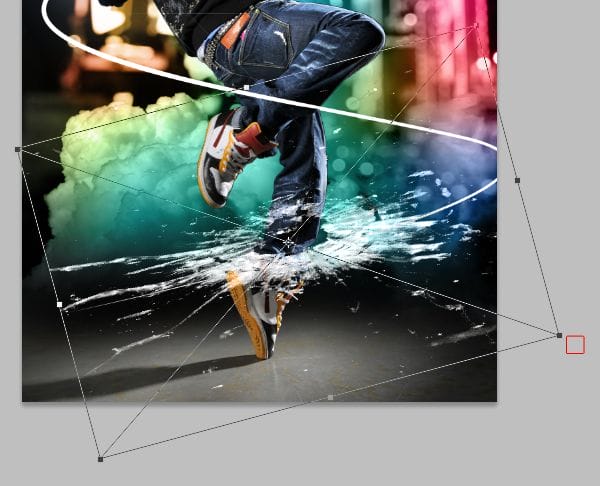
While holding down the Ctrl key on your keyboard, drag the bottom left handle towards the bottom left like shown below.
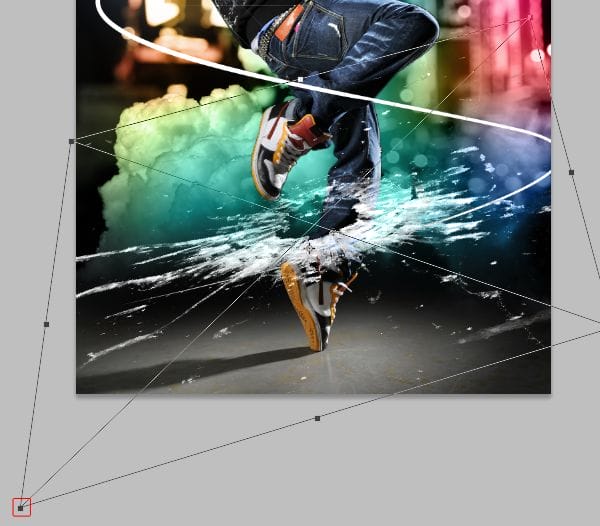
While holding down the Ctrl key, drag the bottom right handle towards the upper left like shown below. Press enter on your keyboard to apply the changes.
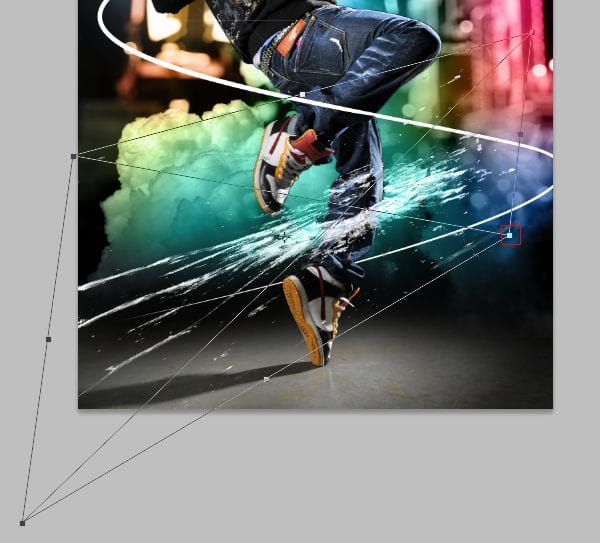
Step 21 – Distort the second glass layer
Select the other shattered glass layer then enable back the visibility by clicking where the ![]() icon should be.
icon should be.
Like before, we’ll use the transform tool to distort the layer. Choose Edit > Free Transform then position the center of the shattered glass at the models other ankle.
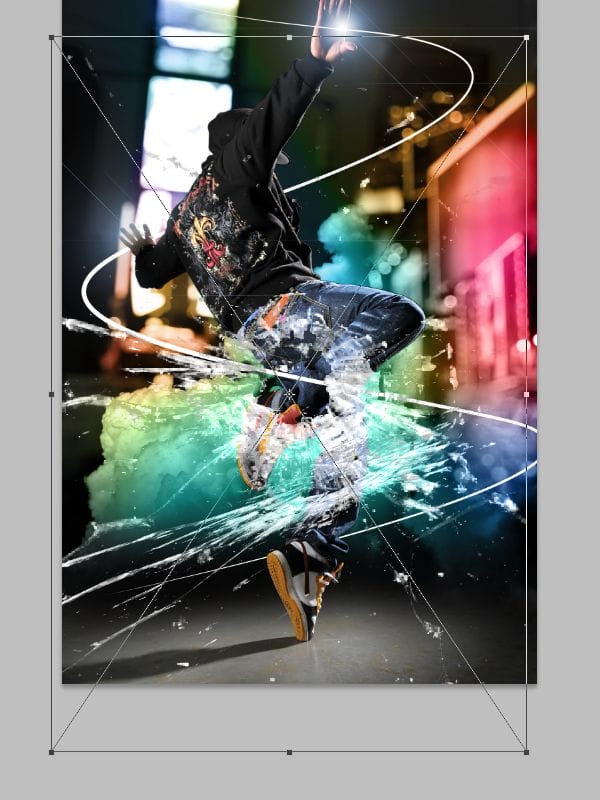
While holding down the alt key, drag the upper middle handle towards the bottom to shrink the layer like shown in the image below.
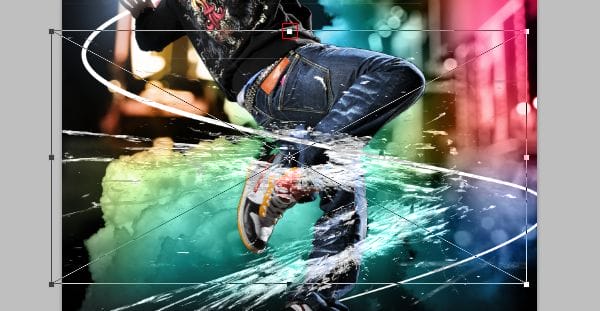
Rotate the layer like shown below by clicking anywhere outside the boundary border and dragging.
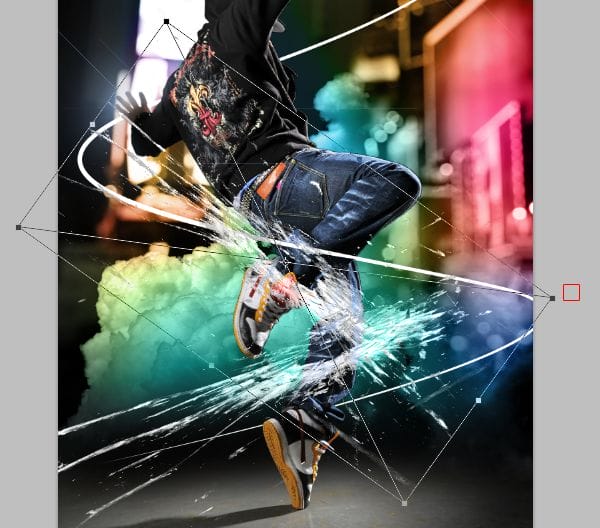
While holding down the Ctrl key on your keyboard, drag the top left corner downwards. Press enter on your keyboard to apply the changes.
21 responses to “Dazzling Dance Photo Manipulation”
-
Thanks alot.
-
Thankz for the sharing ….that’s great ..anyway does it have a video?
-
Yes it does. You can find the Photoshop tutorial here: https://www.youtube.com/watch?v=6wHajsp12_U
-
-
I am having trouble in the step7. I am following your instructions but my photo remains back of the cloud.
Please help me as soon as possible.
Thank you for such nice share. -
cool piece
-
My Stoke Path Is Not Enabled.Why?
-
nice
-
Excellent tutorial. I love your imagination and creativity. The use of the Gun Shot was an outstanding touch!!
-
thank u……..
-
Job well done! Thanks for being willing to post this.
-
Phaaaaaaaaaaaa…………. nice
-
wonder full
-
I love your work! thanksalot! we want more
-
Thanks a lot for the tutorial
-
quisiera que mi hicieras el favor de darme un link para descargar ese programa….
-
This is incredible! Thanks a lot for the tutorial
-
Send Me the glass Picture If you see my comment…….ALso Thanks
-
a bit hard to follow but great help besides im still a no0b at this stuff
-
This is a wonderful tutorial i came to know through my client. thanks for posting this
-
Thank you very much . :)
This is awesome . -
it’s a really great image i love it n the tutorial is even better, thx alot i really needed to know how to work something like this, keep it up


Leave a Reply