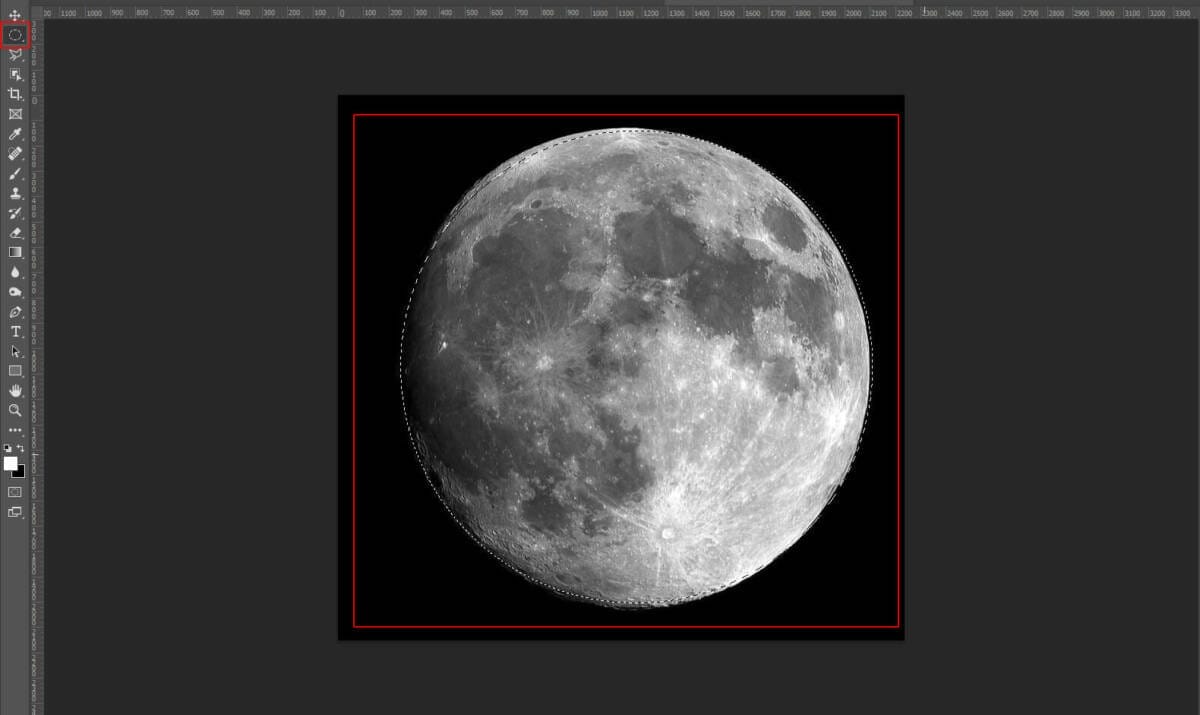

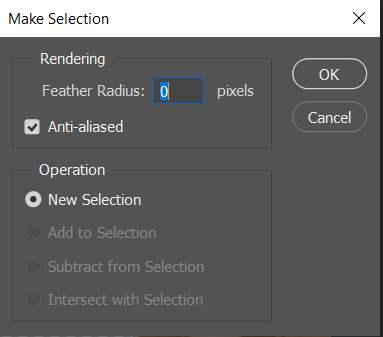
Now create a layer mask and with a soft round brush tool delete some parts on the moon. Blend mode change to Overlay.


Step 6
Next, place Background Go to File > Place and select Background Then place it to our work canvas and position the image with the transform tool (Ctrl / Cmd + T). Hold Alt + Shift and rasterize like the image below. In Photoshop CC only hold Alt to rasterize all sides together.


Then use a Pen Tool(P) and start selecting. When we finish the selection press right-click on the mouse and “Make Selection” then create a layer mask. The simplest path you can draw with the standard Pen tool is a straight line, made by clicking the Pen tool to create two anchor points. By continuing to click, you create a path made of straight line segments connected by corner points.
- Select the Pen tool.
- Position the Pen tool where you want the straight segment to begin, and click to define the first anchor point (do not drag).
- Click again where you want the segment to end
- Continue clicking to set anchor points for additional straight segments.
- The last anchor point you add always appears as a solid square, indicating that it is selected. Previously defined anchor points become hollow, and deselected, as you add more anchor points
- Complete the path by doing one of the following:
- To close the path, position the Pen tool over the first (hollow) anchor point. A small circle appears next to the Pen tool pointer
 when it is positioned correctly. Click or drag to close the path.
 - To leave the path open, Ctrl-click (Windows) or Command-click (Mac OS) anywhere away from all objects. To leave the path open, you can also select a different tool.

Step 7
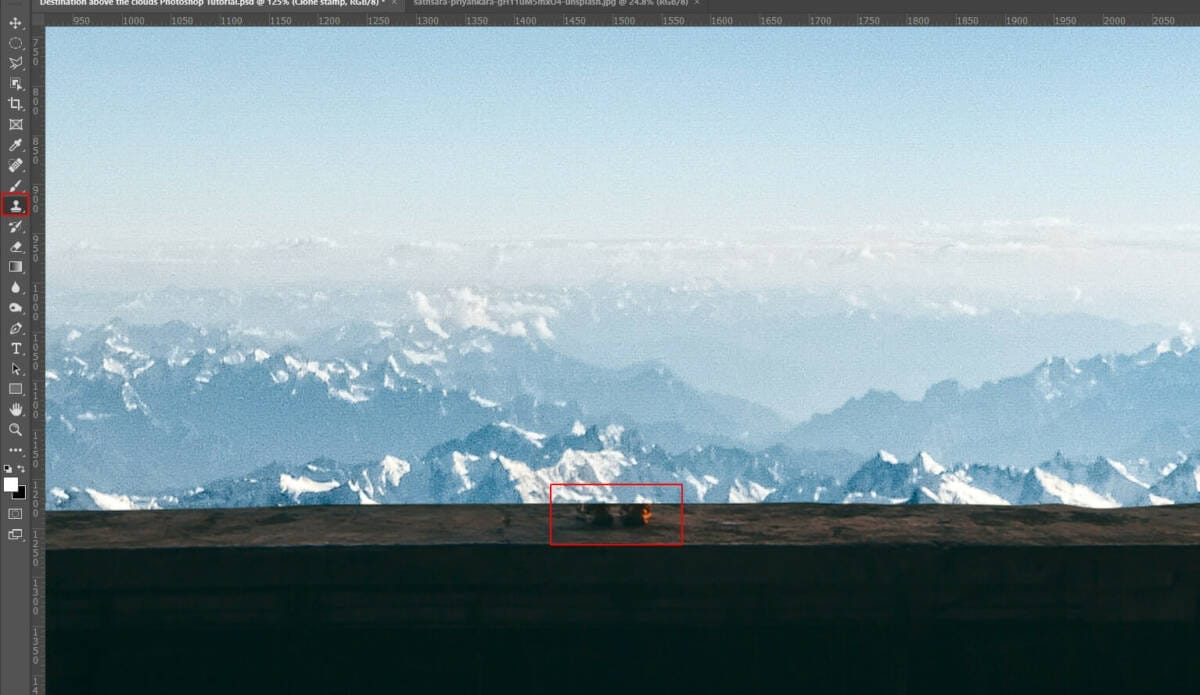
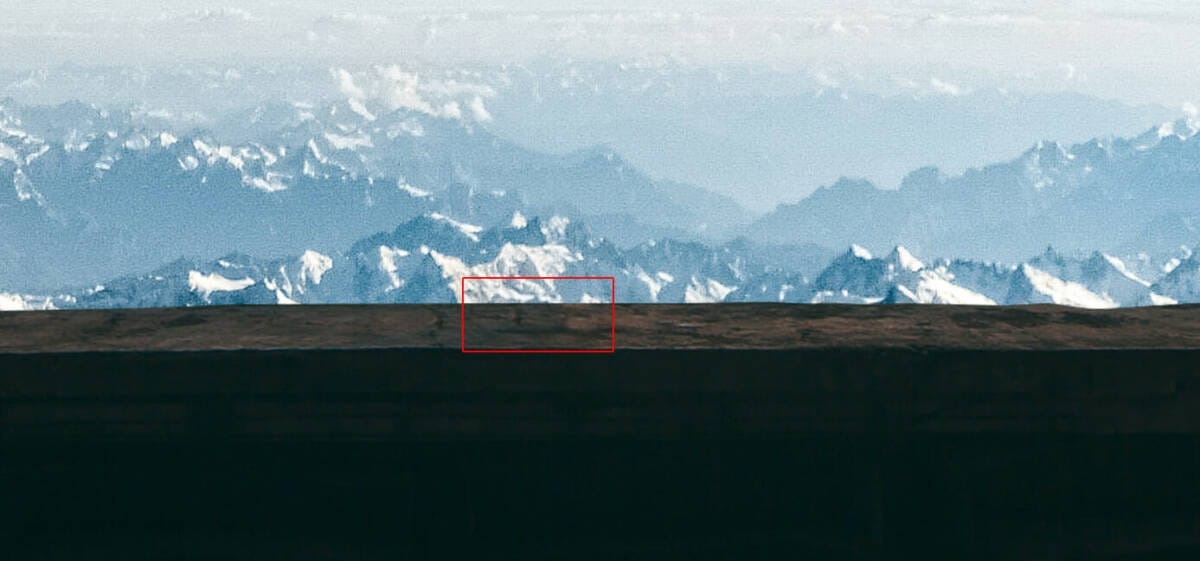
Now in this step, we will use Clone Stamp Tool(S) to remove feet on the floor. First, select Clone Stamp Tool(S) and create a new layer.
Use an empty layer for the Clone Stamp retouching
With the Clone Stamp tool, you can use an empty layer to keep your retouching separate from the main image.
- Click the Add New Layer button at the bottom of the Layers panel.
- With the new layer active, click the lock position button at the top of the Layers panel to keep the new layer aligned with the Background layer.
- In the Options bar for the Clone Stamp tool, set the Sample menu to Current & Below to copy detail from the underlying layer and place it on the new layer.
Define a sample area, and brush new detail over the object
- With the Clone Stamp tool selected, Alt-click (Windows) or Option-click (MacOS) an area of detail to set the sample point. A preview inside the Clone Stamp pointer shows the detail you will use for the retouching. The preview is useful for aligning sampled detail with other parts of the image.
- Brush over the area where you want to add the sampled detail to cover an object. As you work, a crosshair indicates where the detail is copied from.
Inspect the results to check for repeating detail
Removing objects with the Clone Stamp tool can sometimes result in detail from the sampled area repeated where you used the tool.
- Use the Clone Stamp tool with a smaller brush size to cover up obvious, repeating details.
Step 8
Next, Go to File > Open and select Satelite. After you open the image, use Quick Selection Tool(W) and select. After the selection area has been created, simply copy (Ctrl / Cmd + C) and Paste (Ctrl / Cmd + V) it to our work canvas. Then position the image with the transform tool (Ctrl / Cmd + T). Hold Alt + Shift and resterize like image below. In Photoshop CC only hold Alt to resterize al sides together.

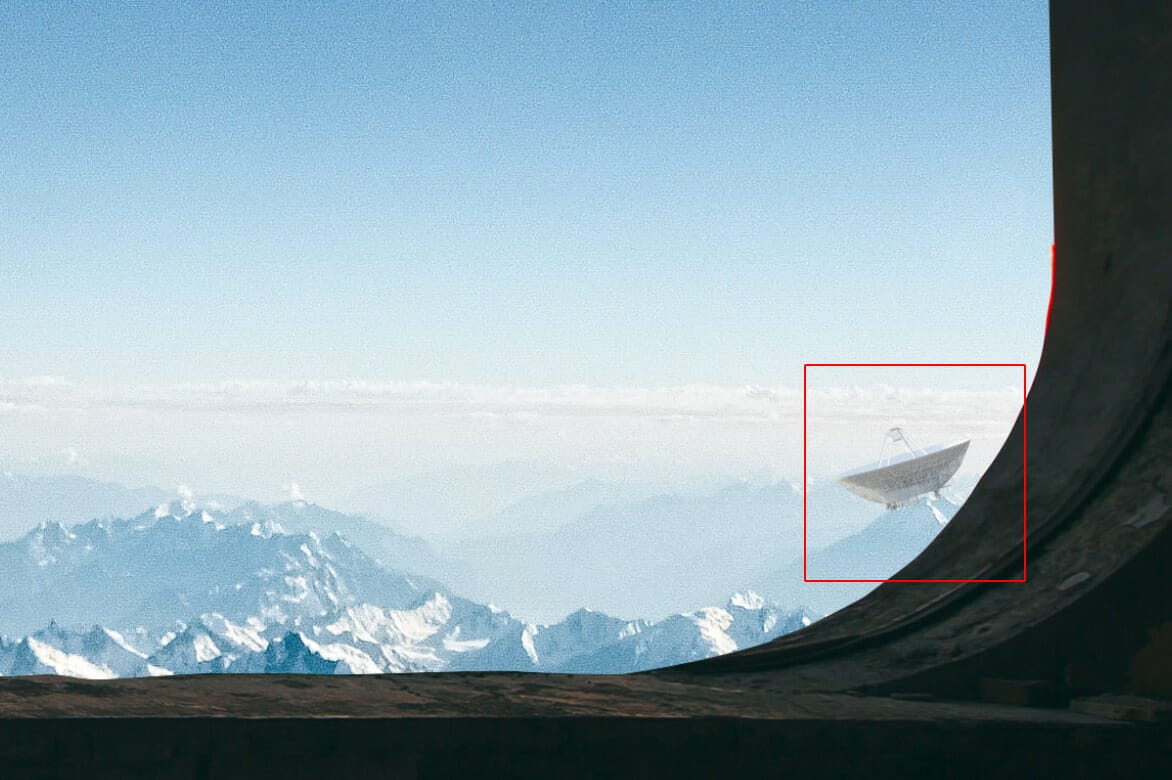
Opacity set to 70%.
Step 9
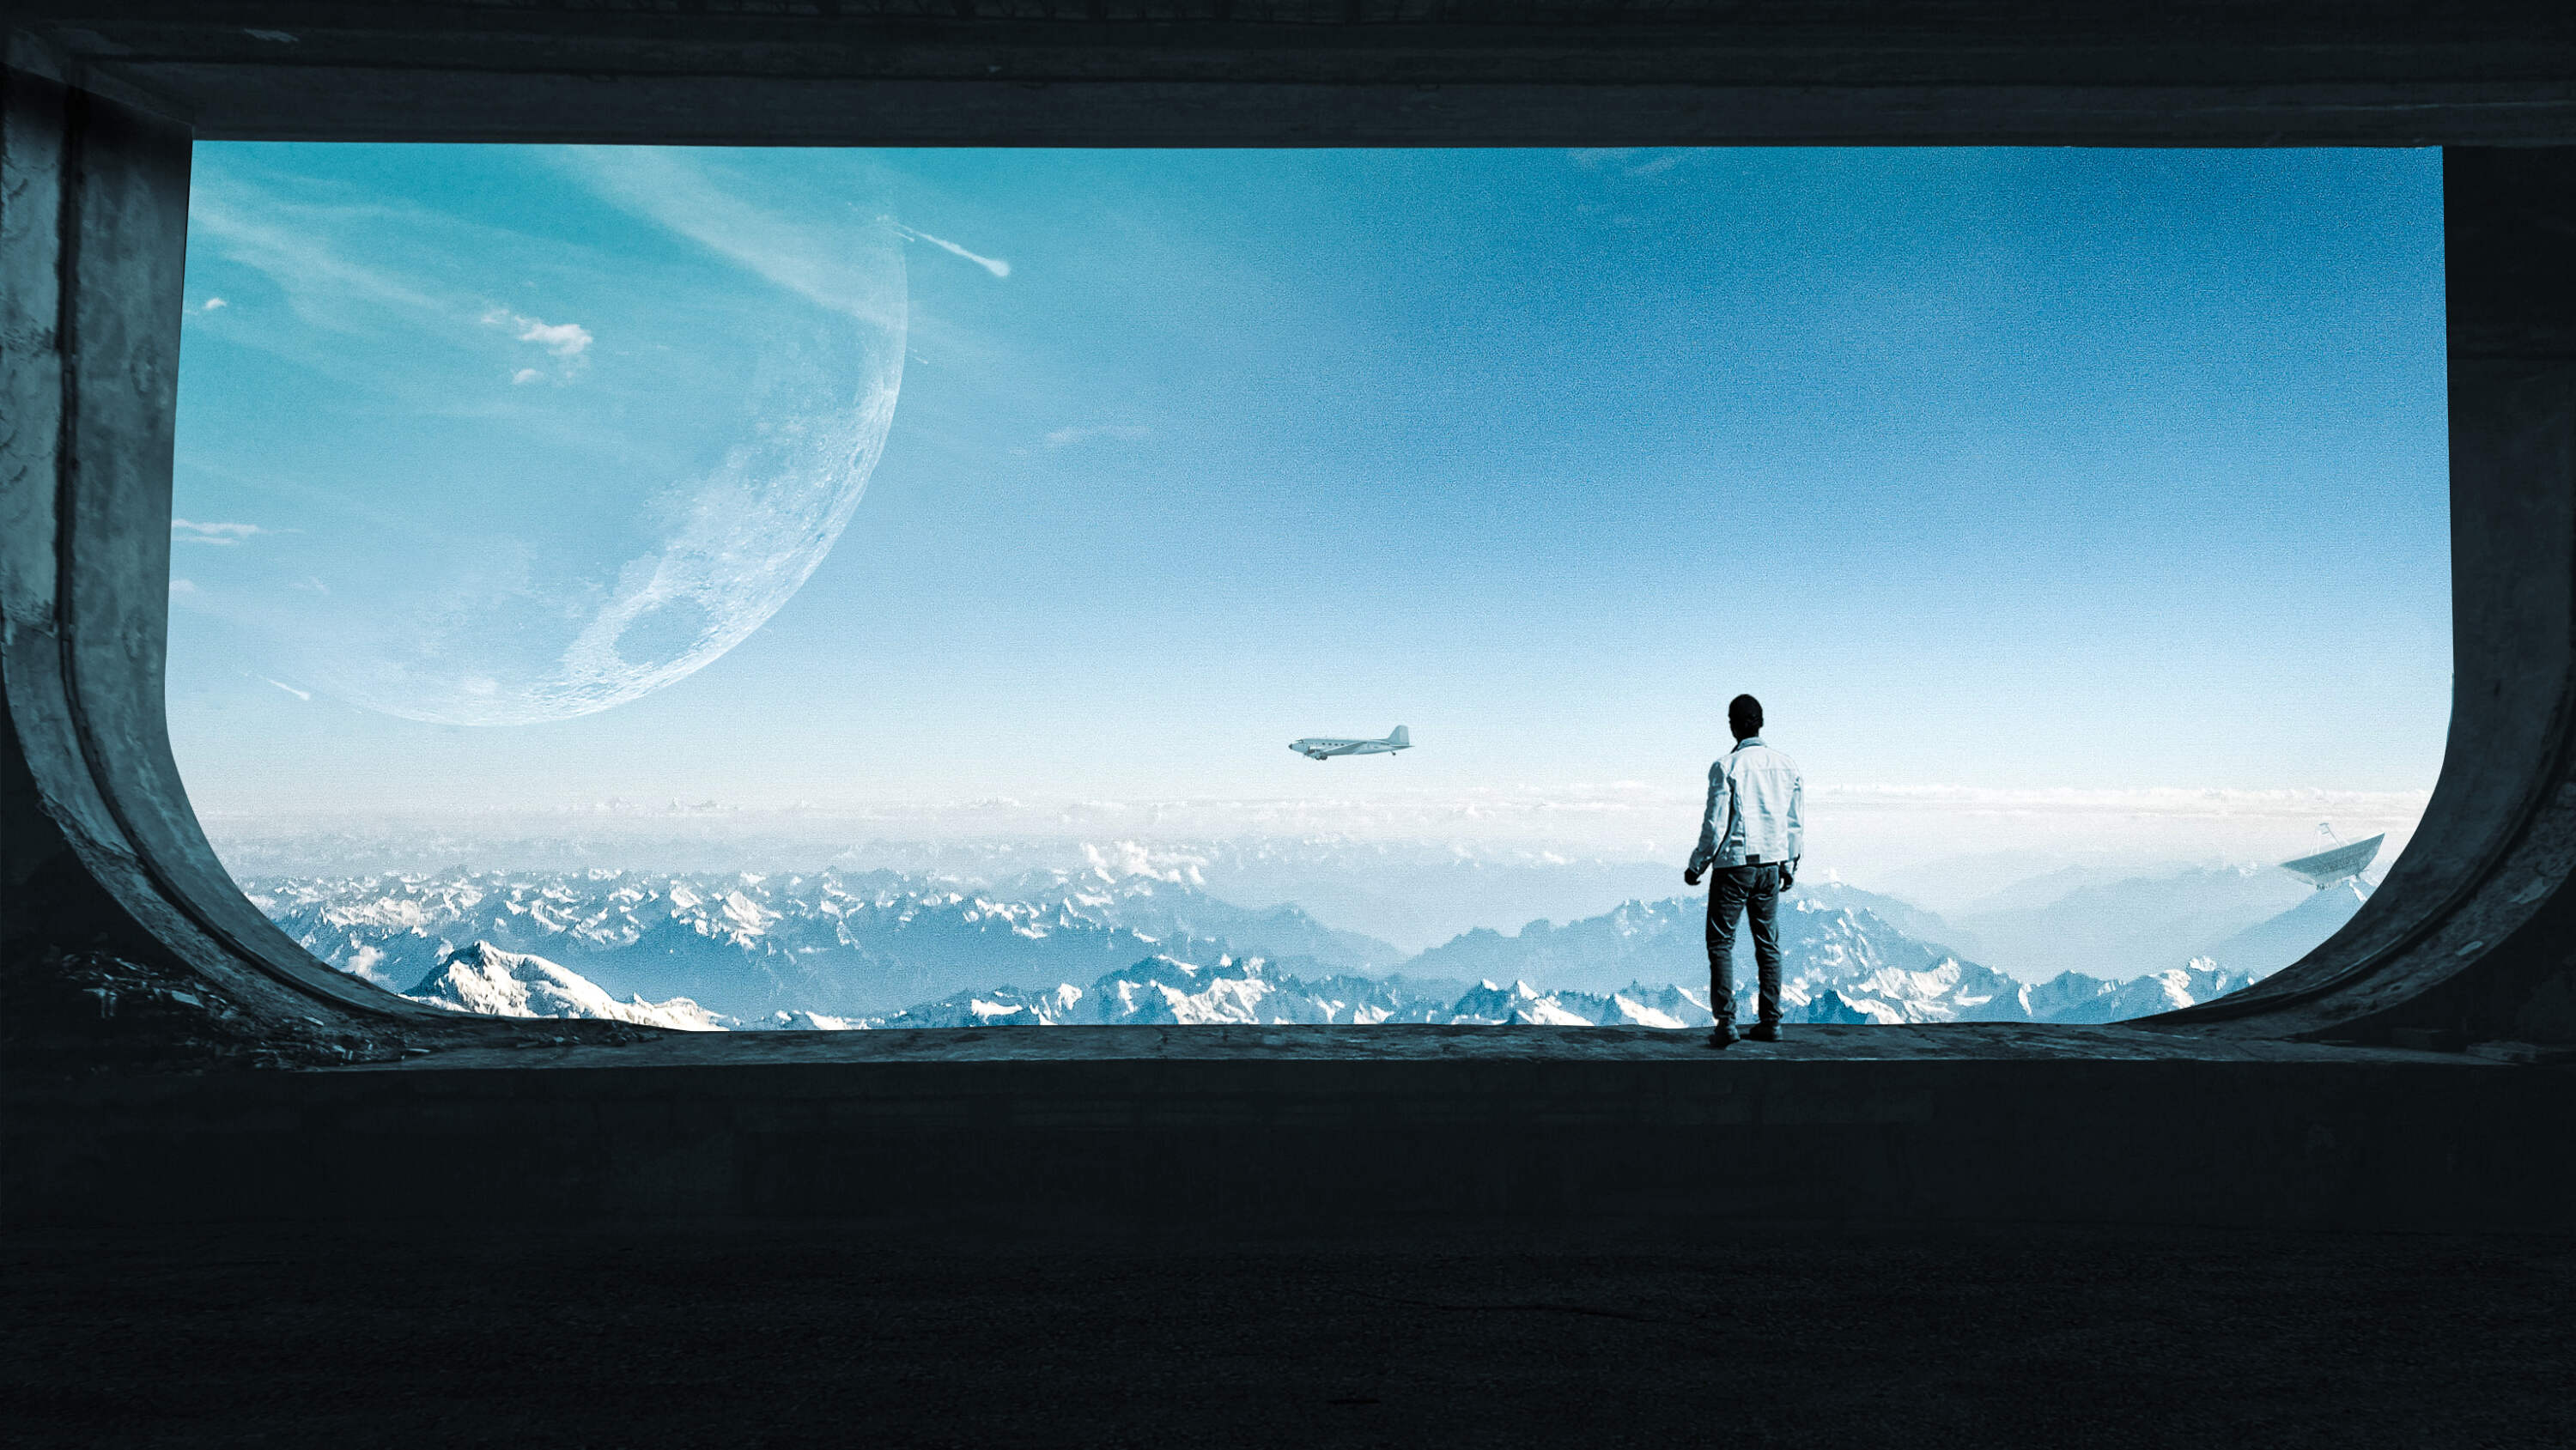
Open another photo Go to File > Open and select Man. After you open the image, use Quick Selection Tool(W) and select fish. After the selection area has been created, simply copy (Ctrl / Cmd + C) and Paste (Ctrl / Cmd + V) it to our work canvas. Then position the image with the transform tool (Ctrl / Cmd + T). Hold Alt + Shift and resterize like image below. In Photoshop CC only hold Alt to resterize al sides together.
2 responses to “Create a Destination Above the Clouds in Photoshop”
-
I hate this tutorial so much.
-
why?
-

Leave a Reply