Luminar AI lets you turn your ideas into reality with powerful, intelligent AI. Download the photo editor and see how you can completely transform your photos in a few clicks.
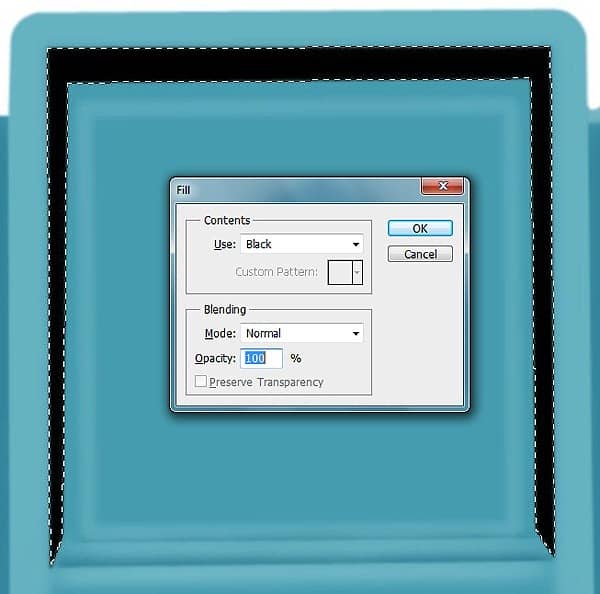
Step 26
Go to Filter – Blur – Gaussian Blur and set Radius to 10px
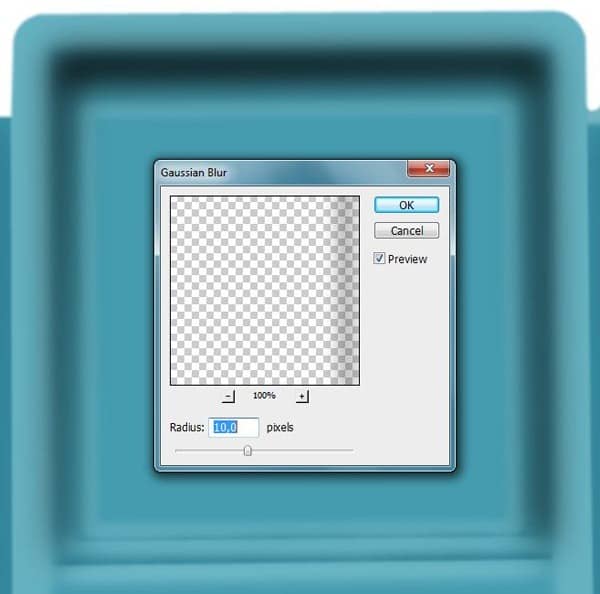
Set layer Blending mode to Soft Light and opacity 80%

Step 27
Make new selection like in the photo with Rectangular Marquee Tool (M) .
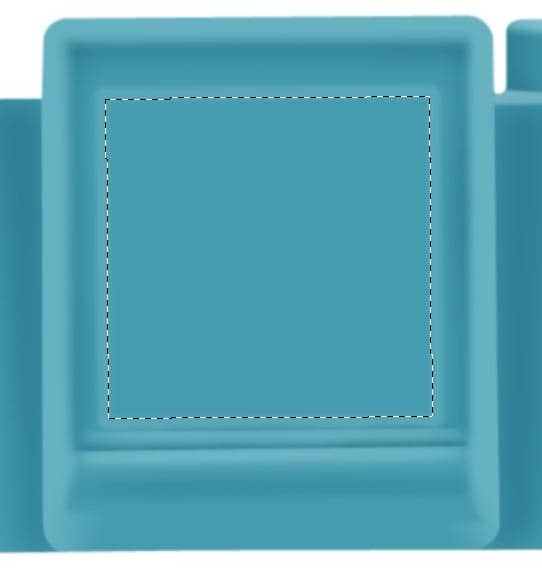
Press Shift+F5 or go to Edit – Fill and select from menu color and put the color #383639
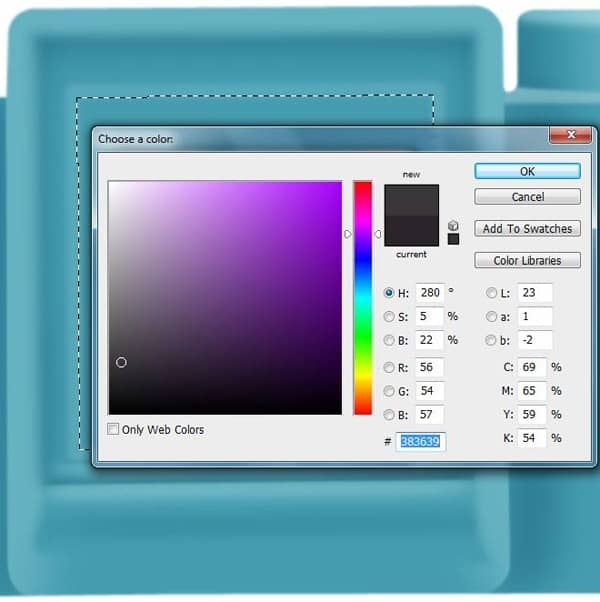
Step 28
Make new circle selection with Elliptical Marquee Tool (M) like in the photo .
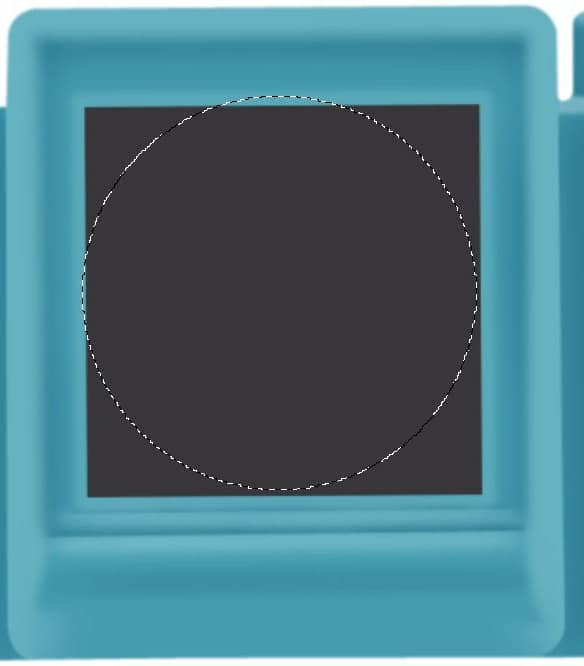
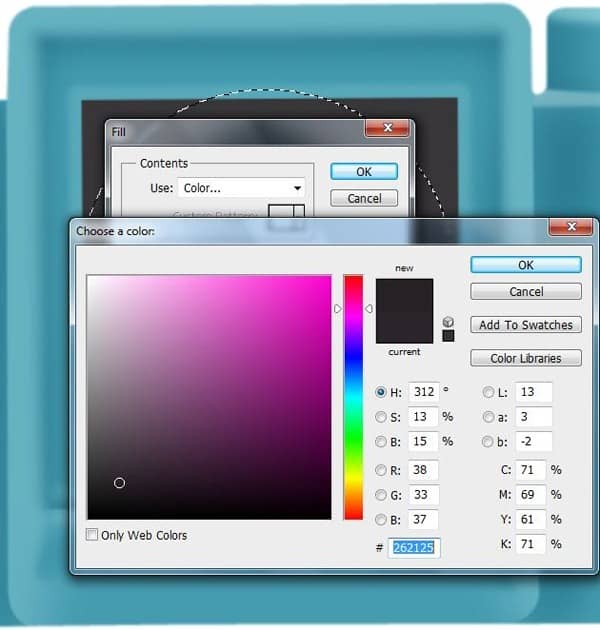
Press Shift+F5 or go to Edit – Fill and select from menu color and put the color #262125
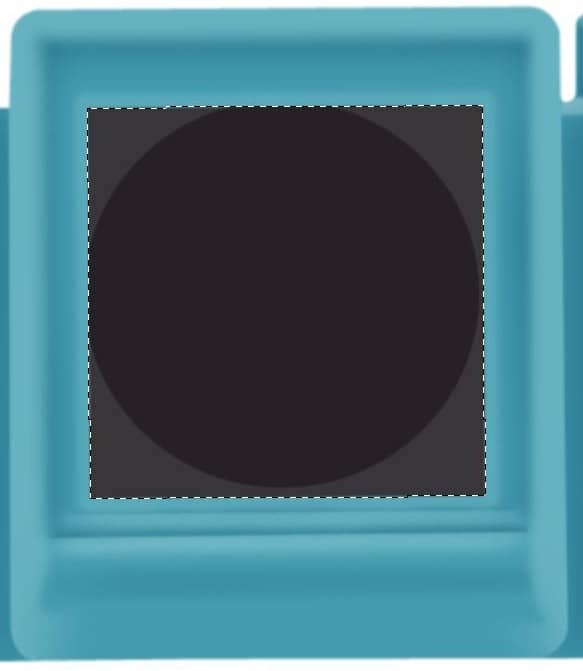
Step 29
Make new selection like in the photo and press Shift+I and press Delete .
Step 30
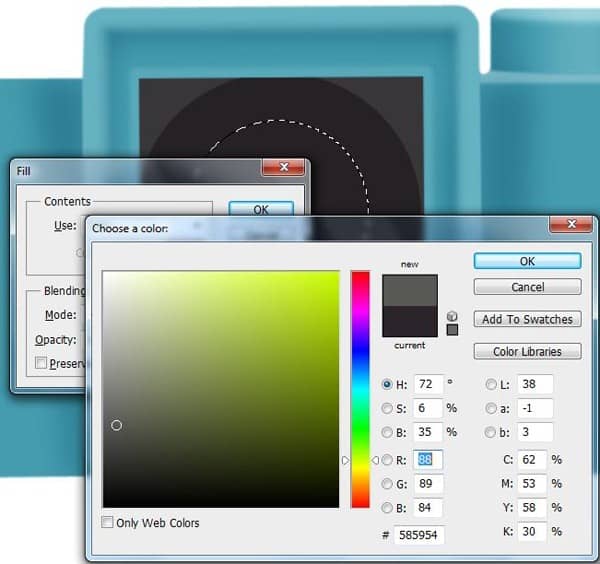
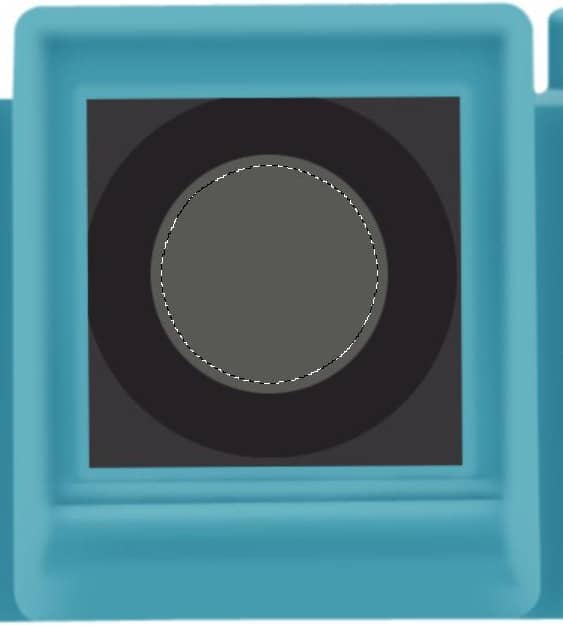
Make new circle selection with Elliptical Marquee Tool (M) like in the photo .
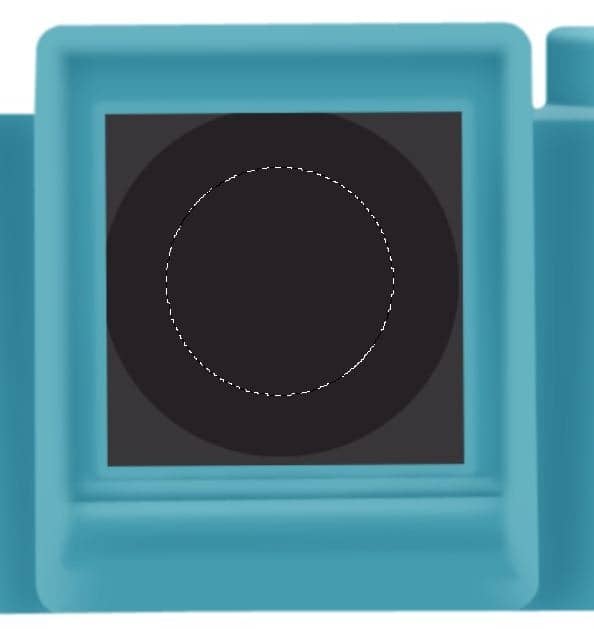
Press Shift+F5 or go to Edit – Fill and select from menu color and put the color #585954
Step 31
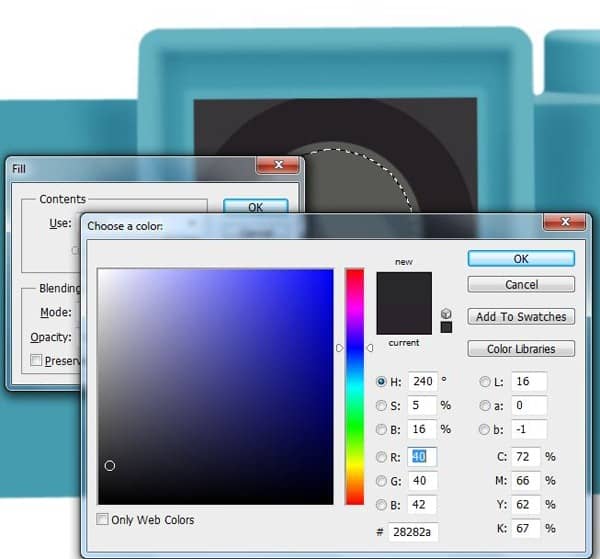
Make new circle selection with Elliptical Marquee Tool (M) like in the photo .
Press Shift+F5 or go to Edit – Fill and select from menu color and put the color #28282a .
Step 32
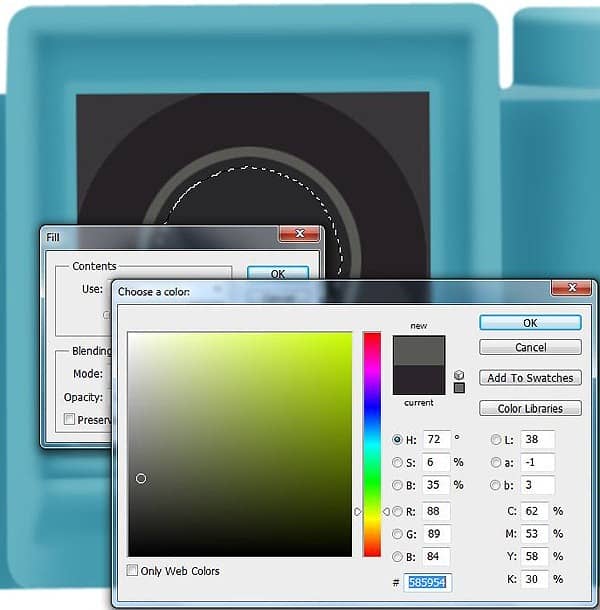
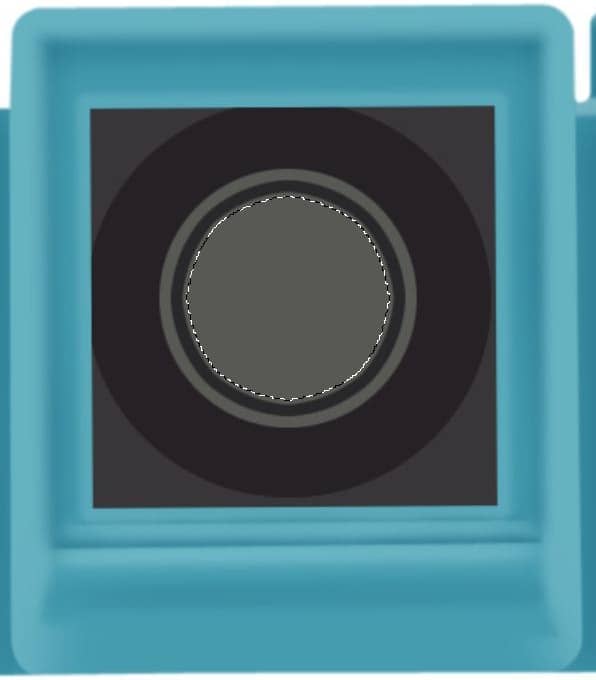
Make new circle selection with Elliptical Marquee Tool (M) like in the photo .
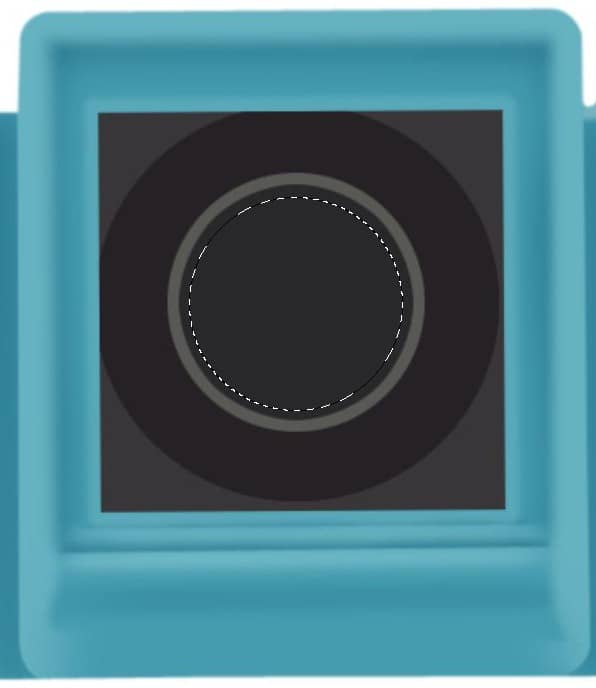
Press Shift+F5 or go to Edit – Fill and select from menu color and put the color #585954 .
Step 33
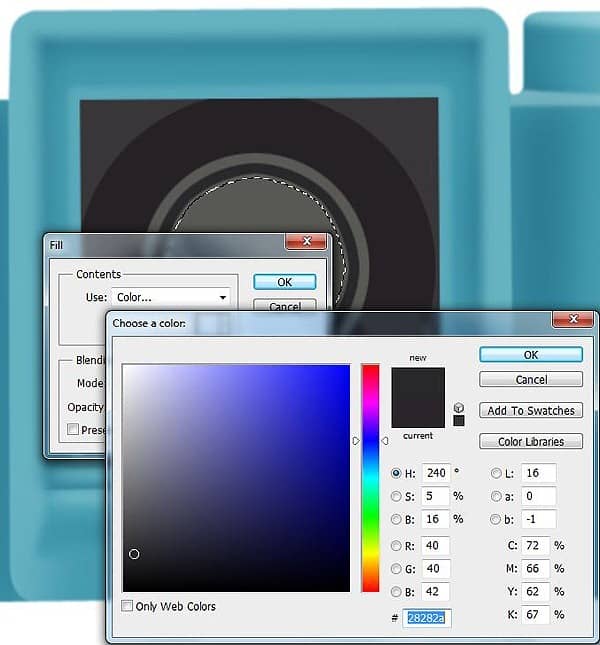
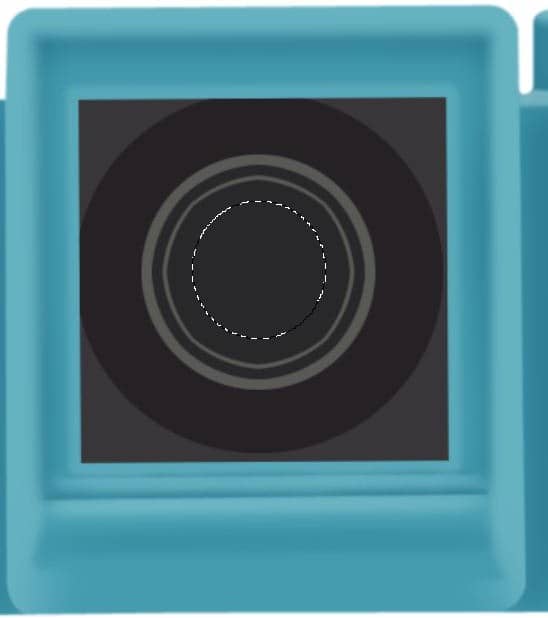
Make new circle selection with Elliptical Marquee Tool (M) like in the photo .
Press Shift+F5 or go to Edit – Fill and select from menu color and put the color #28282a .
Step 34
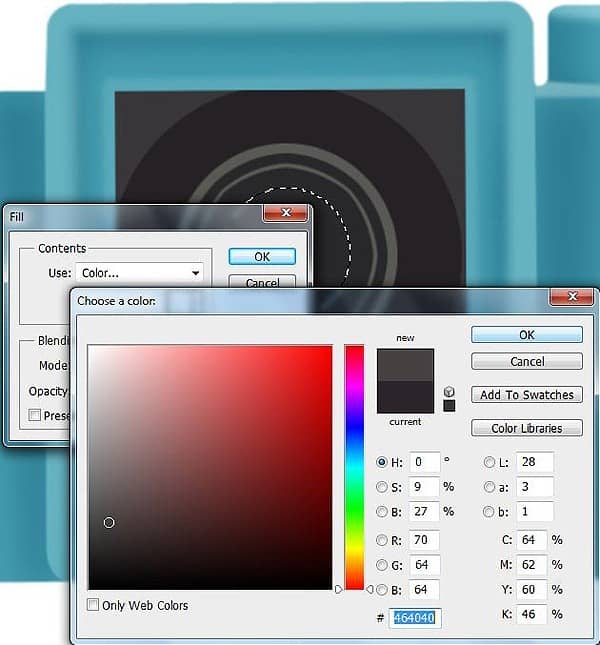
ake new circle selection with Elliptical Marquee Tool (M) like in the photo .
Press Shift+F5 or go to Edit – Fill and select from menu color and put the color #464040 .
Step 35
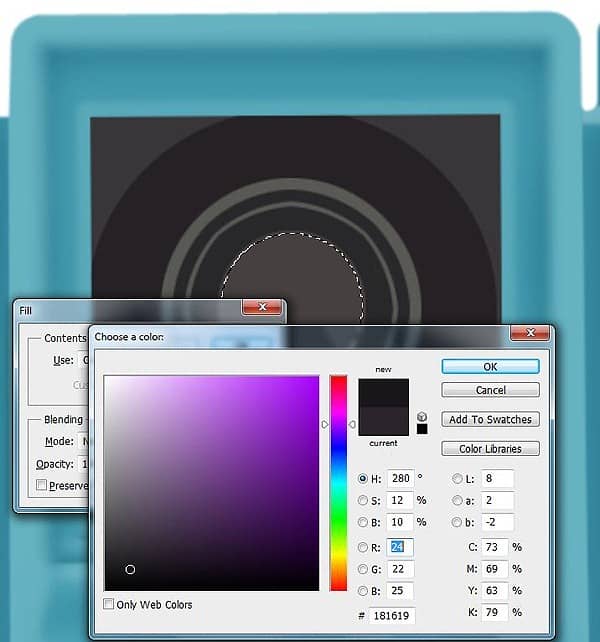
Make new circle selection with Elliptical Marquee Tool (M) like in the photo .
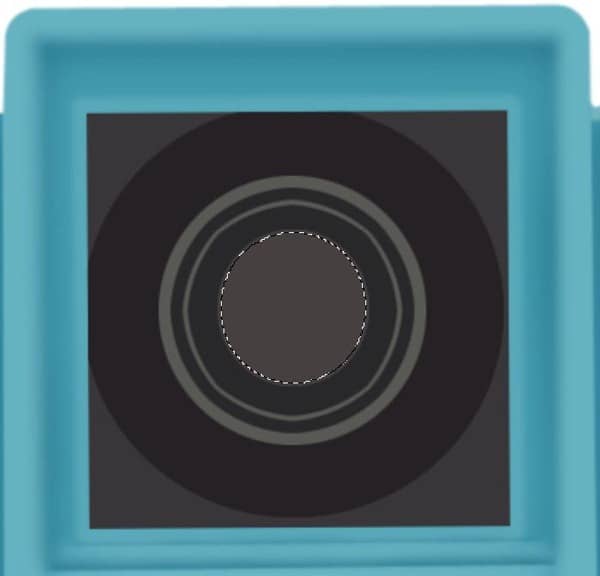
Press Shift+F5 or go to Edit – Fill and select from menu color and put the color #181619 .
Step 36
Make new path with Pen tool (P) like in the photo .

Right-Click and select Make selection and set father 0,5 . Press Shift+F5 or go to Edit – Fill and select from menu color and put the color #181619
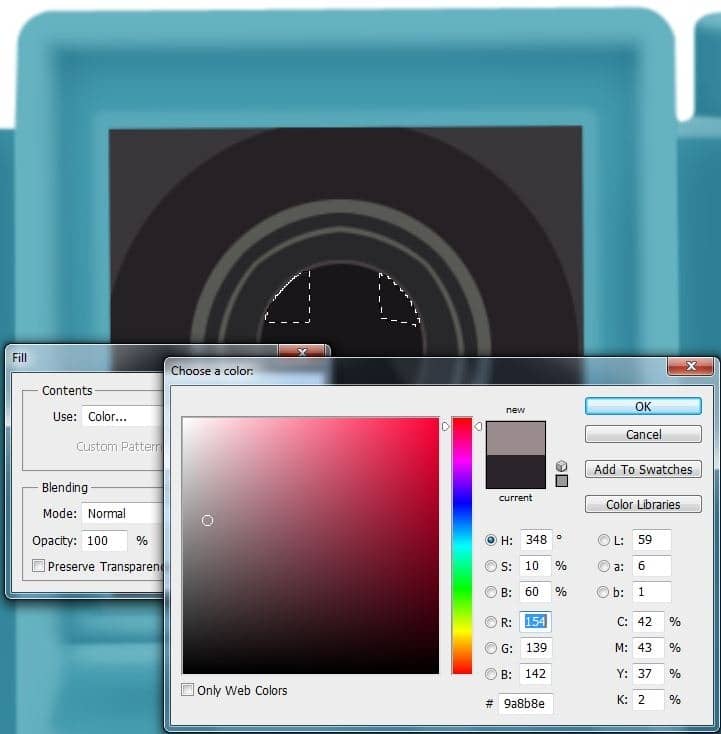
Set layer opacity to 73%

Step 37
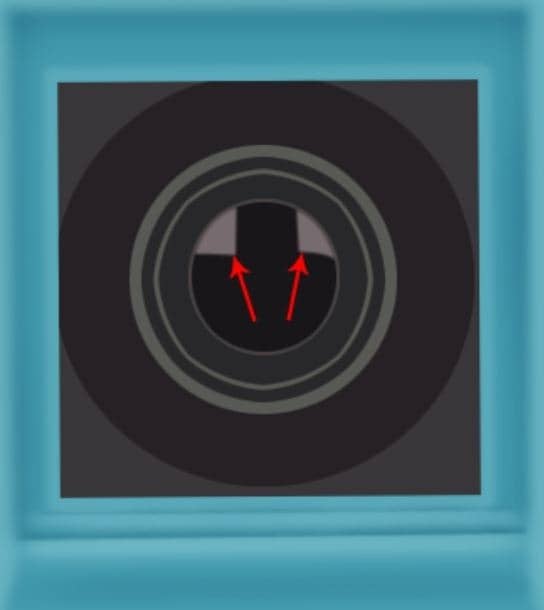
Select Eraser Tool and erase little bit here
Step 38
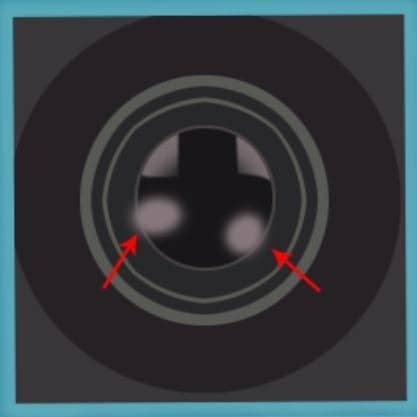
Make new two point with the same color like in the photo
Step 39
Select Smudge Tool and smudge the point like the arrow in the photo .
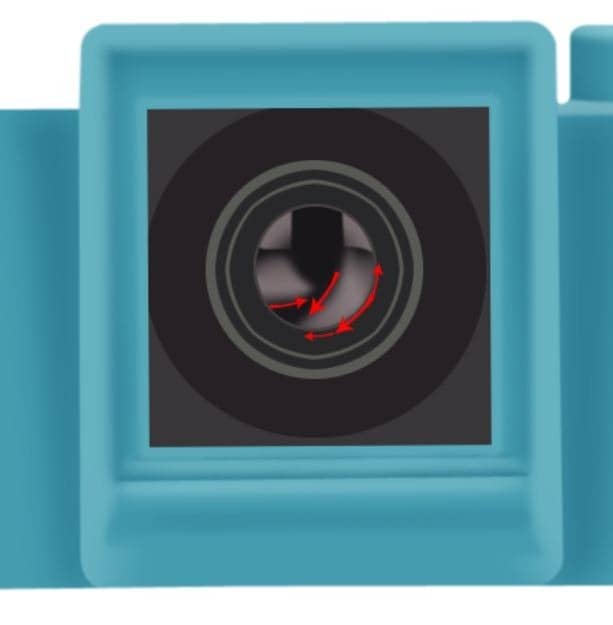
Set the layer opacity to 30%

Step 40
Select Elliptical Marquee tool and make a small circle like in the photo . Press Shift+F5 or go to Edit-Fill and select white from menu .


