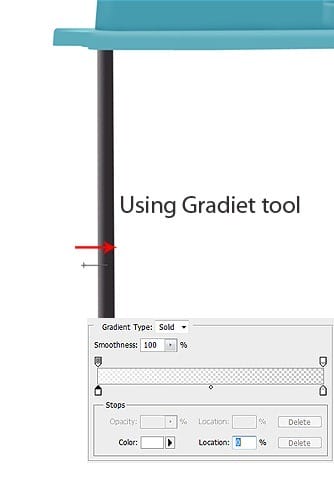
Step 86
Select Gradient tool and use the settings show below and apply the gradient like the arrow indicates .

Step 87
Make new document with size 1600×1200 . Press D to set the foreground and background color to black and white and go to Filter – Texture – Stained Glass
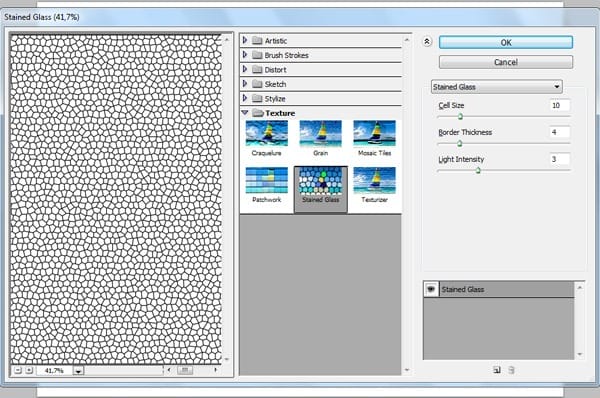
Step 88
Create new layer and go to Edit-Fill or press Shift + F5 and select white .
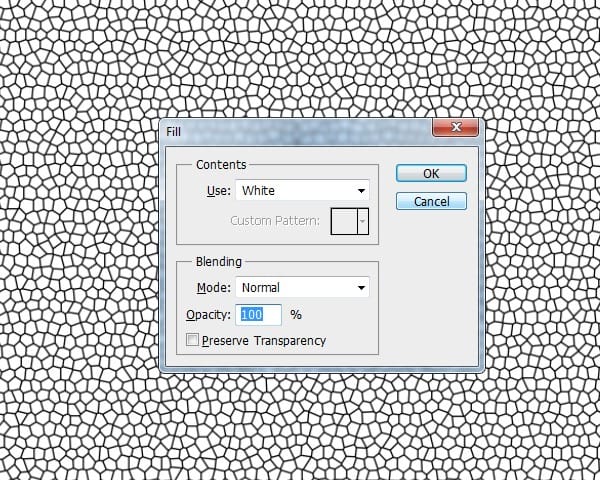
Step 89
Press CRTL + F or go to Filter – Texture – Stained Glass to repeat the effect and set the layer opacity 50%
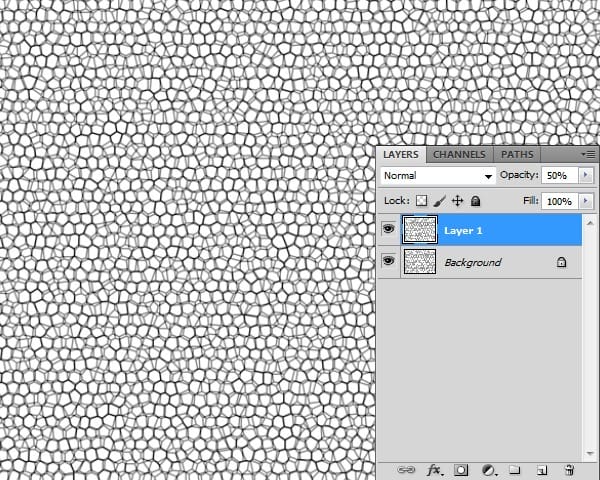
Step 90
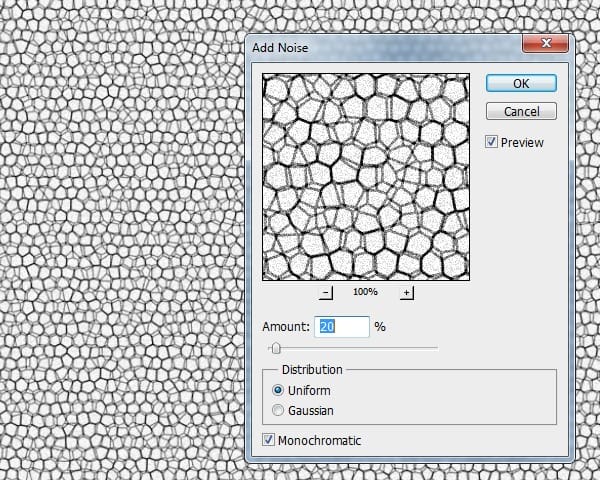
Press CTRL + E or go to Layer – Merge Down . Go to Filter-Noise-Add Noise and use the settings show below
Step 91
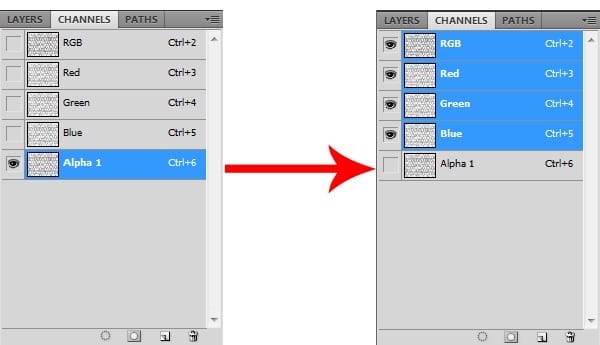
Press Ctrl + A to select all document , press Ctrl + C to copy . Go to Channels and create new channel and press Ctrl + V .
Step 92
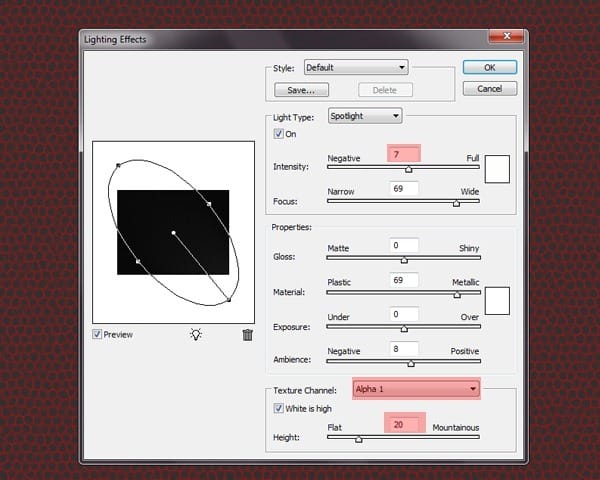
Go to Filter – Render – Light Effects and use the setting show bellow .
Step 93
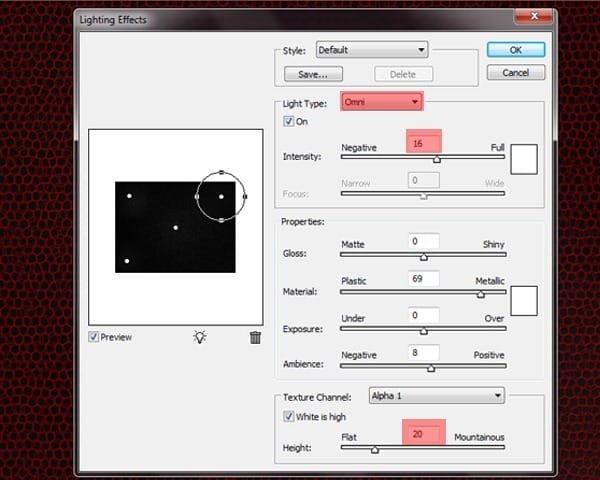
Go again to Filter-Render Light Effects and add more light sources by dragging the lamp icon .
Step 94
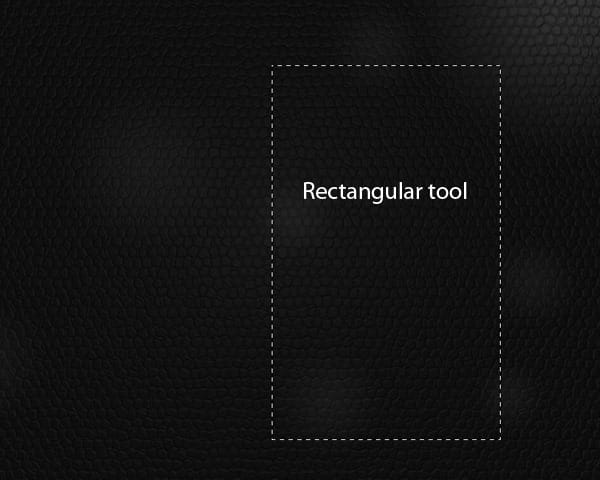
Select Rectangular tool from menu and make a new selection like me and press Ctrl + C to copy .
Step 95
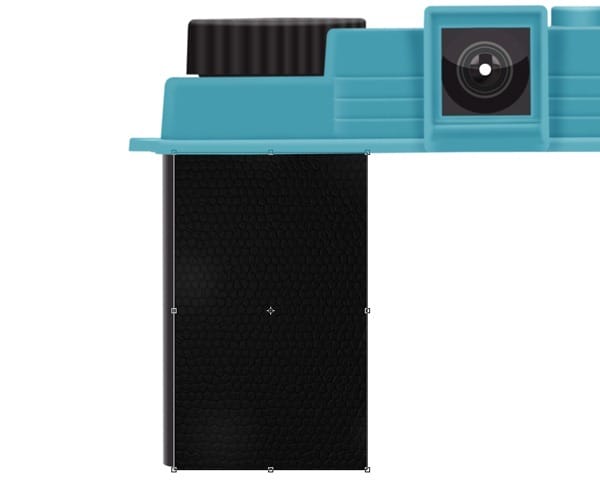
Go to the photo camera document and press Ctrl + V . Press Ctrl + T to transform the texture like in the photo .
Step 96
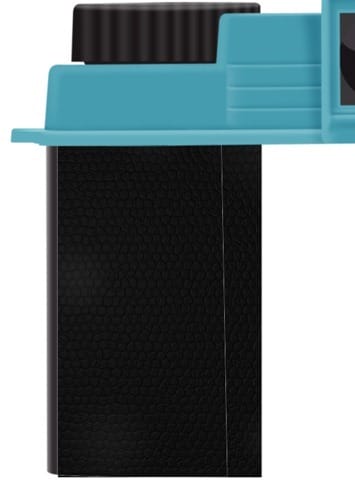
Make new path with Pen tool (P) like in the photo . Right-click and select Make selection with Father 0,5 . Press Shift + I to inverse the selection and press Delete button .
Step 97
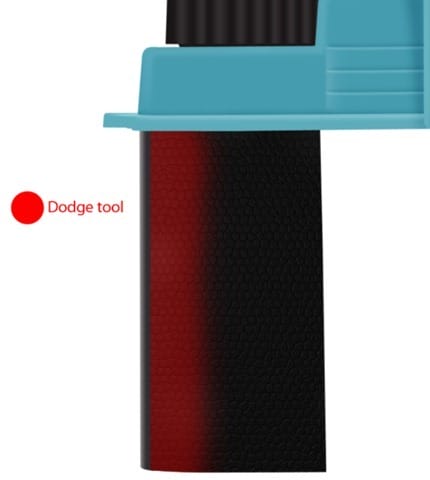
Select Dodge Tool and use the setting show in the image . Apply the dodge like in the photo with brush size 160px .

Step 98
Make new path with Pen Tool (P) like in the photo . Right click and select Stroke path with brush size 7px and color black , set the layer opacity to 52%
Step 99
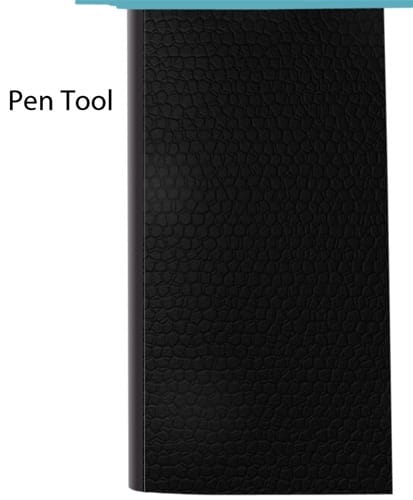
Make new path with Pen Tool (P) like in the photo . Right-click and select make selection with father 0,5 .
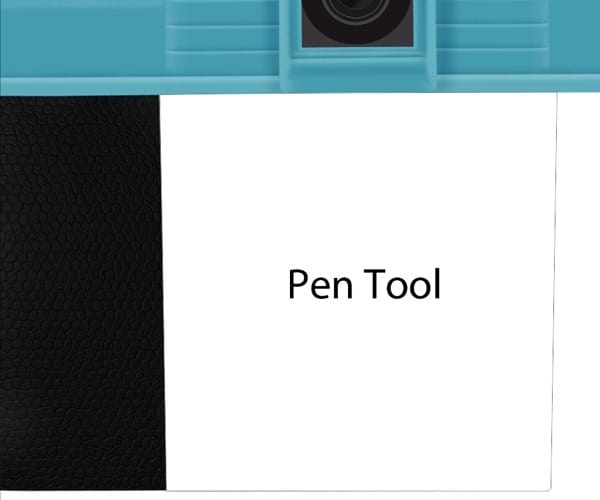
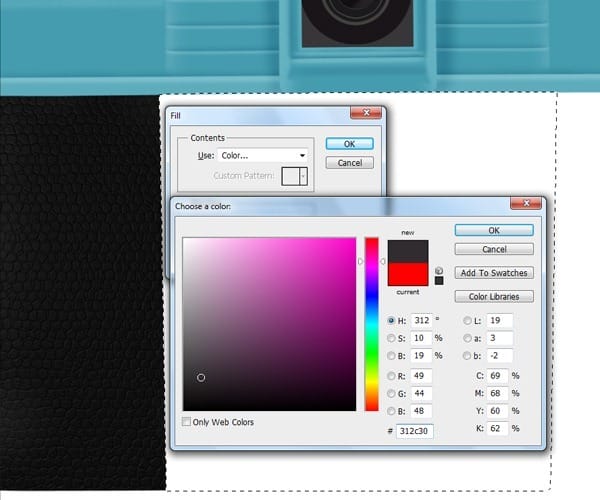
Press Shift+F5 or go to Edit-Fill and select from menu color and put the #312c30 color .
Step 100
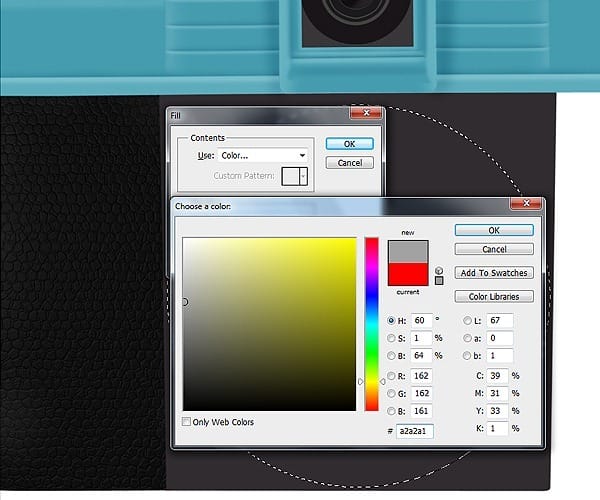
Select Elliptical Tool from menu and make new selection ( hold Shift key ) like in the photo .
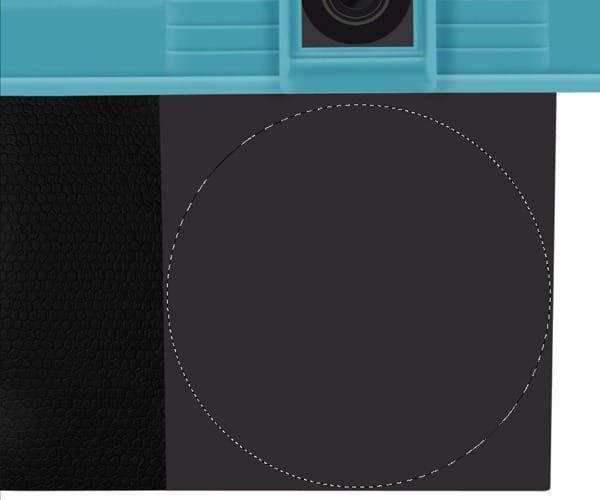
Press Shift+F5 or go to Edit-Fill and select from menu color and put the #a2a2a1 color .
Step 101
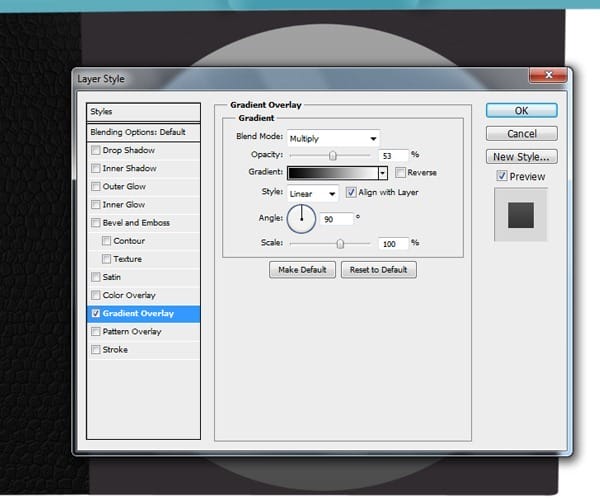
Go to Layer > Layer Style > Gradient Overlay and use the setting show in the photo .
Step 102
Go to Layer > Layer Style > Bevel and Emboss and use the setting show in the photo .


Leave a Reply