
Step 120
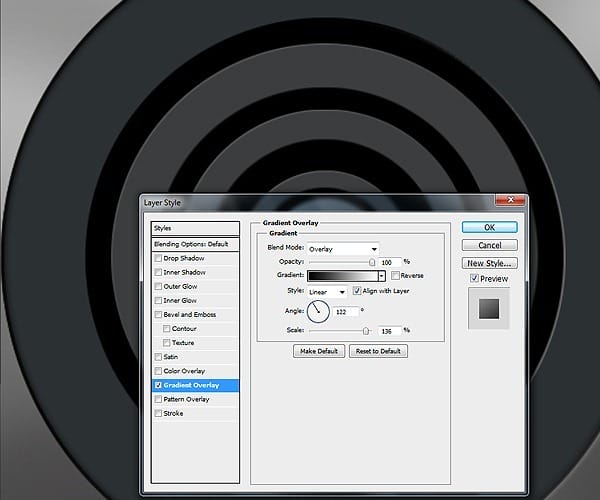
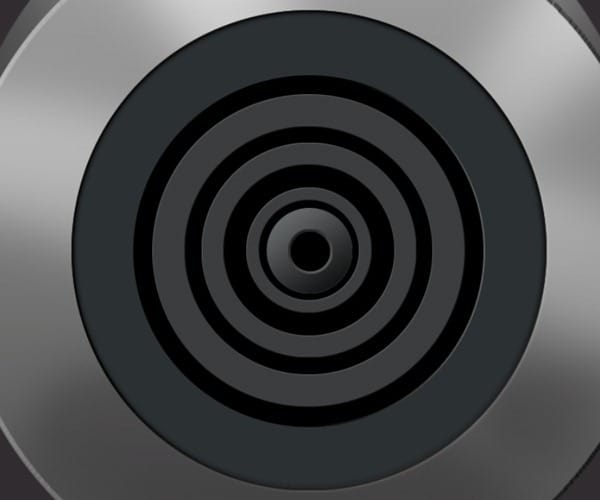
Go to Layer > Layer Style > Gradient Overlay and use the setting show in the photo .
Step 121
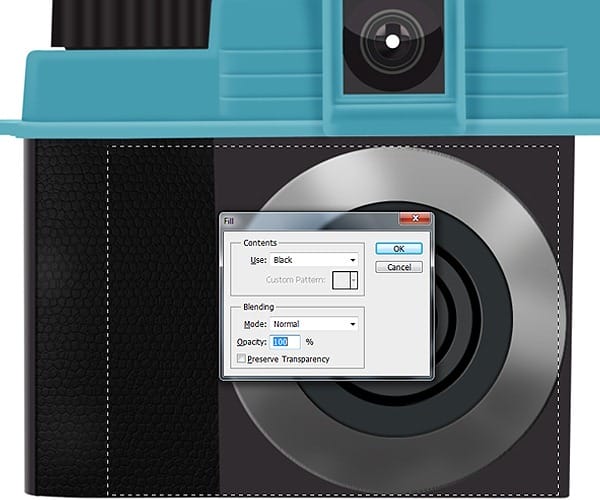
Select Rectangular Tool and make new selection like in the photo . Go to Edit – Fill or press Shift + F5 and select from menu black .
Step 122
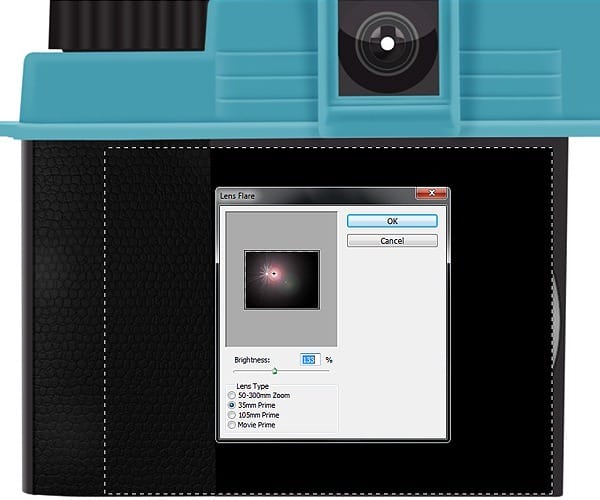
Go to Filter – Render – Lens Flare and use the setting show bellow .
Step 123
Go to Filter – Blur – Gaussian Blur and use this setting .
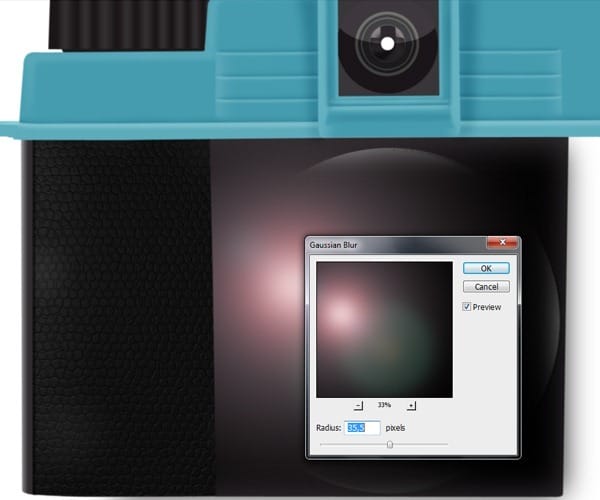
Step 124
Go to Image – Adjustments – Hue/Saturation and move the Hue slider to change the color like in the photo .
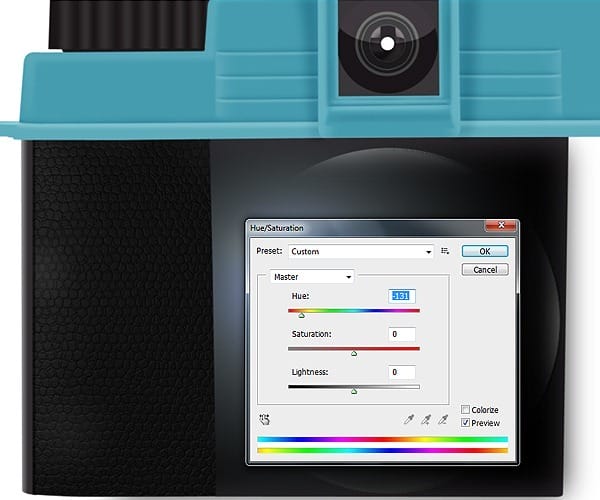
Step 125
Select Elliptical Tool from menu and make new selection ( hold Shift key ) like in the photo . Press Shift + Ctrl + I to inverse selection and press Delete key .
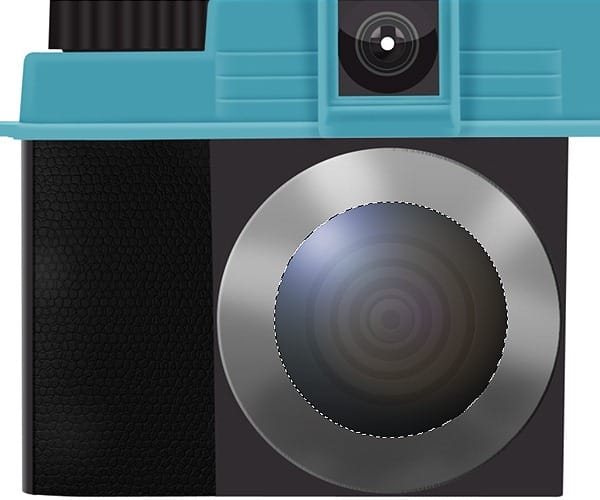
Step 126
Select Brush tool and set the brush to 10px , color white and hardness 50% . Make a point in the lens center . Set the layer opacity 30%

Step 127
Select Elliptical Tool from menu and make new selection ( hold Shift key ) like in the photo . Select Brush tool with brush setting 40px , hardness 0% . Make 2 point with brush like in the photo .
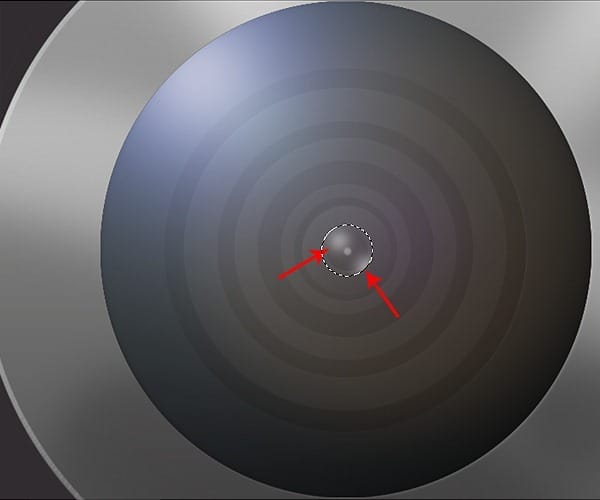
Step 128
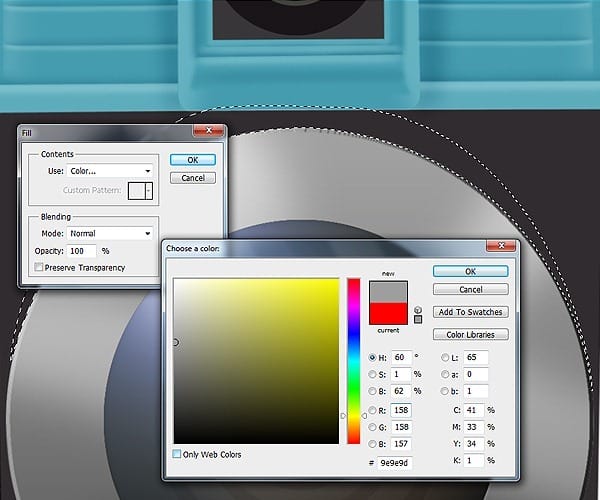
Make new path with Pen Tool (P) like in the photo .Right-click and select Make selection with Father 0,5
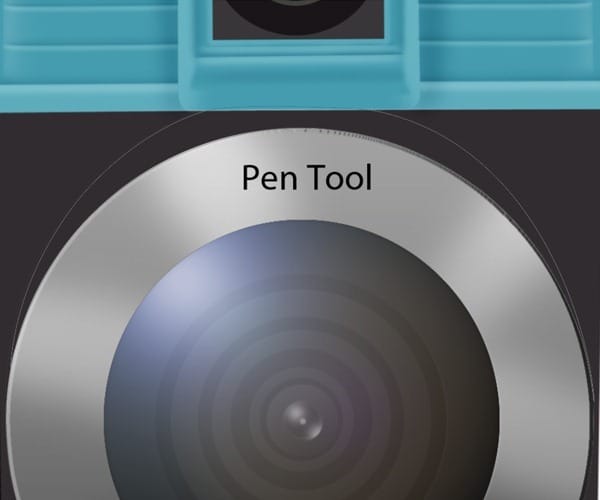
Press Shift+F5 or go to Edit-Fill and select from menu color and put the #9e9e9d color .
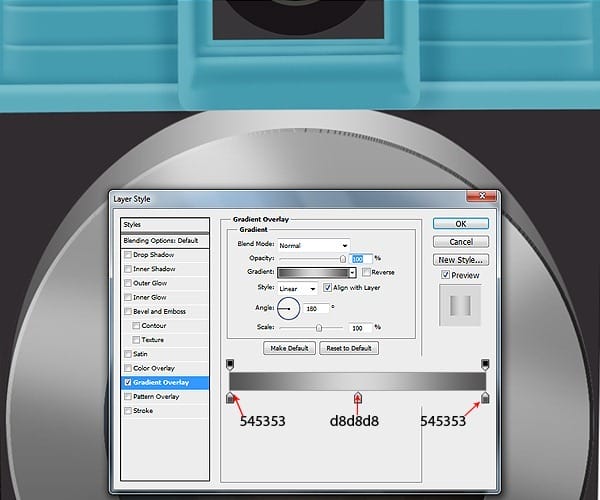
Step 129
Go to Layer > Layer Style > Gradient Overlay and use the setting show in the photo .
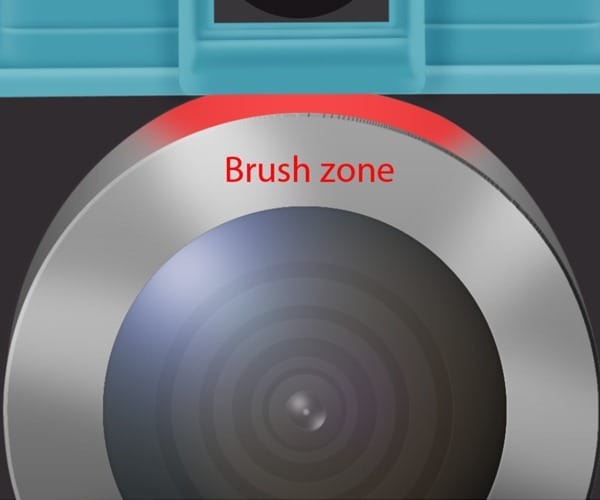
Step 130
Select Brush tool and set brush size to 100px and hardness 0% and color white .Apply the color like in the photo , make layer opacity 36% .
Step 131
Select Brush tool and set brush size to 100px and hardness 0% and color black .Apply the color like in the photo , make layer opacity 21% .
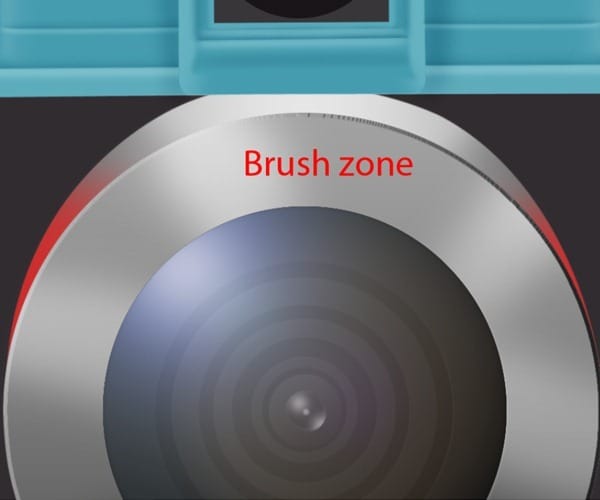
Step 132
Select Brush tool and set brush size to 100px and hardness 0% and color white .Apply the color like in the photo .
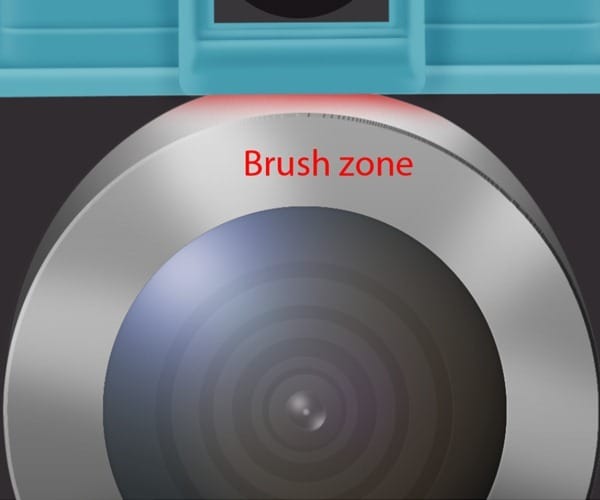
Step 133
Select Elliptical Tool from menu and make new selection ( hold Shift key ) like in the photo .
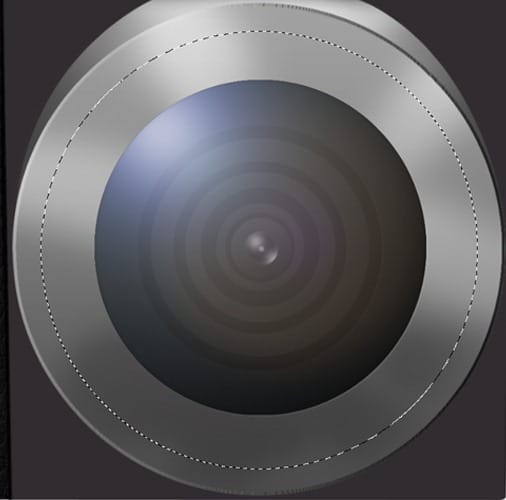
Step 134
Press Shift+F5 or go to Edit-Fill and select from menu color white .
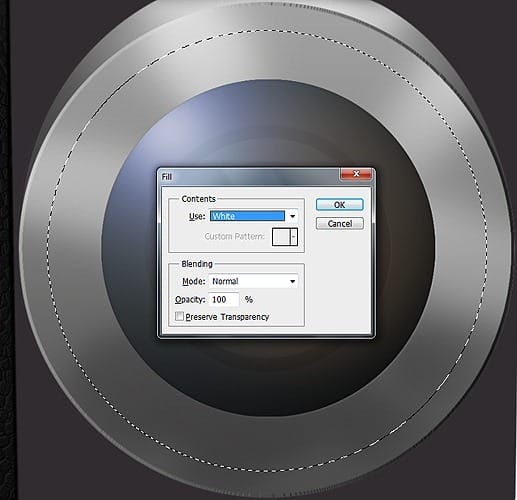
Step 135
Select Polygonal Tool and make a new selection like in the photo .

Press Shift+F5 or go to Edit-Fill and select from menu color and put the #353036 color .
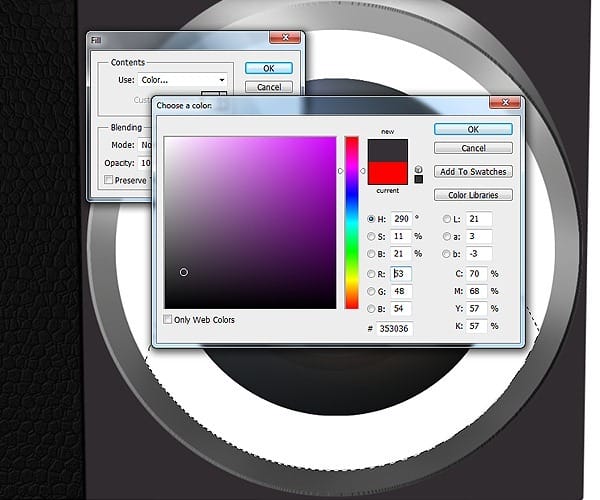
Step 136
Open the photo with leather texture and with Rectangular tool make a new selection like in the photo and press Ctrl + C to copy .


Leave a Reply