Make your artwork look like they're from an alternate universe. These Cyberpunk presets work with Photoshop (via the Camera Raw filter) and Lightroom. Download all 788 presets for 90% off.
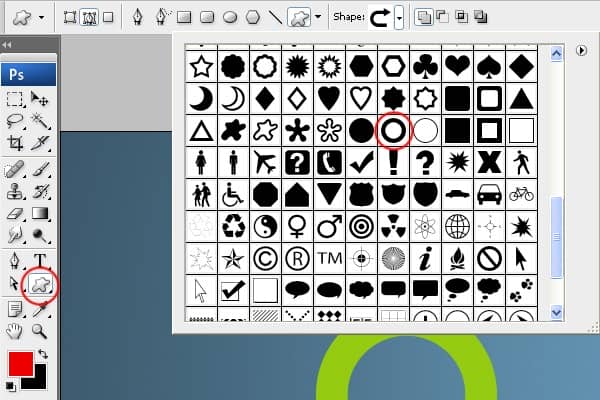
Step 13 - Adding Rectangle Shape
Once you've created the circle shape it's time to add the rectangle shape to the left and right side.
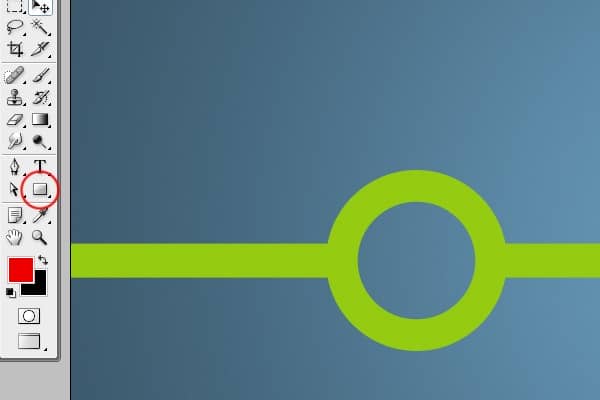
Step 14 - Duplicating the Circle Shape
Select the circle and rectangle shape. Press Alt and drag the shapes to right side of the screen (it duplicates the object). Then select the circle, press Ctrl + T and scale it down.

Step 15 - Creating Shape 3
Select the Line Tool (U) from tools. Pick purple color (#5b0cab) and set the Weight on 60 px.

Create a shape as in the image below.

Step 16 - Another Shape
To create next shape you will need these shapes.
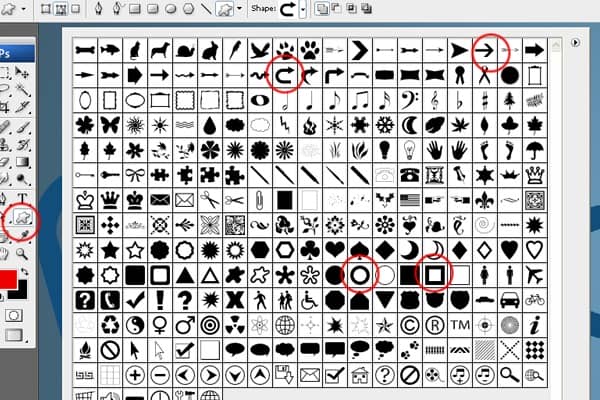
Choose them one by one and create the shape you can see below. Change the color of the shape on blue (#114E7B).

Step 17 - Creating Random Shape
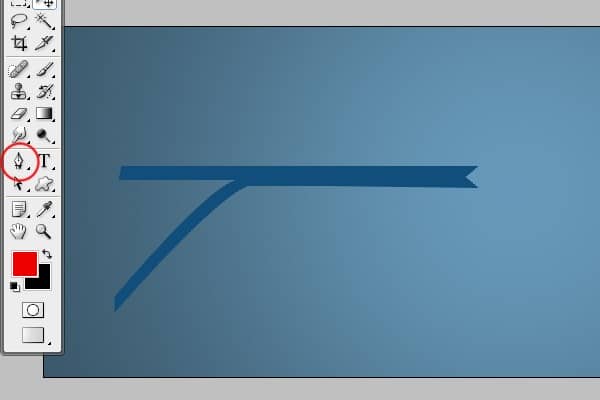
Select the Pen Tool (P) and create a shape as on the picture below.
Step 18 - Random Shape 2
Select the Pen Tool (P) and create some random shape again. It can be similar to the one bellow but it's completely on your imagination.

Step 19 - Adding Stroke to Yellow Shape
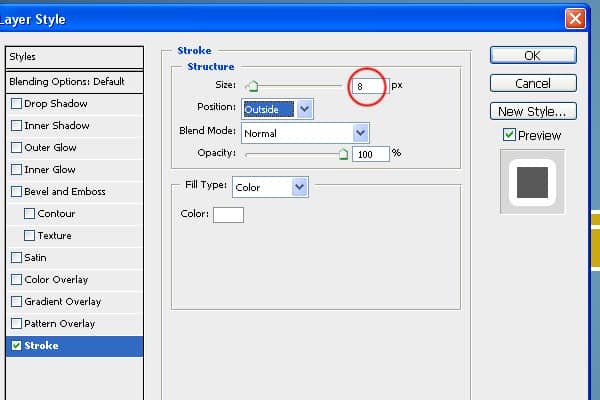
All the basic shapes are already created. Now you're going to start adding some details to them. Lets focus on the yellow shape. Select all layers which create this shape and merge them together. Add layer style to this layer. To do that click on the button. Add a layer style which can be found on the bottom part of your Layers palette. Select the option Stroke and apply settings shown below. Press OK.
Yellow shape should look like the one bellow.

Step 20 - Adding Stroke to the Green Shape
Select all layers which create the green shape and merge them together. Add stroke to the shape as you did it in previous step.

Step 21 - Adding Strokes to All the Shapes
Do the same process with all shapes. After you're finished you should get image similar to the one below.

Step 22 - Adding Perspective to Yellow Shape
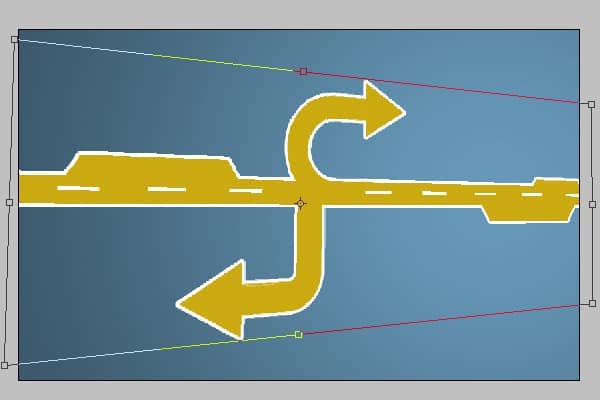
In this step you're going to add perspective to the yellow shape. To do that go to Edit > Transform > Perspective and move with the corners to get the shape similar to the one on the picture below. Press Enter.
Step 23 - Adding Perspective to Other Shapes
Repeat the previous step on all shapes.
Step 24 - Dodge the Shapes
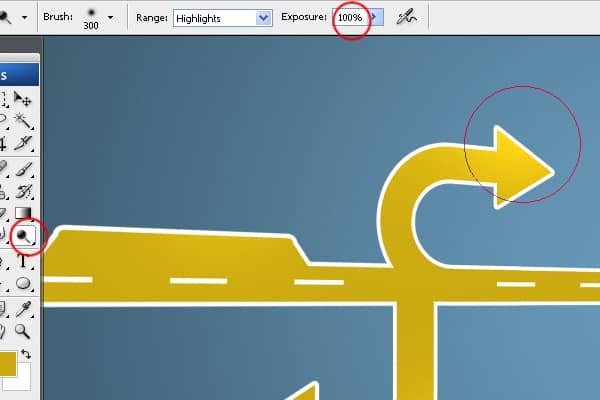
It's time to add some plasticity to the shapes. Select the Dodge Tool (O). Choose some soft round brush and set Master Diameter on 300px.
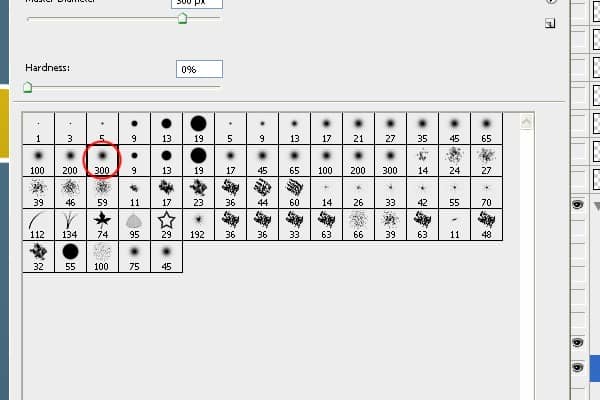
Paint over the areas of yellow shape you want to highlight. See images below for inspiration.
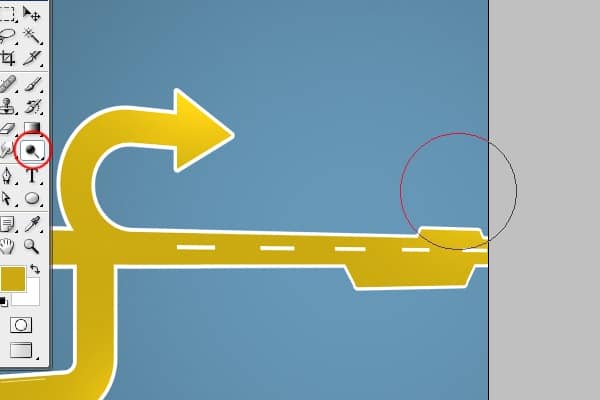
Step 25 - Adding Highlights to Other Shapes
Follow the step 24 but change the brush size to 500px. See images bellow.

