In this tutorial, you will learn how to create your own abstract graffiti wallpaper using the Pen tool and custom shapes. You’ll also learn how to make it stand out by adding shadows and changing the perspective of the graffiti.
Preview of Final Result

Graffiti Wallpaper Photoshop Tutorial
Step 1 – Create a New Document
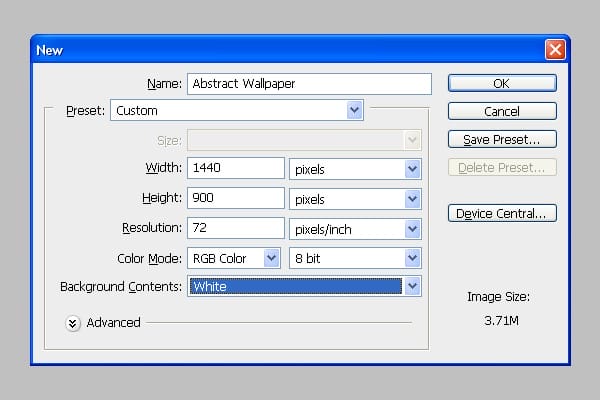
Choose File > New or press Ctrl/Command + N to create a new document. Set the size of the document. I’m using 1440 px (width) X 900 px (height) but feel free to use any size you want.
Step 2 – Background
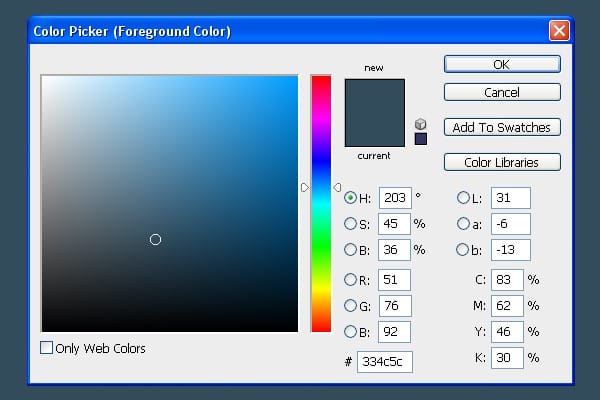
Grab the Gradient Tool (G), pick blue color (#334C5C) and fill the background with it.
Step 3 – Placing Spot Light
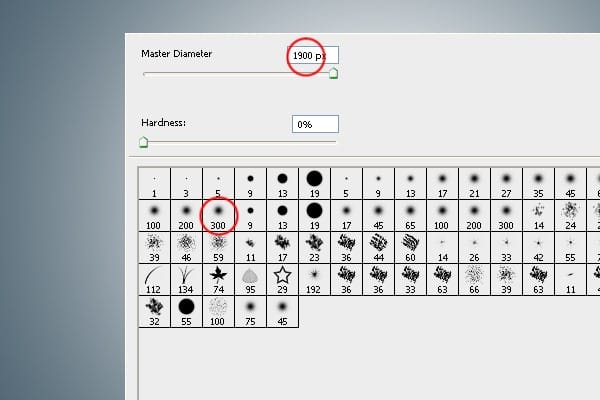
In this step you’re going to add a spot light to the background. It creates a focus on the main object. Create a new layer and name it “Highlight”. Select the Brush Tool (B) from the tools. Select some soft round brush and set Master Diameter on 1900 px.
Step 4 – Changing the Blending Mode
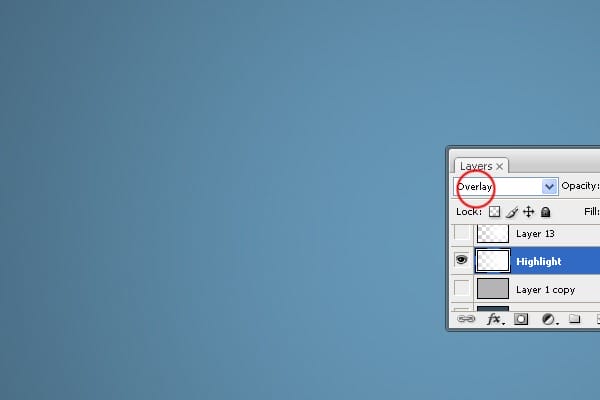
Change the Blending Mode of this layer on Overlay. It blends the spot light with the background properly.
Step 5 – Placing a Shape
Create a new layer. Select the Rectangle Tool (U) from tools. Pick yellow color (#CBAA11) and create a shape similar as on the picture below.
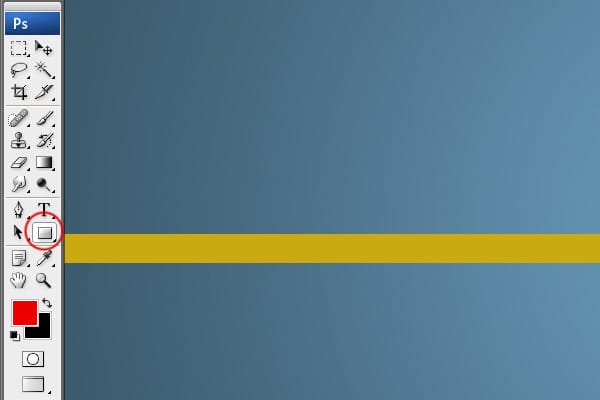
Step 6 – Adding Shape #1
In this step you’re going to add rounded rectangle shape on the right side of the shape you’ve created in previous step. Select the Pen Tool (P) and create a shape similar as on the picture below.

Step 7 – Adding Shape # 2
Duplicate the shape from previous step. Grab the Direct Selection Tool (A) and increase the width by dragging the corner points.

Step 8 – Duplicating Shape #2
Duplicate the shape #2 and place it in the top left corner.

Step 9 – Placing Custom Shape # 1
Select the Custom Shape Tool (U) and open the preset shapes. Click on the small button on the right and select option Arrows. See image bellow.
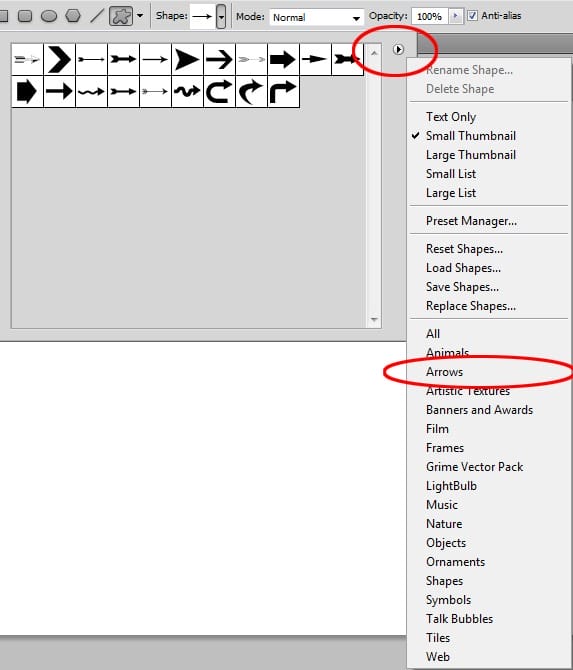
Select the direction arrow shape.
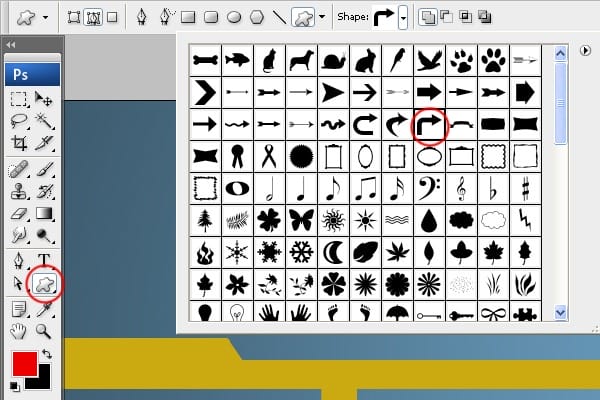
Place the shape as you can see below.

Step 10 -Placing Custom Shape # 2
Place the arrow named Arrow 18.
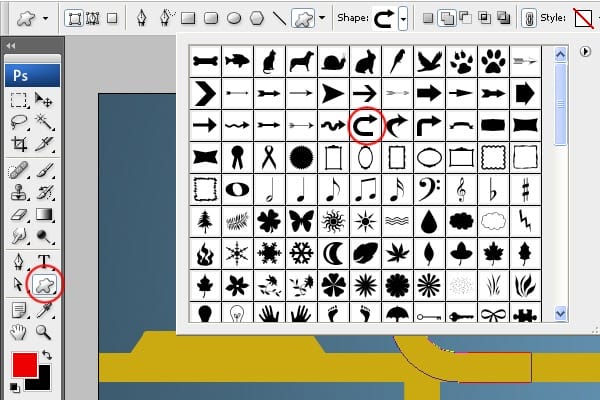
Your wallpaper should look like the one below so far.

Step 11 – Creating Lines
It would be great if the shape looks like a road. To make that select the Rectangle Tool (U) and create shapes like on the picture below.
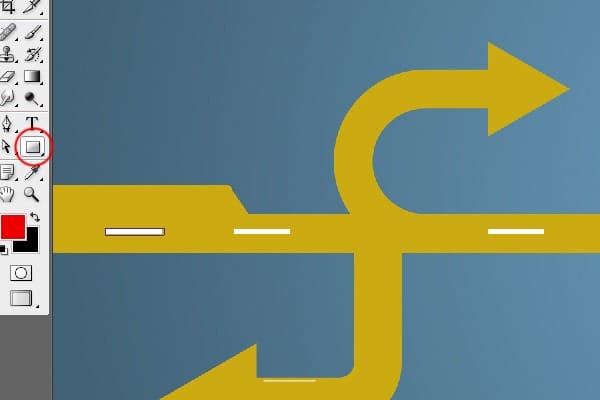
Step 12 – Creating a Circle Shape
Select the Custom Shape Tool (U). Open the preset shapes and load the collection of shapes named Shapes.
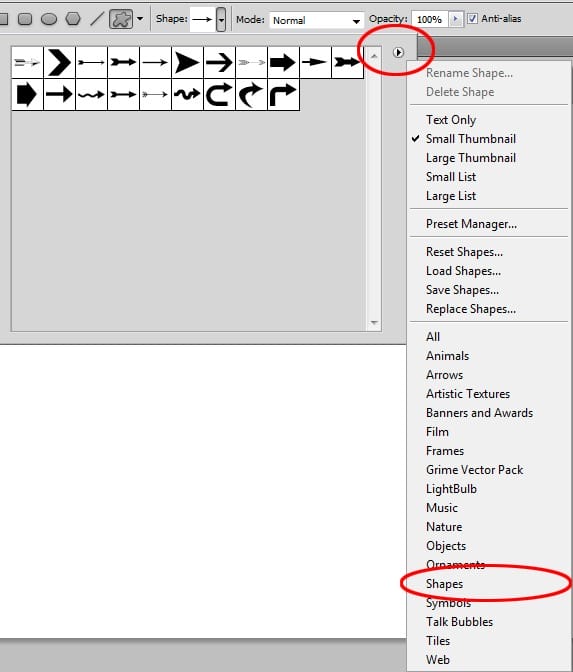
Select the circle shape named Circle Frame. Select green color (#94cb11) and make the shape.


Leave a Reply