Make your artwork look like they're from an alternate universe. These Cyberpunk presets work with Photoshop (via the Camera Raw filter) and Lightroom. Download all 788 presets for 90% off.
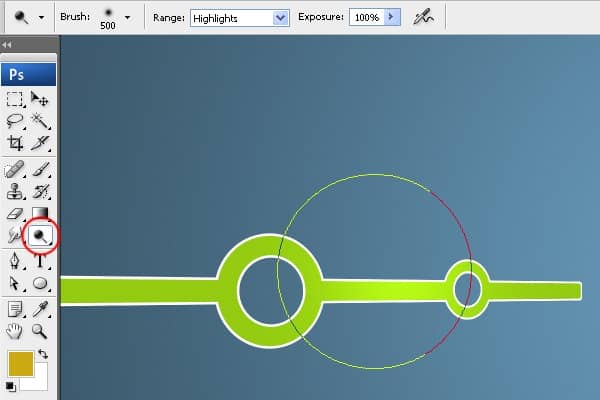
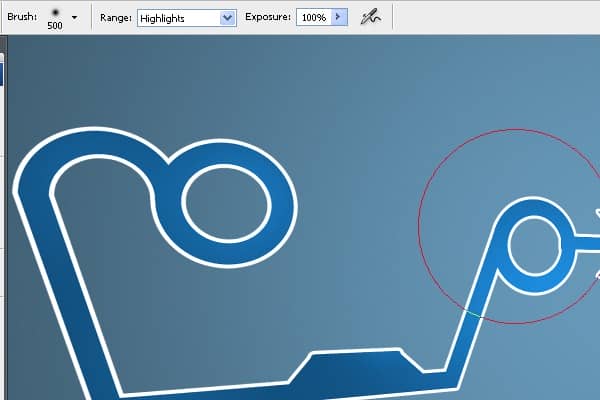
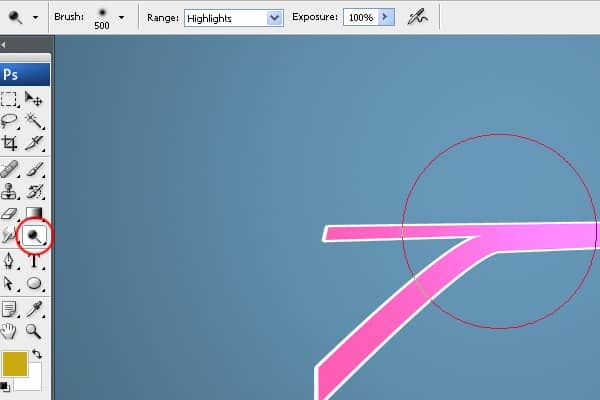
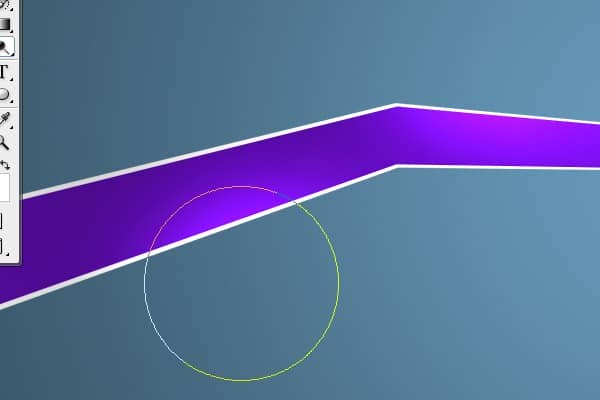
Step 26 - Adding 3D Effect
To create 3D effect on the yellow shape duplicate the shape and move it 4 pixels left. Fill this new shape with light grey color (#D9D9D9).

Step 27 - 3D to All Shapes
Repeat the step 26 on all the shapes. Bellow you can see how the image looks so far.

Step 28 - Adding Shadows
In this step you're going to add shadow under the yellow shape. Click on the layer with the shape and then click on the button Add a layer style. Select the option Drop Shadow and make following setting. Press OK.
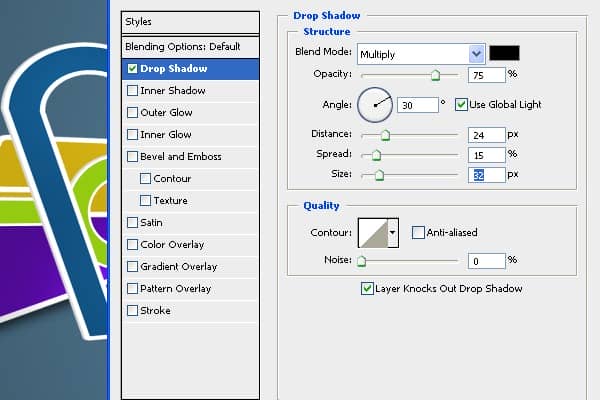
Step 29 - Shadows to All Shapes
Repeat the step 28 on all shapes you have in the image.

Step 30 - Adding Red Shape
Duplicate the green shape and move it on the right side. Grab the Gradient Tool (G) and fill this new shape with red color (#D44811).

Step 31 - Adding Details To Yellow Shape
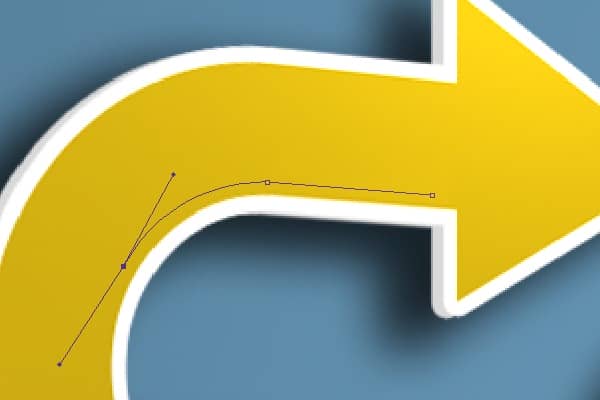
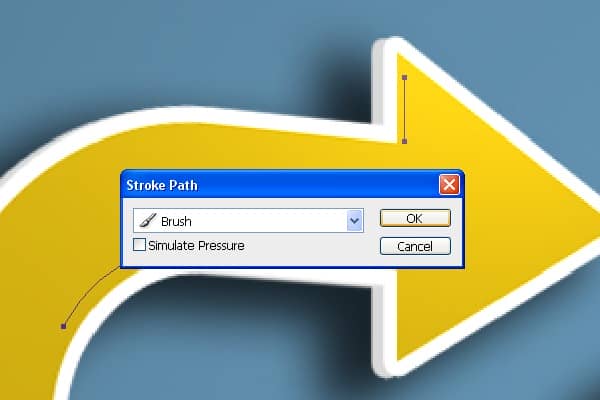
In this step you're going to add some details to the yellow shape. To do that select the Pen Tool (P) and create a path as you can see below.
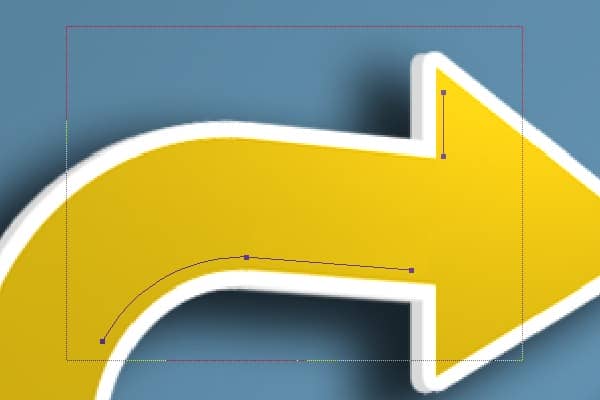
Then add one more path as on the following picture.

Select both paths with the Direct Selection Tool (A).
Select the Brush Tool (B) and choose hard round 3px brush. Select the Pen Tool (P) again. Right click on the screen and choose the option Stroke Path... Select the option Brush and click OK.
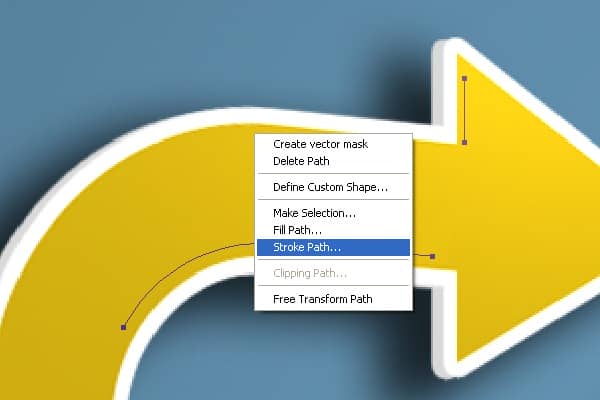
Step 32 - Adding More Lines
Follow the previous step to add more strokes also on another shapes. See images bellow for inspiration.




Step 32 - Adding Arrow Shape
Select the Custom Shape Tools (U) and choose the arrow shape named Arrow 2.
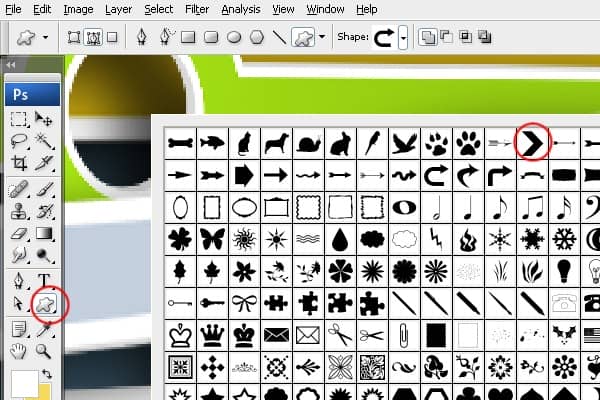
Place the arrow into the shape and duplicate it to get similar shape as on the picture below.

Step 34 - Adding Circle Shape
Select the Custom Shape Tools (U) and select the shape named Circle Frame.
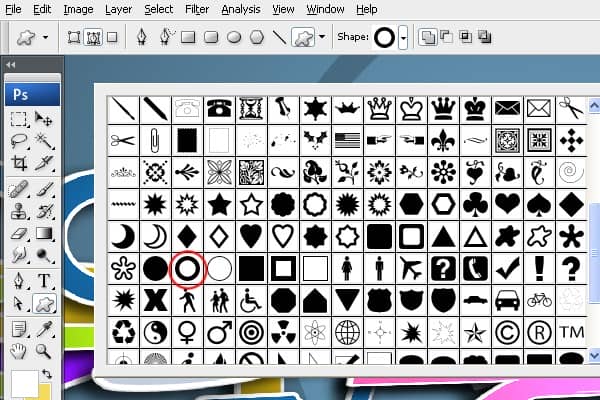
Pick blue color (#486B82) and create the shape similarly as on the picture bellow.

Step 35 - Smaller Circle
In this step you're going to create smaller circle inside the shape you've created in previous step. Select the Elliptical Marquee Tool (M) from tools and make a selection as on the picture below.

Go to Edit > Stroke... Choose the blue color from the previous step and set Width on 2 px. Press OK.
Step 36 - Adding Bigger Circle
Select circle from previous step and duplicate it. Press Ctrl + T and make it bigger. Grab the Eraser Tool (E) and erase some small part of the circle. Type some name or number there.

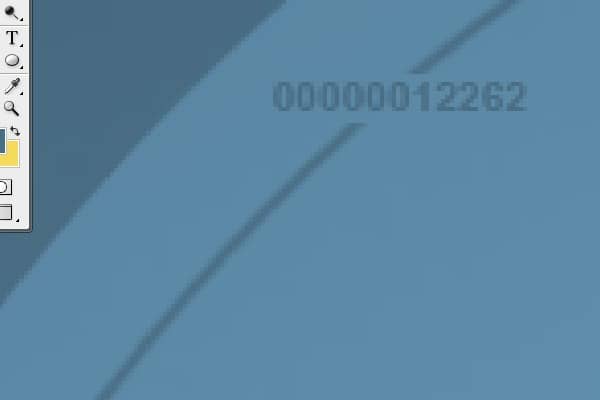
Do the same with the smaller circle too.

