
Learn how to take a drawing of a dragon and turn it into an amazing painting. This tutorial will show you how to use Photoshop to create shapes from a hand-drawn sketch, apply shading, then finish it by applying color and texture. After creating the dragon, you will learn learn how to create the starry background scene and create a fiery dragon breath.
Preview of Final Results

Download the PSD
Dragon Scene.zip | 15.5 MB
Colorful Fantasy Dragon Battle Scene Photoshop Tutorial
Resources
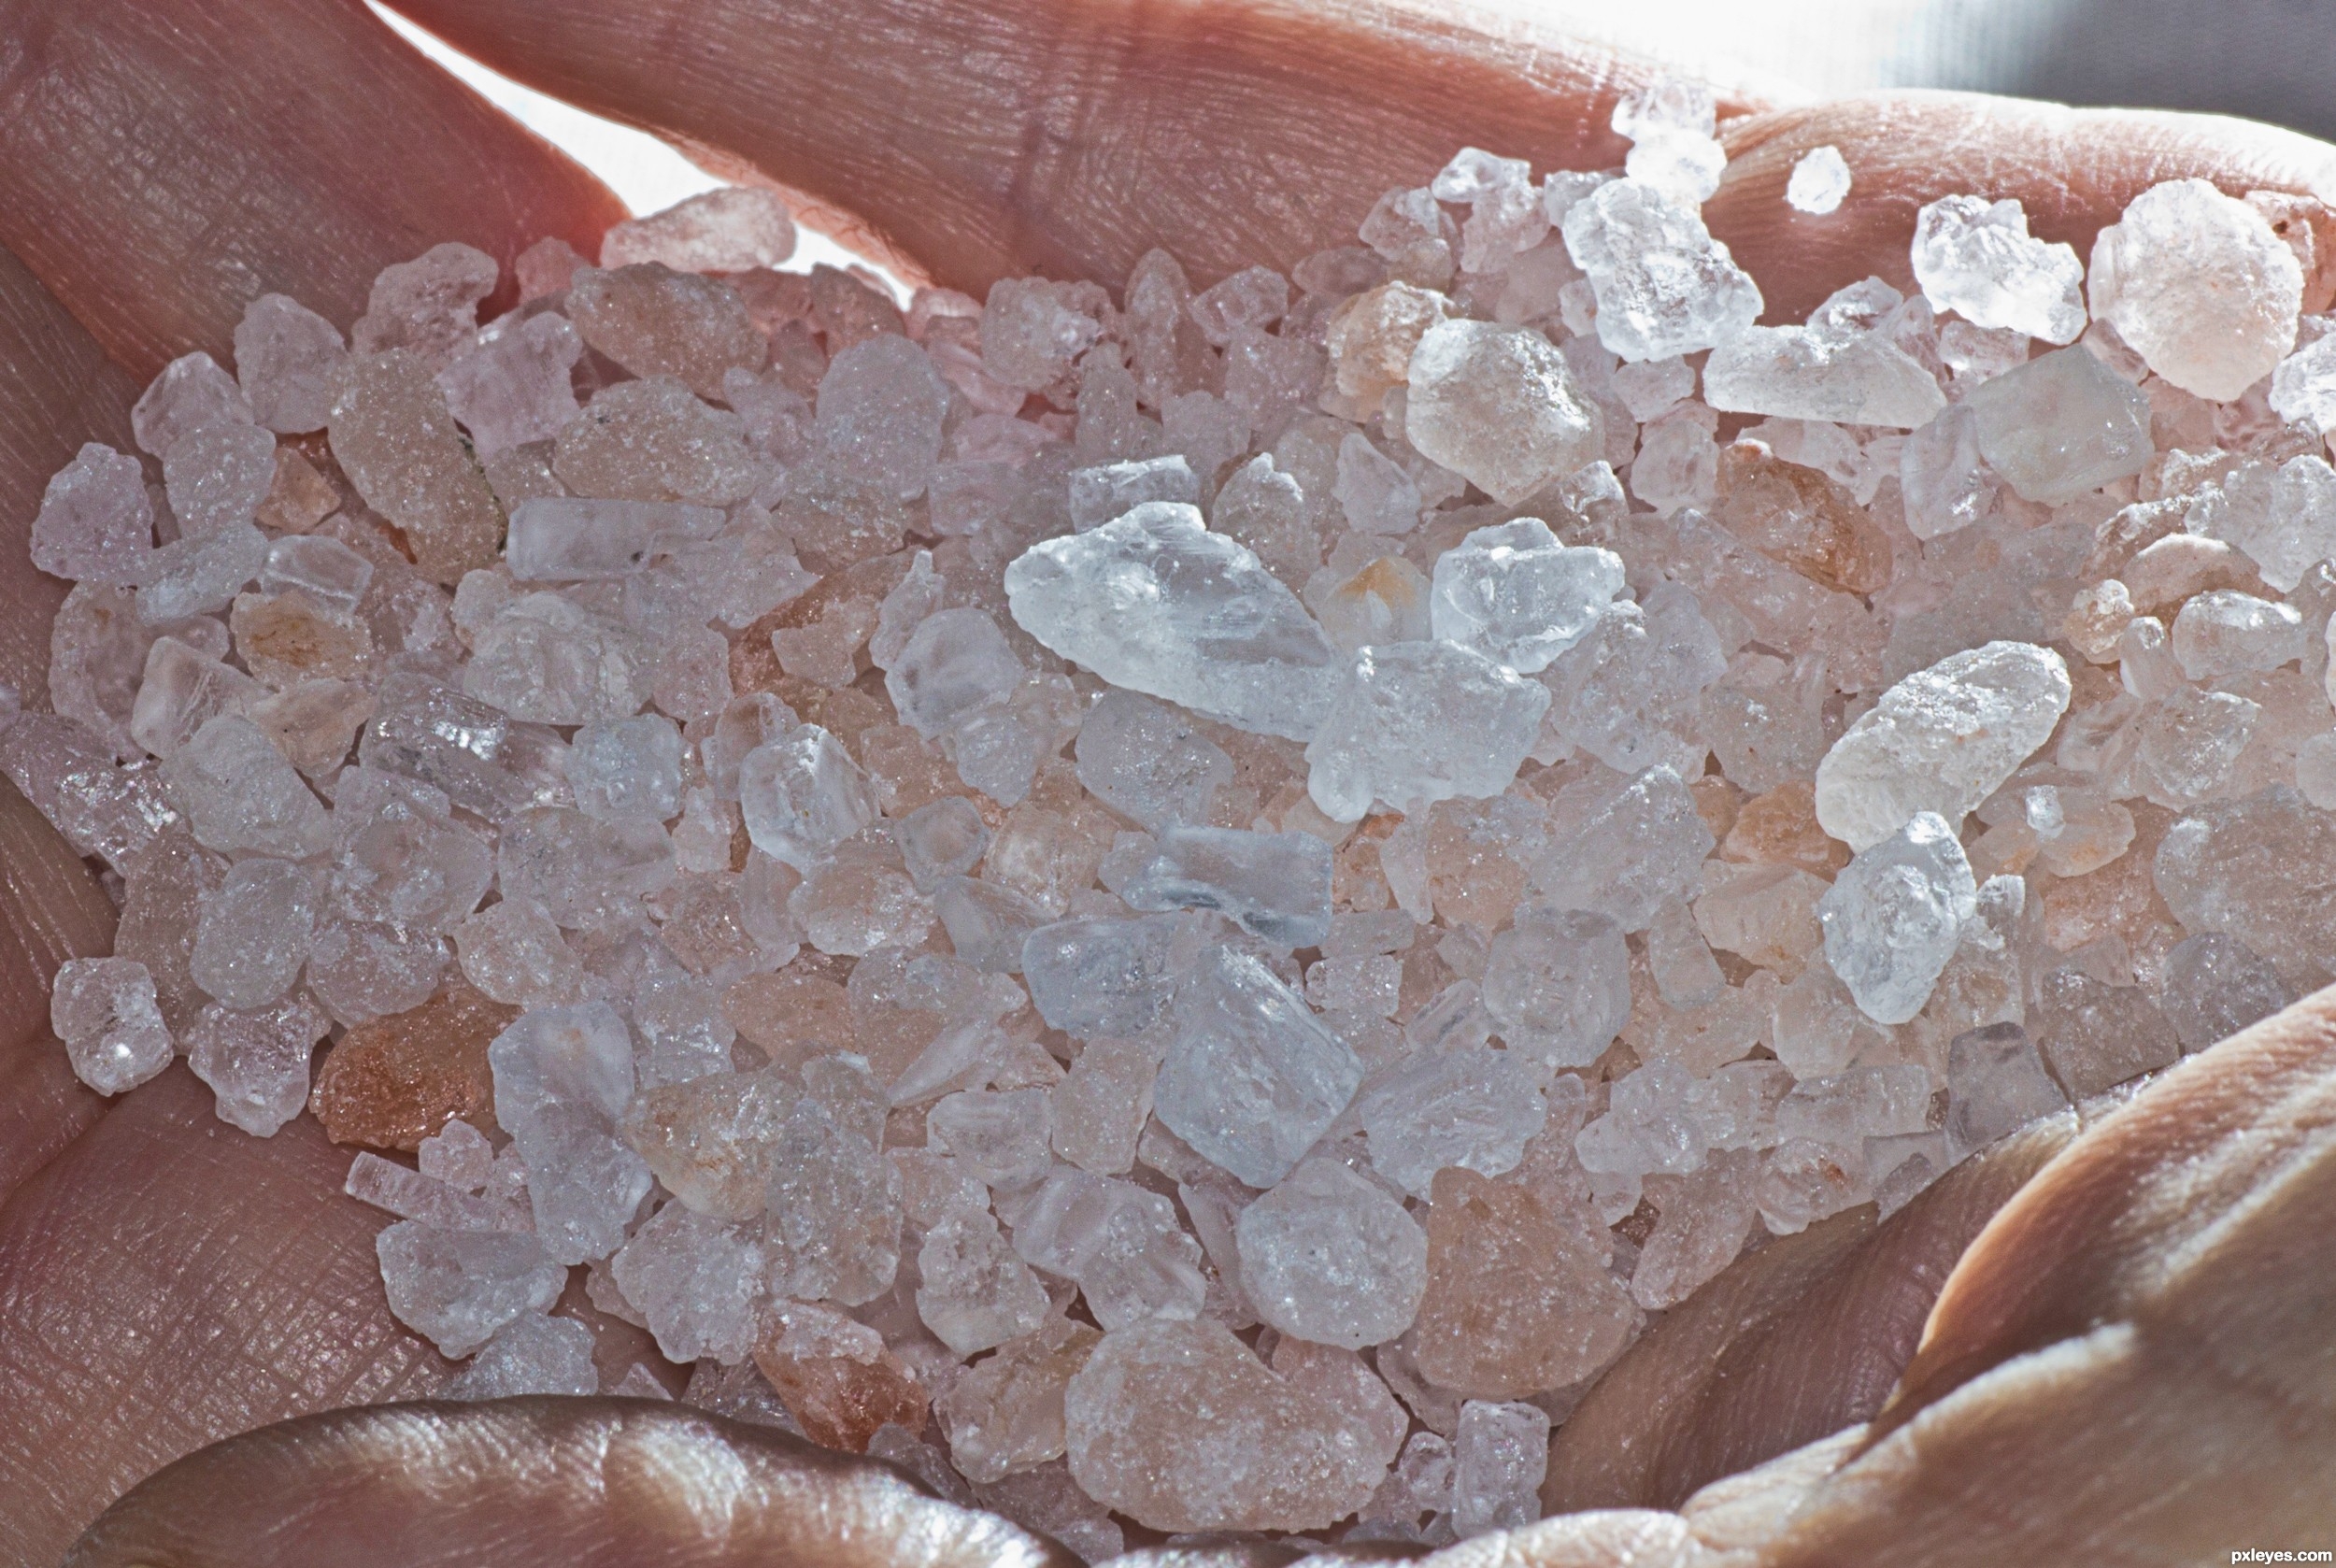
- Texture – Thanks frisskiwi, Pxleyes
- Model – Thanks Chonastock,Devianart
- Tower – Public domain image
- Nebula – Flickr
Step 1
On the document of 1500 pxl wide and 1500 pxl high, firstly I created the scratch of the dragon.

Step 2
Next, we have to make the scratch into a clear shape by changing it into an outline. I decided to work on different layers for each part of the dragon’s body. Create five new layers in the layer panel. The top most layer is the one for the left leg, the layer underneath the left leg layer is the one for the main body and head, then, the layer below the main body is the one for the left wing, next below the left wing is the right wing layer, finally, the lowest layer is the one for the right leg. Let’s outline the left leg first. With the left leg layer selected, go to the Pen tool (P) in the tool panel. Start to click the leg area to create the starting point anchor and keep on clicking to trace the leg until the path is closed which is indicated by a thin line around the traced area. Right click on the closed path. There will be an option command box, choose Fill Path and fill it with color of light grey (#acaaaa)

Step 3
Now select the main body layer, and take Pen Tool again. Trace the whole body (including the head and the tail) and right after the path is closed, fill it with the same color as the one used for the left leg. Please refer back to the previous step 2.

Step 4
Do the same as in previous step 2-3 for the other parts of the dragon body until we get the complete outline of the dragon.

Step 5
From this step on, we will give the dimension on the outline to define the detail shape of the dragon. This means that we will give some highlight and shadow on it and we can achieve this by applying Dodge and Burn tool. I decided to work on the left leg first. Select the left leg layer. Then, take Burn tool in the tool panel. Set the Range to shadow at very low exposure: 10%. With very soft brush, stroke the edge of the leg. Then, switch to Dodge tool. Start giving highlight to the leg area. Make sure to always use a very soft brush when stroking.
4 responses to “How to Draw a Colorful Fantasy Dragon Battle Scene in Photoshop”
-

Method have draw on photoshop and painting on the pts.
-
awesome ….keep uploading this step by step process
-
First of all I love this and have learnt a lot but….
Couldn’t get the fire selection bit to work, every time I pressed Control which I assume is command on the mac and clicked the thumb nail it selected the whole thing. I tried making my own selection but I ended up with a black outline and no colour. Baffled ! -
That’s really cool and very helpful.
I tend to use reptile scales for the texture of the dragon – I just take a picture of my pet lizard XD
But still, thank you :)
Leave a Reply to thuyetleCancel reply