

Step 32
Isolate the bow and place it onto the owl’s neck. Use Ctrl+T to rotate it a bit to fit the pose of the owl and set this layer above the owl’s group. Create a new layer below the bow one and use a soft brush with the color #130e03 to paint shadow for the bow.


Step 33
Make a Hue/Saturation adjustment layer (set as Clipping Mask) to change the color of the bow.

Step 34
Add a Curves adjustment layer to make the bow darker:
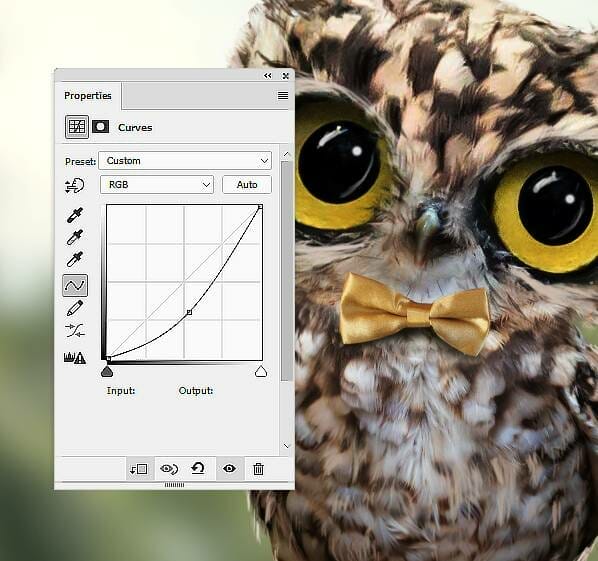
Step 35
Open the bag 1 image and cut it out to move to the main document. Place it onto the back of the owl and use Ctrl+T to rotate it a bit to fit the pose of the owl. Set this layer below the owl’s group.
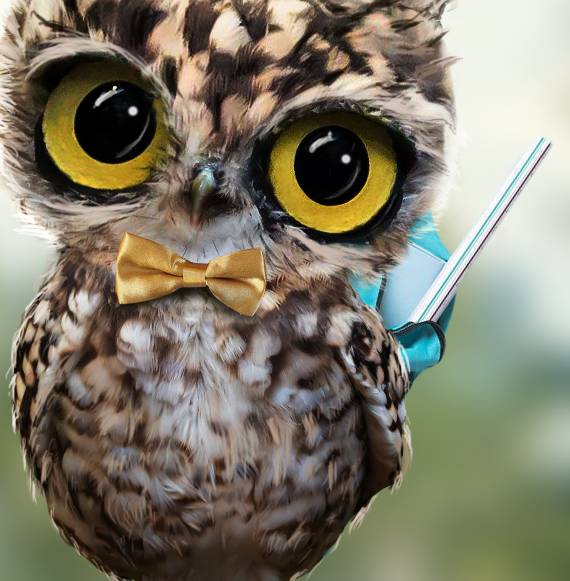
Step 36
Create a Hue/Saturation adjustment layer to change the color of the bag.

Step 37
Make a Curves adjustment layer to darken the bag. On this layer mask, use a soft black brush to reveal the light on the contour of the bag.

Step 38
Isolate the branch 3 and place it in the bottom left of the canvas. Convert this layer to a Smart Object and apply a Gaussian Blur of 12 px to this layer. This step is to increase the depth of the scene.


Step 39
Make a Hue/Saturation adjustment layer to make the color and brightness of the branch fit the background.

Step 40
Open the bag 2 image and take two straps to add to the owl’s body. Use Ctrl+T with the Warp mode to bend the straps to fit the pose of the owl.


Step 41
Create a group for the straps and use a Hue/Saturation adjustment layer to change their color.

Step 42
Make a Curves adjustment layer to darken the straps. On this layer mask, use a soft black brush to reveal the light on the top of the straps and the bottom left.

Step 43
Add a new layer below the owl’s group and use a soft brush with the color #130e03 to paint shadow for the straps.

Step 44
Create a Gradient Map adjustment layer on top of the layers and pick the colors #e10019 and #00601b. Lower the opacity of this layer to 20%.

Step 45
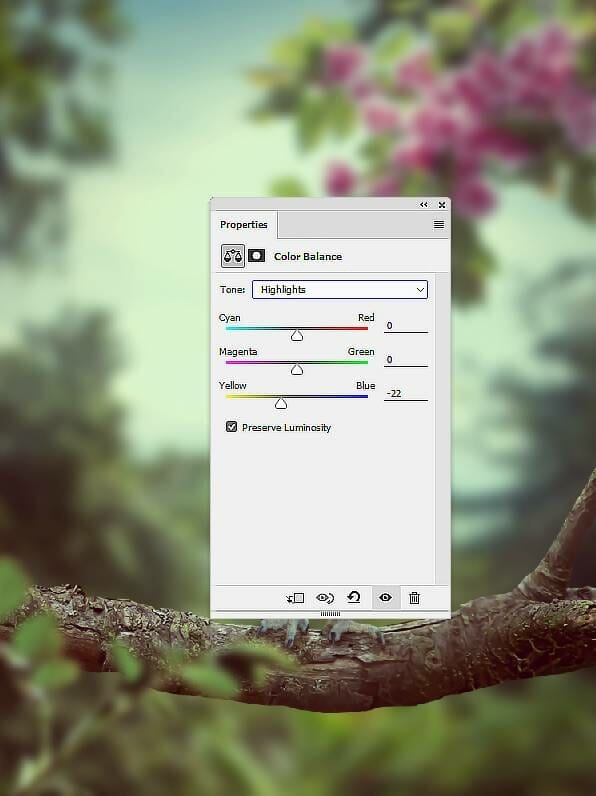
Make a Color Balance adjustment layer and change the Midtones and Highlights settings:

Step 46
Create a Curves adjustment layer to brighten the whole scene.

Step 47
Use a Vibrance adjustment layer to enhance the final effect.

Final Result

Leave a Reply