Make skin look perfect in one-click with these AI-powered Photoshop actions.
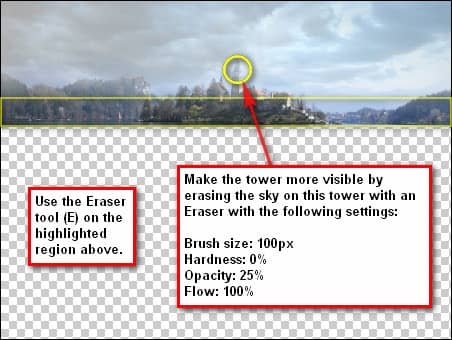
- Brush size: 900 px
- Hardness: 0%
- Opacity: 100%
- Flow: 100%
Note: To edit the Brush Hardness, just right click on the image when the Eraser tool is active and then you will see the Hardness option, now change it to 0%. 0% makes the brush softer while 100% makes it sharper.
Step 3 - Create the sea depths
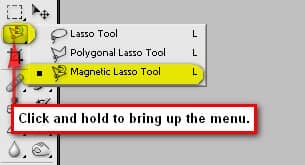
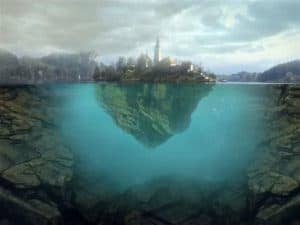
Now on this step we are going to be creating the region under the sea. First let’s add the huge rock to where the town is placed upon. Open the stock image: Little Island. We’re going to remove the island from its background, to do that we will be using the Magnetic Lasso tool (L).
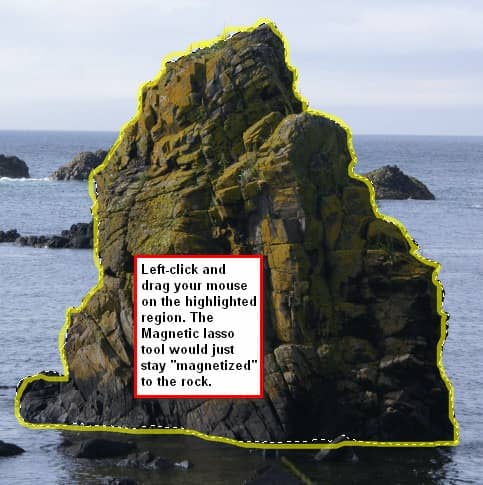
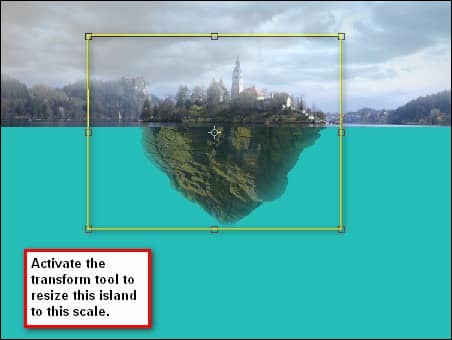
Now after you’ve selected the small island, let us transfer that to our canvas using the Move tool (V) put this layer as well as the layers that would be created on this step under the “island town†and “sky†layers. Once you’ve moved it to the canvas, rename it to “island belowâ€. Next, activate the Transform tool (Ctrl/Cmd + T) for us to resize the image. See image below:
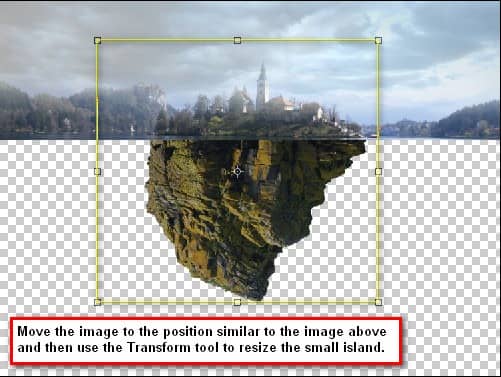
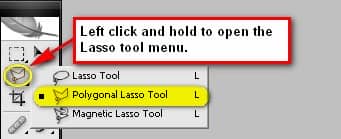
Composition-wise, the island looks off, so we would need to erase some parts of it to make it look like a triangle. Activate the Polygonal Lasso tool (L).
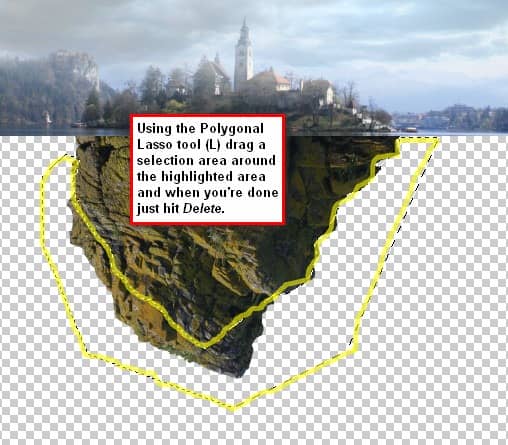
To remove the selection area lines just press Ctrl/Cmd + D to deselect. Next, let’s fix the angle of the island. Activate the Transform tool (Ctrl/Cmd + T) and right click on the canvas to bring up the contextual menu then click on Warp.
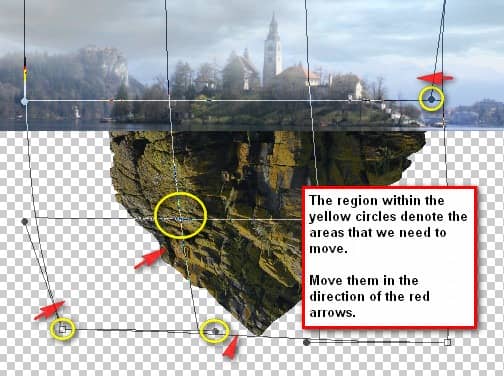
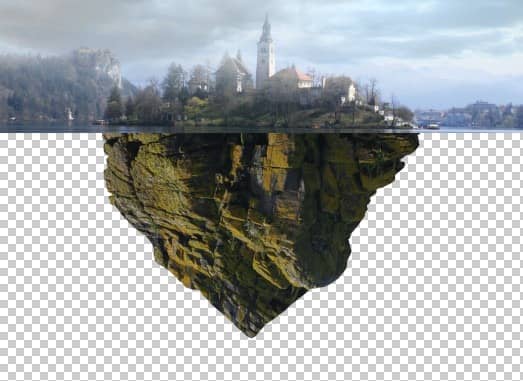
Next, we will be changing the brightness/contrast of the “island below†layer. To change its settings, from the menu bar, go to Image > Adjustments > Brightness/Contrast and then input the following:
- Brightness: 2
- Contrast: -31
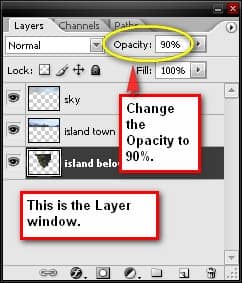
Then we would need to reduce its Opacity because basically, when the human eye opens under the sea, things don’t seem to be too clear. Let’s change the Opacity on the Layer window to 90%.
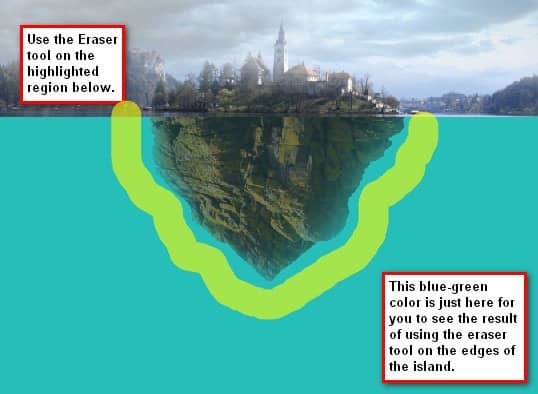
Also, we would need to soften the edges of the island since things under the sea don’t appear that sharp. Activate the Eraser tool (E) and input the values below:
- Brush size: 700 px
- Hardness: 0%
- Opacity: 100%
- Flow: 100%
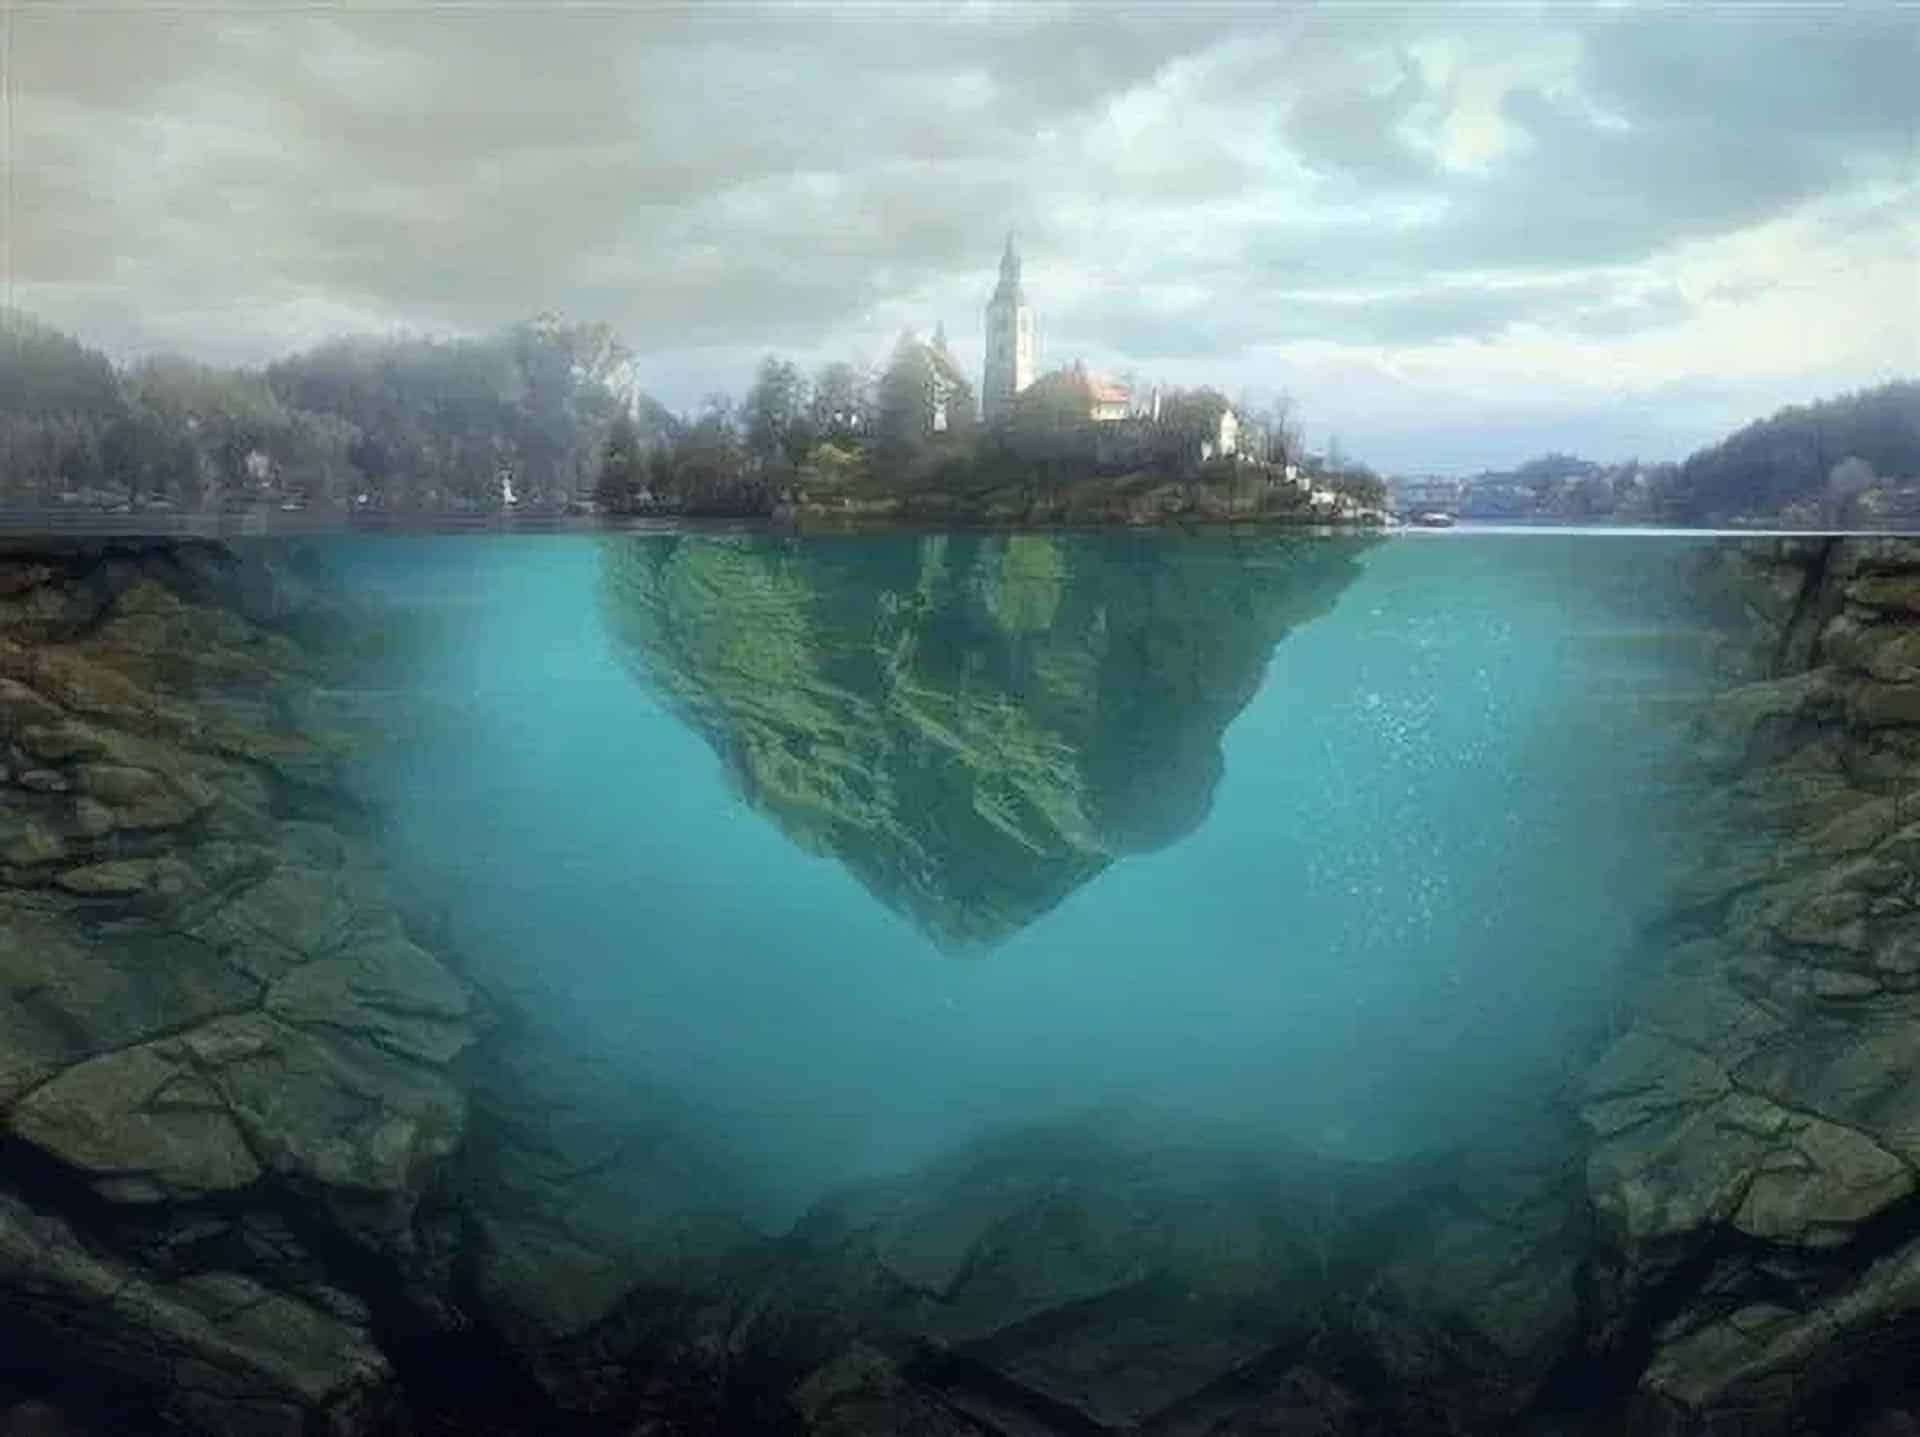
Now, we will be adding the mountainous region under the sea. Let’s open Sea Background Stock II, once it has been opened, activate the Magnetic Lasso tool (L) to cut the rocks from the image. See image below:

10 comments on “Floating Island on Water”
amazing tutorial.
The mysterious island
this is hard
way to go
nice
Cool im doing it right now
I don't get how you went from “water texture†to cloning that image.
It's like you skipped a step or two.
Nice photoshop manipulation. Top picture "Island" is from Slovenia - lake Bled.
Thanks for this tutorial! This is my version
http://silvialorica.tumblr.com/post/59341356745/floating-island-lisola-che-galleggia-made-by
Thts not yours cheater ..
im so gonna try this!