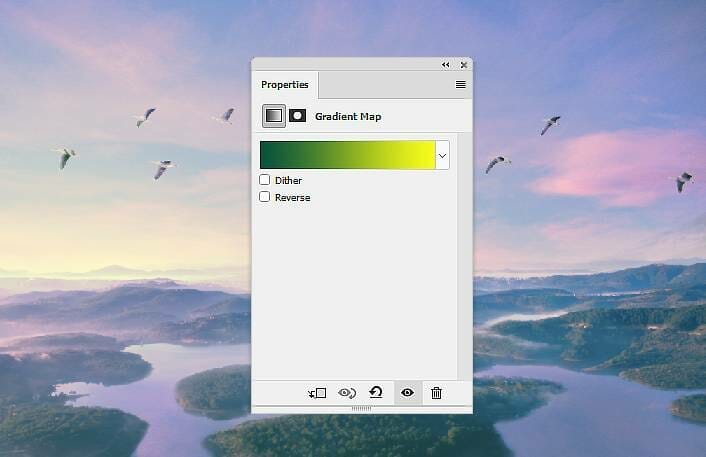
Step 38
Create a Selective Color adjustment layer and change the Greens and Cyans values. On this layer mask, use a soft black brush with the opacity about 15% to reduce the color’s effect on the island on the middle of the foreground.


Step 39
Add another Selective Color adjustment layer and alter the Cyans settings:

Step 40
Continue with a new Selective Color adjustment layer to change the color of the mist on the left to fit the background. Paint on the rest so it won’t be affected by this adjustment layer.

Step 41
Create two Vibrance adjustment layer s to enhance the color and light of the whole scene. On the second layer, use a soft black brush to erase and reduce the effect on some areas of the canvas.


Step 42
Make a new layer and use a soft brush with the color #1d173c to paint shadow of the child and the wings on the turtle’s back.

Final Result

Download the PSD
3 responses to “How to Create a Fantasy Flying Turtle with Adobe Photoshop”
-
Hallo , please i wanted download psd of the tutorial ‘flying turtle ‘
But is not available.
any help please ?kind regards
[email protected]Thank you in advance
-
Thanks for letting us know, the link has been fixed!
-
-
link psd broken :(


Leave a Reply