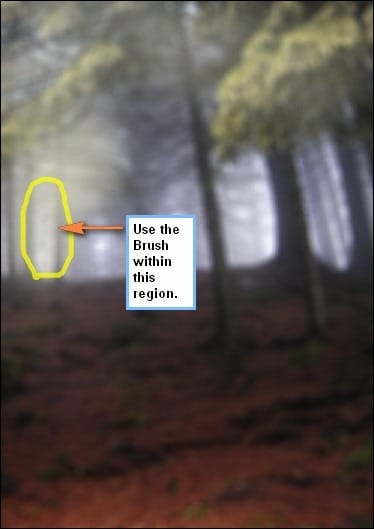
Input the following values:
- Brush size: 500px
- Hardness: 0%
- Opacity: 50%
- Flow: 100%

Note: To reduce or increase the Hardness, right click on the image while the Brush tool (B) is activated, then you’d see the Hardness scale, which is at default – 100%, just move the slider to the left to get 0% or to the right to get 100%.

Before you start painting, make sure that the “Light 1” layer is activated or highlighted, if it is not, simply left-click on it. Now it’s time to paint; follow the instructions on the image below:


Create a new layer once again (Ctrl/Cmd + Shift + N) and this time name it “Light 2”.
We will be using the same brush color with Light 1 (ffffdb). Now, activate the Brush tool (B) and use the following settings:
- Brush size: 900px
- Hardness: 0%
- Opacity: 50%
- Flow: 100%
Brush-in the region shown on the image below:


Next, create a new layer again (Ctrl/Cmd + Shift + N) and then name it “Light 3”. Activate the Color Picker again through clicking the Foreground Color box. Once its open input the following value:
- #: fffff4
Now, activate the Brush tool (B) and use the following settings:
- Brush size: 800px
- Hardness: 0%
- Opacity: 50%
- Flow: 100%
Apply the brush on the region shown on the image below:


Next, we’ll be darkening some parts of the image to give emphasis to our subject which will be added later on. First, let’s create a new layer (Ctrl/Cmd + Shift + N) and name it “Darken BG1”. Open the Color Picker and use the following settings:
- #: 000000
Then input the following brush settings:
- Brush size: 700px
- Hardness: 0%
- Opacity: 25%
- Flow: 100%
Use the Brush on the region shown on the image below:


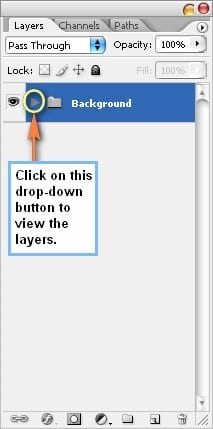
Finally, when you’re done select all the layers that you’ve created and the press Ctrl/Cmd + G to group these layers. You’d notice that a folder will be created; to see the layers, simply click on the drop-down button. Rename this Group to “Background”.
Note: Renaming a group is similar to renaming a layer.

Step 3: Create the Sorceress
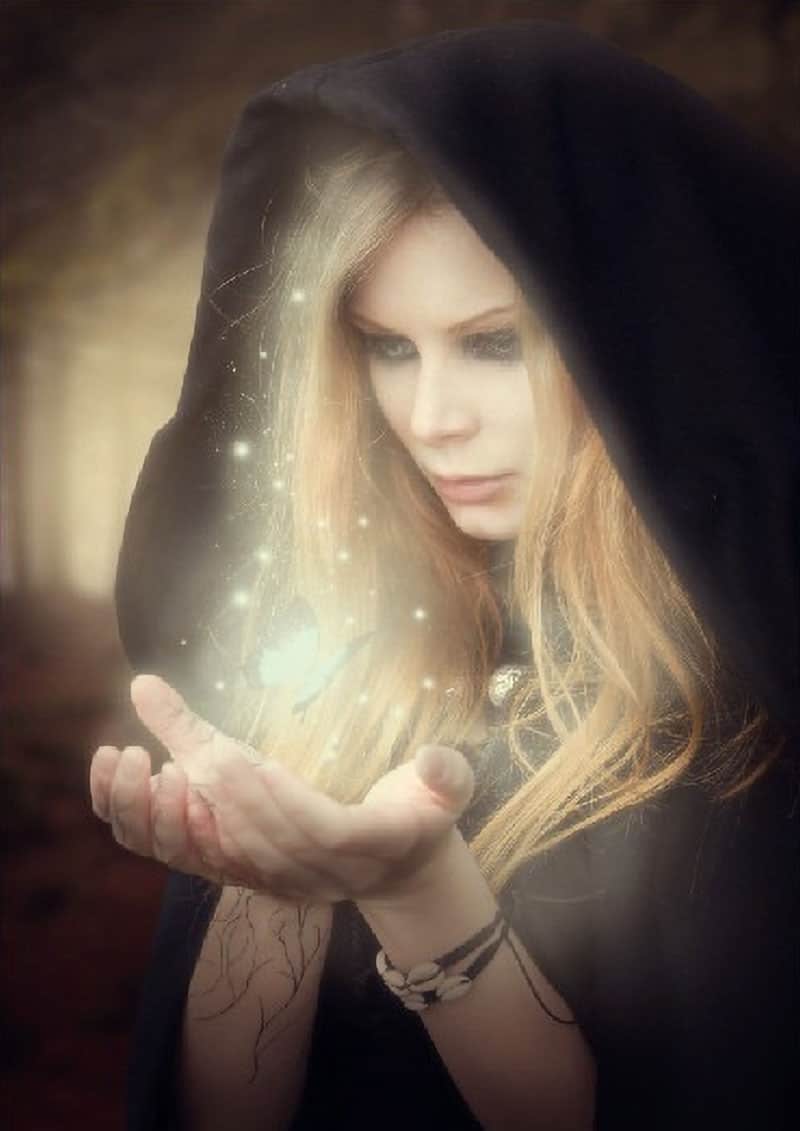
Now in this step, we will be adding our subject – the sorceress. To start, open “Black Magic 22” by liam stock. We need to separate it from its background. To do that, we will need to activate the Polygonal Lasso Tool (L).
“INSERT step3a_plt.jpg”

Select the Polygonal Lasso tool (L) and click on any point around the sorceress and drag your mouse to create an outline over the woman until you’ve reached your starting point. See image below:
6 responses to “How to Create a Magic-Yielding Sorceress Photo Manipulation”
-
Great tutorial!
Thanks!
-
if anyone needs the butterfly stock with out watermarks
http://www.lakii.com/vb/attachments/a-47/140500d1360355267-a-butterfly_stock_12_by_shoofly_stock.jpg -
Dude! This was so fun! I can’t wait to explore the rest of your website! Thanks!!!
-
There is no link to the brushes or anything else :(
-
Thanks for letting us know! Don’t know how the links went missing but we added them back!
-
-
Hi, Im doing this tutorial but I can’t seem to find the CRASH_SPACE.abr brush. I’ve looked everywhere. Is there any other brush that can replace it? Thanks fot your help. Cool tutorial


Leave a Reply