- Blending mode: Multiply
- Opacity to 100%
To set the blending mode, simply click on the drop-down menu beside the word “Normal” on the top part of the Layer window. The Opacity is located just beside that drop-down menu as well. See image below:


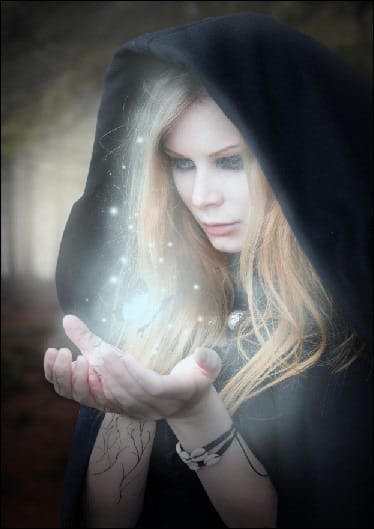
The unblended Vignette will look like this:

Once the blending mode is set to “Multiply” it would look like this:

Step 8: Retouch the image
In this step, we will be enhancing the feel and look of the image by retouching it. First, let’s start off by creating a Solid Color adjustment layer. To do that, click on the “Create New Fill/Adjustment layer” button located on the Layer window. See image below:

Once the Solid Color box opens, it would show the Color Picker box. Input the following on the “#” box.
- #: 000229
When you’re done, set the following:
- Blending mode: Exclusion
- Opacity: 40%
Next, let’s create another Solid Color adjustment layer. This time, input the following color code:
- #: 754a27
When done, input the following:
- Blending mode: Soft Light
- Opacity: 40%
The image should now be similar to this:

Next, create another Solid Color adjustment layer and input the following color code:
- #: ff7e00
Set the following:
- Blending mode: Soft Light
- Opacity: 10%
The image should be looking much warmer after applying that adjustment layer. Next, create a Photo Filter adjustment layer.

When the Photo Filter box opens, input the following:
- Filter: Warming Filter (81)
- Density: 25%
- Preserve Luminosity: Check

After that, create a Color Balance adjustment layer.

Input the following values:
- Color Levels: 0, -5, -5
- Tone Balance: Midtones
- Preserve Luminosity: Check

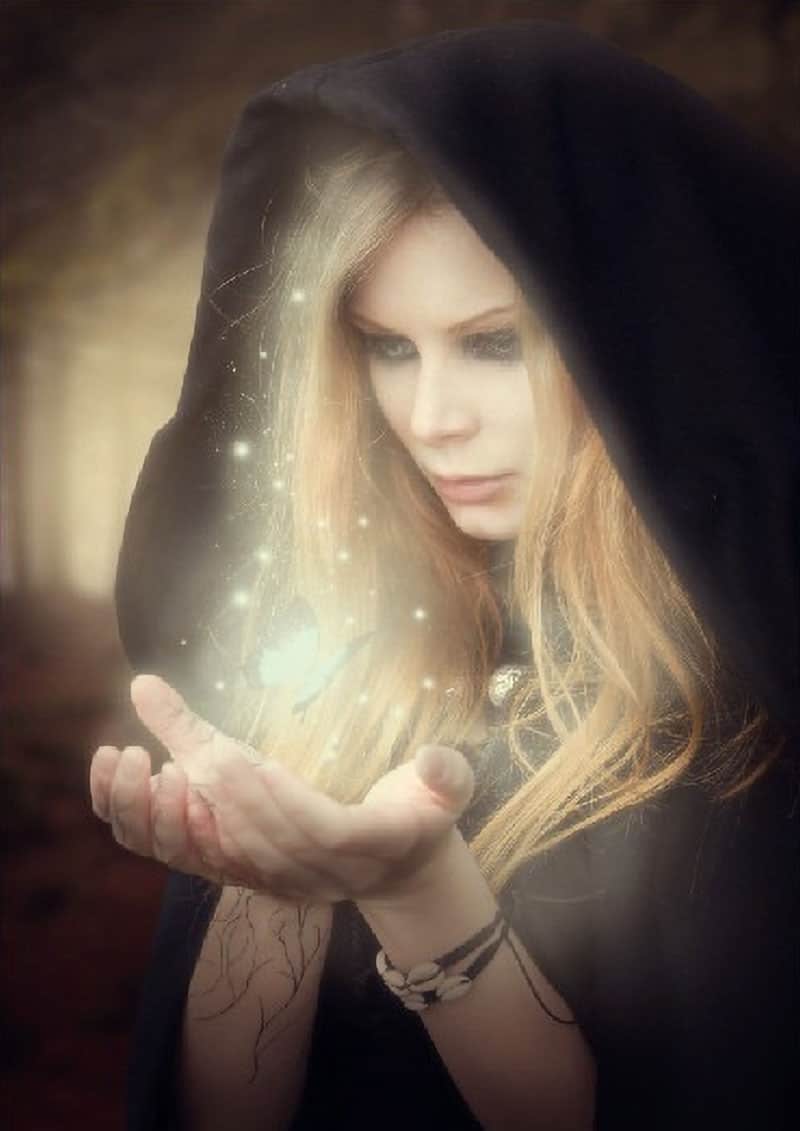
The image should now be similar to this:

Step 9: Give the image a radiant glow
Now, we will give the image a luminous effect to compliment the glowing orbs the sorceress is creating. To do that, we will need to compress all layers or simply flatten the image. To flatten the image, right-click on any layer and then choose Flatten from the contextual menu.

Once it is flat, duplicate it (Ctrl/Cmd + J); click on the duplicated layer and then go to Filter> Blur > Gaussian Blur. Input the following:
- Radius: 16.0 pixels
After that, you’d see that your image is blurry, so to make it glowing, change the Blending Mode of the blurred (duplicated layer) to Lighten and set its opacity to 35%. The result should be like this.

6 responses to “How to Create a Magic-Yielding Sorceress Photo Manipulation”
-
Great tutorial!
Thanks!
-
if anyone needs the butterfly stock with out watermarks
http://www.lakii.com/vb/attachments/a-47/140500d1360355267-a-butterfly_stock_12_by_shoofly_stock.jpg -
Dude! This was so fun! I can’t wait to explore the rest of your website! Thanks!!!
-
There is no link to the brushes or anything else :(
-
Thanks for letting us know! Don’t know how the links went missing but we added them back!
-
-
Hi, Im doing this tutorial but I can’t seem to find the CRASH_SPACE.abr brush. I’ve looked everywhere. Is there any other brush that can replace it? Thanks fot your help. Cool tutorial


Leave a Reply