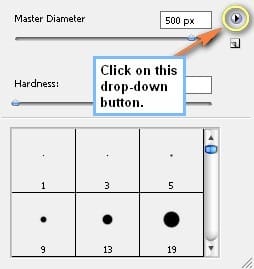
Once you’ve done that, we will now open this brush pack in Photoshop. First, activate the Brush tool (B), once it’s open right click on the canvas to bring up the menu. When the menu shows up, click on the drop-down menu button located on the upper right portion of the menu. See image below:

After clicking that, a new menu would show up – click on “Load Brushes” from the contextual menu.

When the load brushes box opens, locate the file: “sparkles_by_an3czka.abr” and press OK. Now, when you activate the Brush tool (B) and right click on the canvas, you’d see a different brush pack – you’d now see the “sparkles brushes”. Now, let’s start adding the magical light. First, create a new layer (Ctrl/Cmd + Shift + N) and then name it “Magic 1”. Activate the Brush tool (B) and right click on the canvas and then choose the brush shown on the image below:

Next, we will change the brush’s color. Activate the Color Picker box and then input the following value:
- #: d5edff
Input the following values for the Brush tool (B):
- Brush size: 1600px
- Hardness: Default brush hardness
- Opacity: 100%
- Flow: 100%
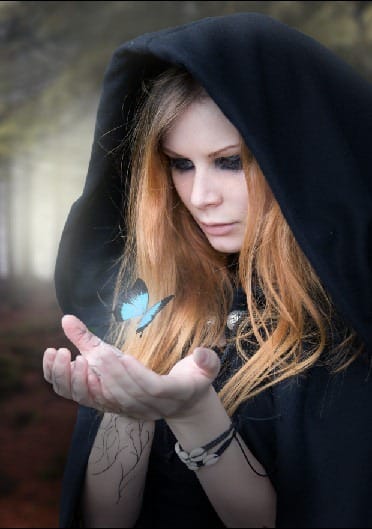
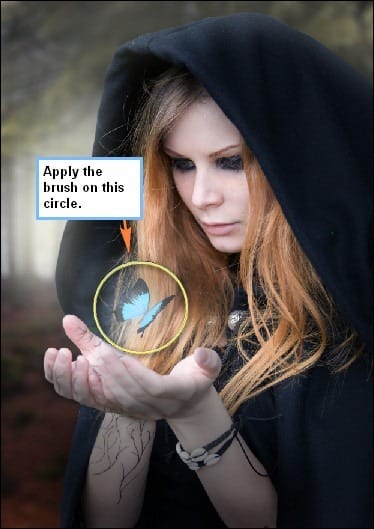
Now, it’s time to paint. Follow the instructions as seen on the image below:

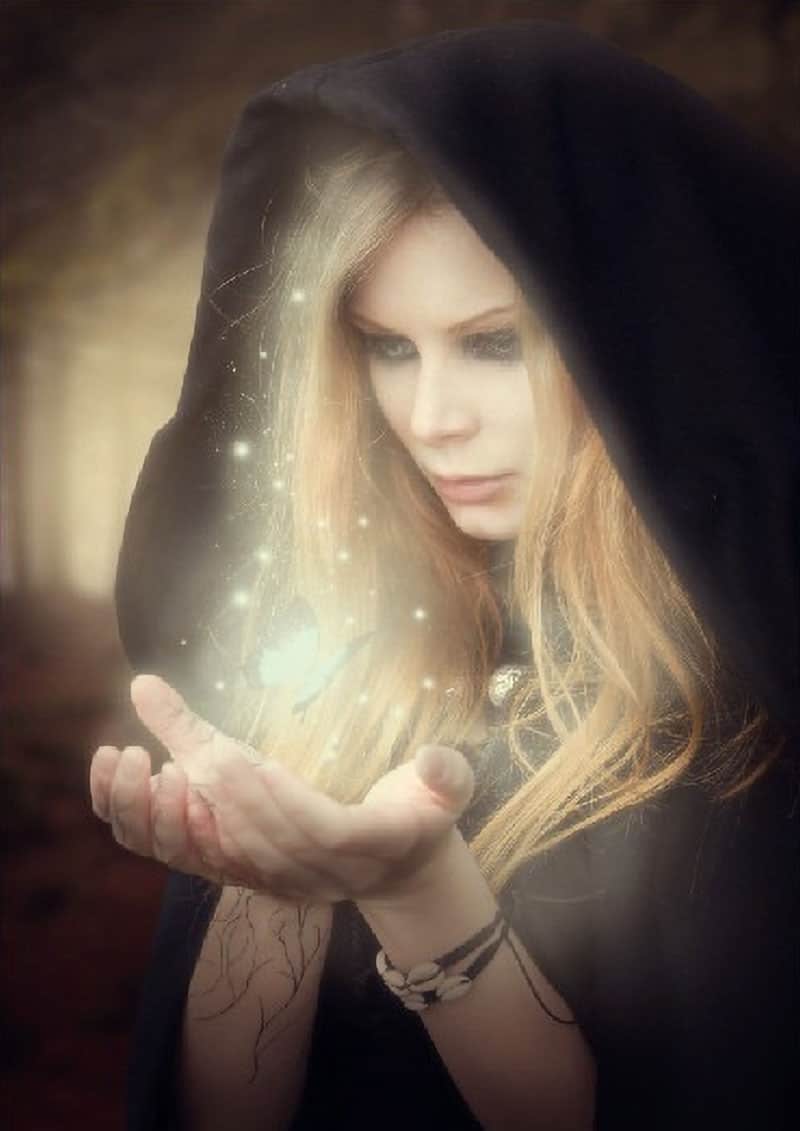
The result:

Next, create another layer and name it “Magic 2”. We will be utilizing the normal or default brushes and in order for us to do that, we would need to reset the brushes. First, activate the Brush tool (B) and then right click on the canvas, then click on the drop down arrow button and when the contextual menu appears, click on “Reset Brushes”. See image below:

After resetting the brushes, change the brush’s color by activating the Color Picker and using the following values:
- #: d5f5ff
Once you’ve done that, activate the Brush tool (B) and input the following values:
- Brush size: 800px
- Hardness: 0%
- Opacity: 50%
- Flow: 100%
Now let’s paint! See image below for more instructions:


For the next layer, input the name “Magic 3”. We will still be utilizing the default brushes on this layer.
Then activate the Color Picker and input the following color code:
- #: e6f9ff
Activate the Brush tool (B) and input the following settings:
- Brush size: 1600px
- Hardness: 0%
- Opacity: 25%
- Flow: 100%

The result should be similar to the following image:

On our next layer which will be named “Magic 4”, we would need to Load the CRASH_SPACE.abr brushes by KeRen-R
6 responses to “How to Create a Magic-Yielding Sorceress Photo Manipulation”
-
Great tutorial!
Thanks!
-
if anyone needs the butterfly stock with out watermarks
http://www.lakii.com/vb/attachments/a-47/140500d1360355267-a-butterfly_stock_12_by_shoofly_stock.jpg -
Dude! This was so fun! I can’t wait to explore the rest of your website! Thanks!!!
-
There is no link to the brushes or anything else :(
-
Thanks for letting us know! Don’t know how the links went missing but we added them back!
-
-
Hi, Im doing this tutorial but I can’t seem to find the CRASH_SPACE.abr brush. I’ve looked everywhere. Is there any other brush that can replace it? Thanks fot your help. Cool tutorial


Leave a Reply