Turn any photo into a dot grid artwork with these Photoshop actions. You'll get great results with dots that change size. They get larger in brighter areas and smaller in darker areas. Free download available.
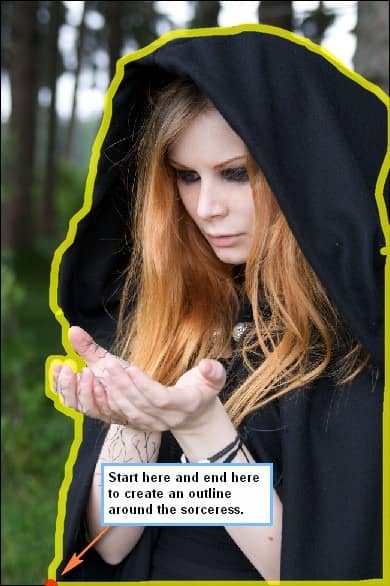
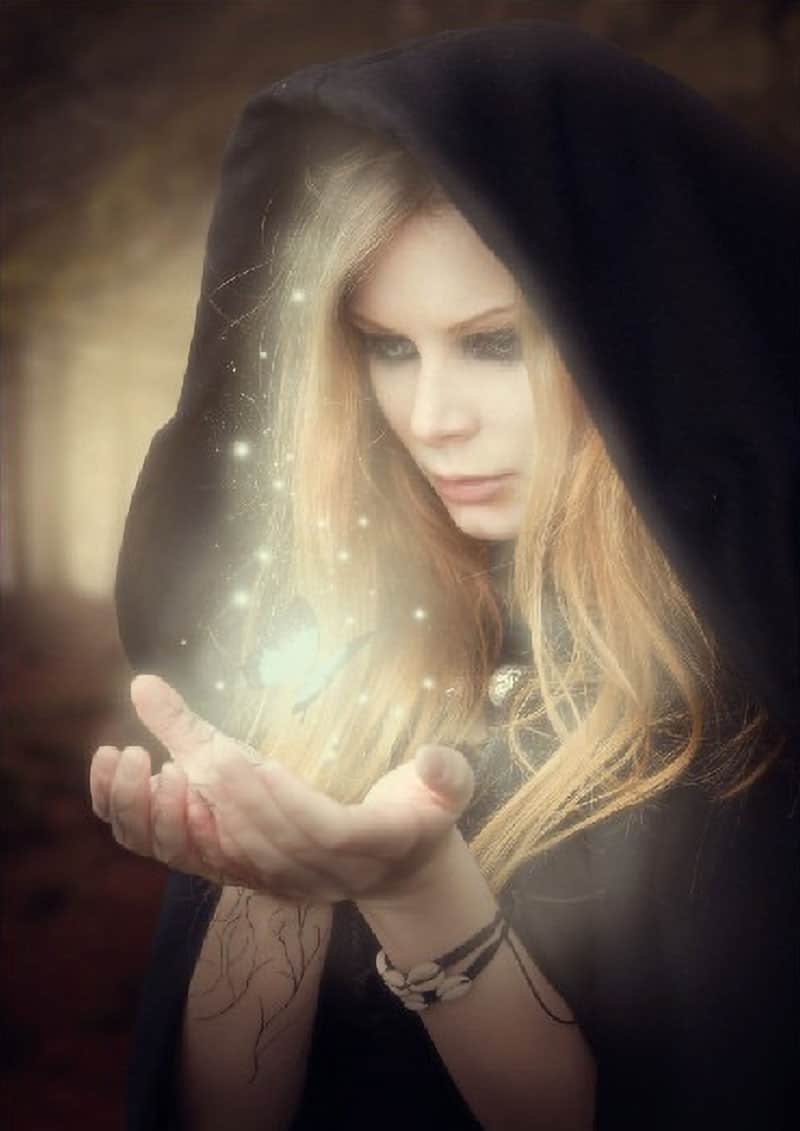
Once you’ve done that, dotted lines will form around the area you selected (in this case, the sorceress) and after that, we’re now ready to move the lady to our canvas. To do that, simply activate the Move tool (V) and drag the selected area to our canvas.
Position it similar to the image shown below:
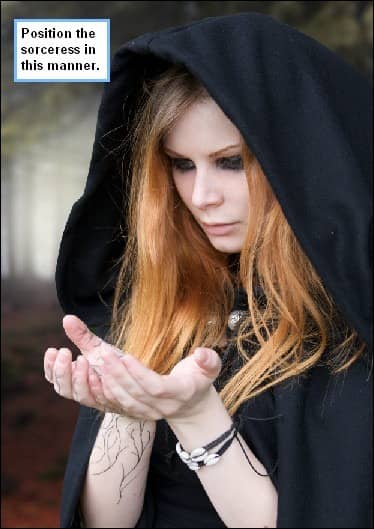
Next, we will have to rename this layer to avoid confusion. Rename this layer to “sorceress”.
Now, we’re going to erase a part of the sorceress’ cloak to produce glare from the light on the background. To do that, we would need to activate our Eraser tool (E).
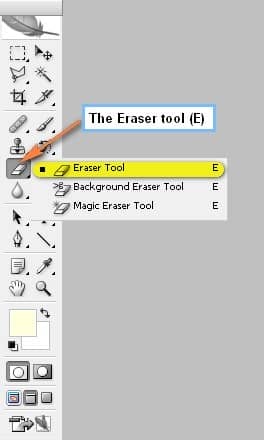
When it is activated, use the following settings:
- Brush size: 600px
- Hardness: 0%
- Opacity: 25%
- Flow: 100%
Use the Eraser on the region shown on the image below:
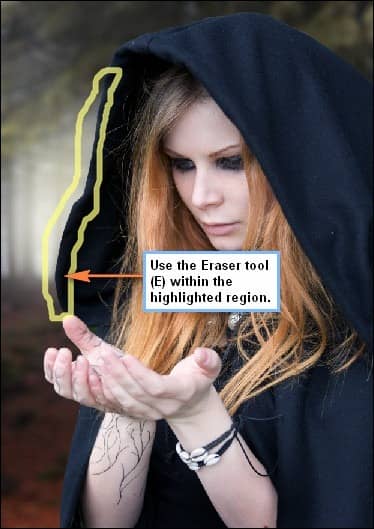
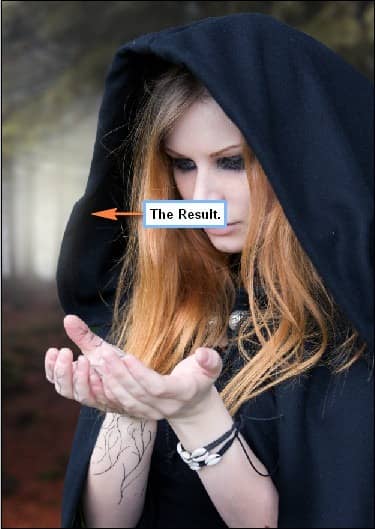
Next, we will be blurring the edges of the coat to make the depth of field look more realistic. To do that, activate the Blur tool (R).
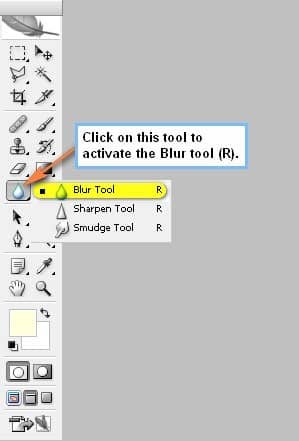
When activated, input the following values:
- Brush size: 175px
- Hardness: 0%
- Mode: Normal
- Strength: 100%

Apply the Blur tool on the region shown on the image below:
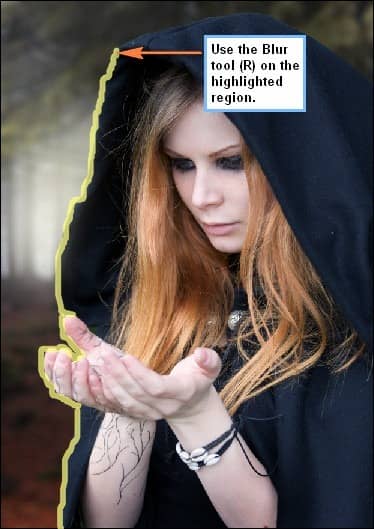
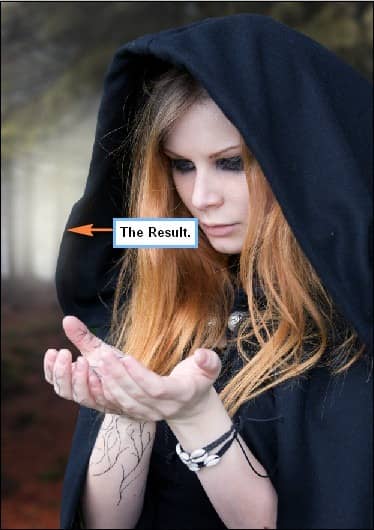
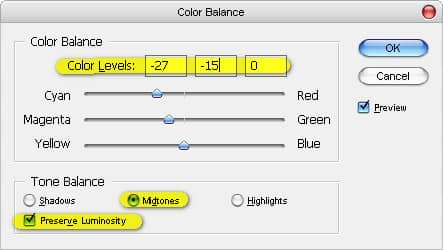
Now we will be changing the sorceress’ Color Balance. Before you proceed, make sure that the “sorceress” layer is selected, and then go to Image > Adjustments > Color Balance. When the Color Balance box opens, input the following:
- Color Levels: -27, -15, 0
- Tone Balance: Midtones
- Preserve Luminosity: Checked
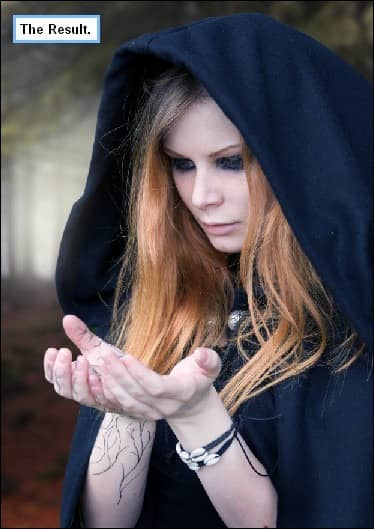
The result should be similar to this:
Now we’re going to add light on the background to emphasize the details of the cloak. First, let’s create a new layer (Ctrl/Cmd + Shift + N) and name it “Light 4”. Then, open the Color Picker through clicking the Foreground Color box. When the Color Picker opens, input the following:
- #: ffffe6
Now with the brush color set, activate the Brush tool (B) and input the following values:
- Brush size: 600px
- Hardness: 0%
- Opacity: 30%
- Flow: 100%
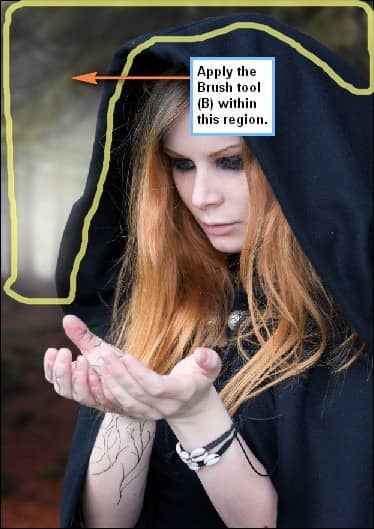
Apply the brush on the region indicated on the image below:
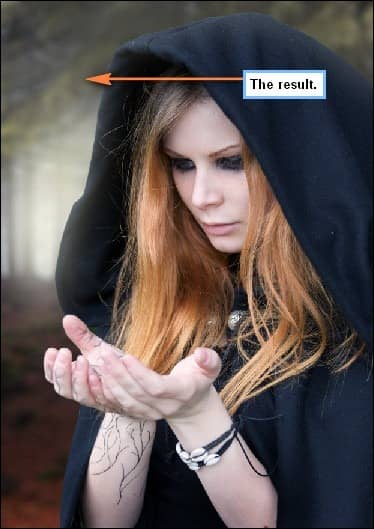
The result should be similar to this:
Now, we’re going to darken the areas that won’t be affected by the light that we will be putting on the sorceress’ hands. Create a new layer (Ctrl/Cmd + Shift + N) and name it “Darken 1”. We would need black paint so let’s change the brush’s color. Activate the Color Picker and input the following:
- #: 000000
Now let’s activate the Brush tool (B) and input the following:

6 comments on “How to Create a Magic-Yielding Sorceress Photo Manipulation”
Great tutorial!
Thanks!
if anyone needs the butterfly stock with out watermarks
http://www.lakii.com/vb/attachments/a-47/140500d1360355267-a-butterfly_stock_12_by_shoofly_stock.jpg
Dude! This was so fun! I can't wait to explore the rest of your website! Thanks!!!
There is no link to the brushes or anything else :(
Thanks for letting us know! Don't know how the links went missing but we added them back!
Hi, Im doing this tutorial but I can't seem to find the CRASH_SPACE.abr brush. I've looked everywhere. Is there any other brush that can replace it? Thanks fot your help. Cool tutorial